FM Towns Marty PSU - "Power Banchou" Installation Guide
Fujitsu FM Towns Marty(1993)
Preface
Thank you for choosing Marty Power Banchou, a drop-in modern PSU board that can be used easily all over the world. It utilise universally available 12V DC power supplies to power this originally 100V AC only PC/console. If you live in a 220V - 240V world, a step-down is never needed again. Even you’re in Japan or in the US which uses 100 - 110V AC power, the original PSU might be suffering from degraded capacitors so instead of recapping the PSU, this drop-in replacement saves a lot of time and hassle.
However, please keep in mind Marty Power Banchou cannot magically fix everything. If your Marty suffers from leaky capacitor, for example the infamous C22 plague, it still won’t boot with a new PSU. Those capacitors issues and potential trace fixes should be addressed. You may find my earlier repair on Marty be helpful: Link
But on the other hand, having Marty Power Banchou in hand will ease the diagnosis and repair work to a great degree. With Marty Power Banchou, you can safely touch everywhere in the console without having to worry about electrocute yourself. In that sense, it’s also a good device for repairman who’s working on Marty.
Preparation
You will need the following tools:
- A 12V power adaptor, with barrel connector sized 2.1mm or 2.5mm. Rated 2A or above.
- A Phillips screw driver, PH2 or PH1
- A nipper or a pair of scissors
- Optional: small cable ties
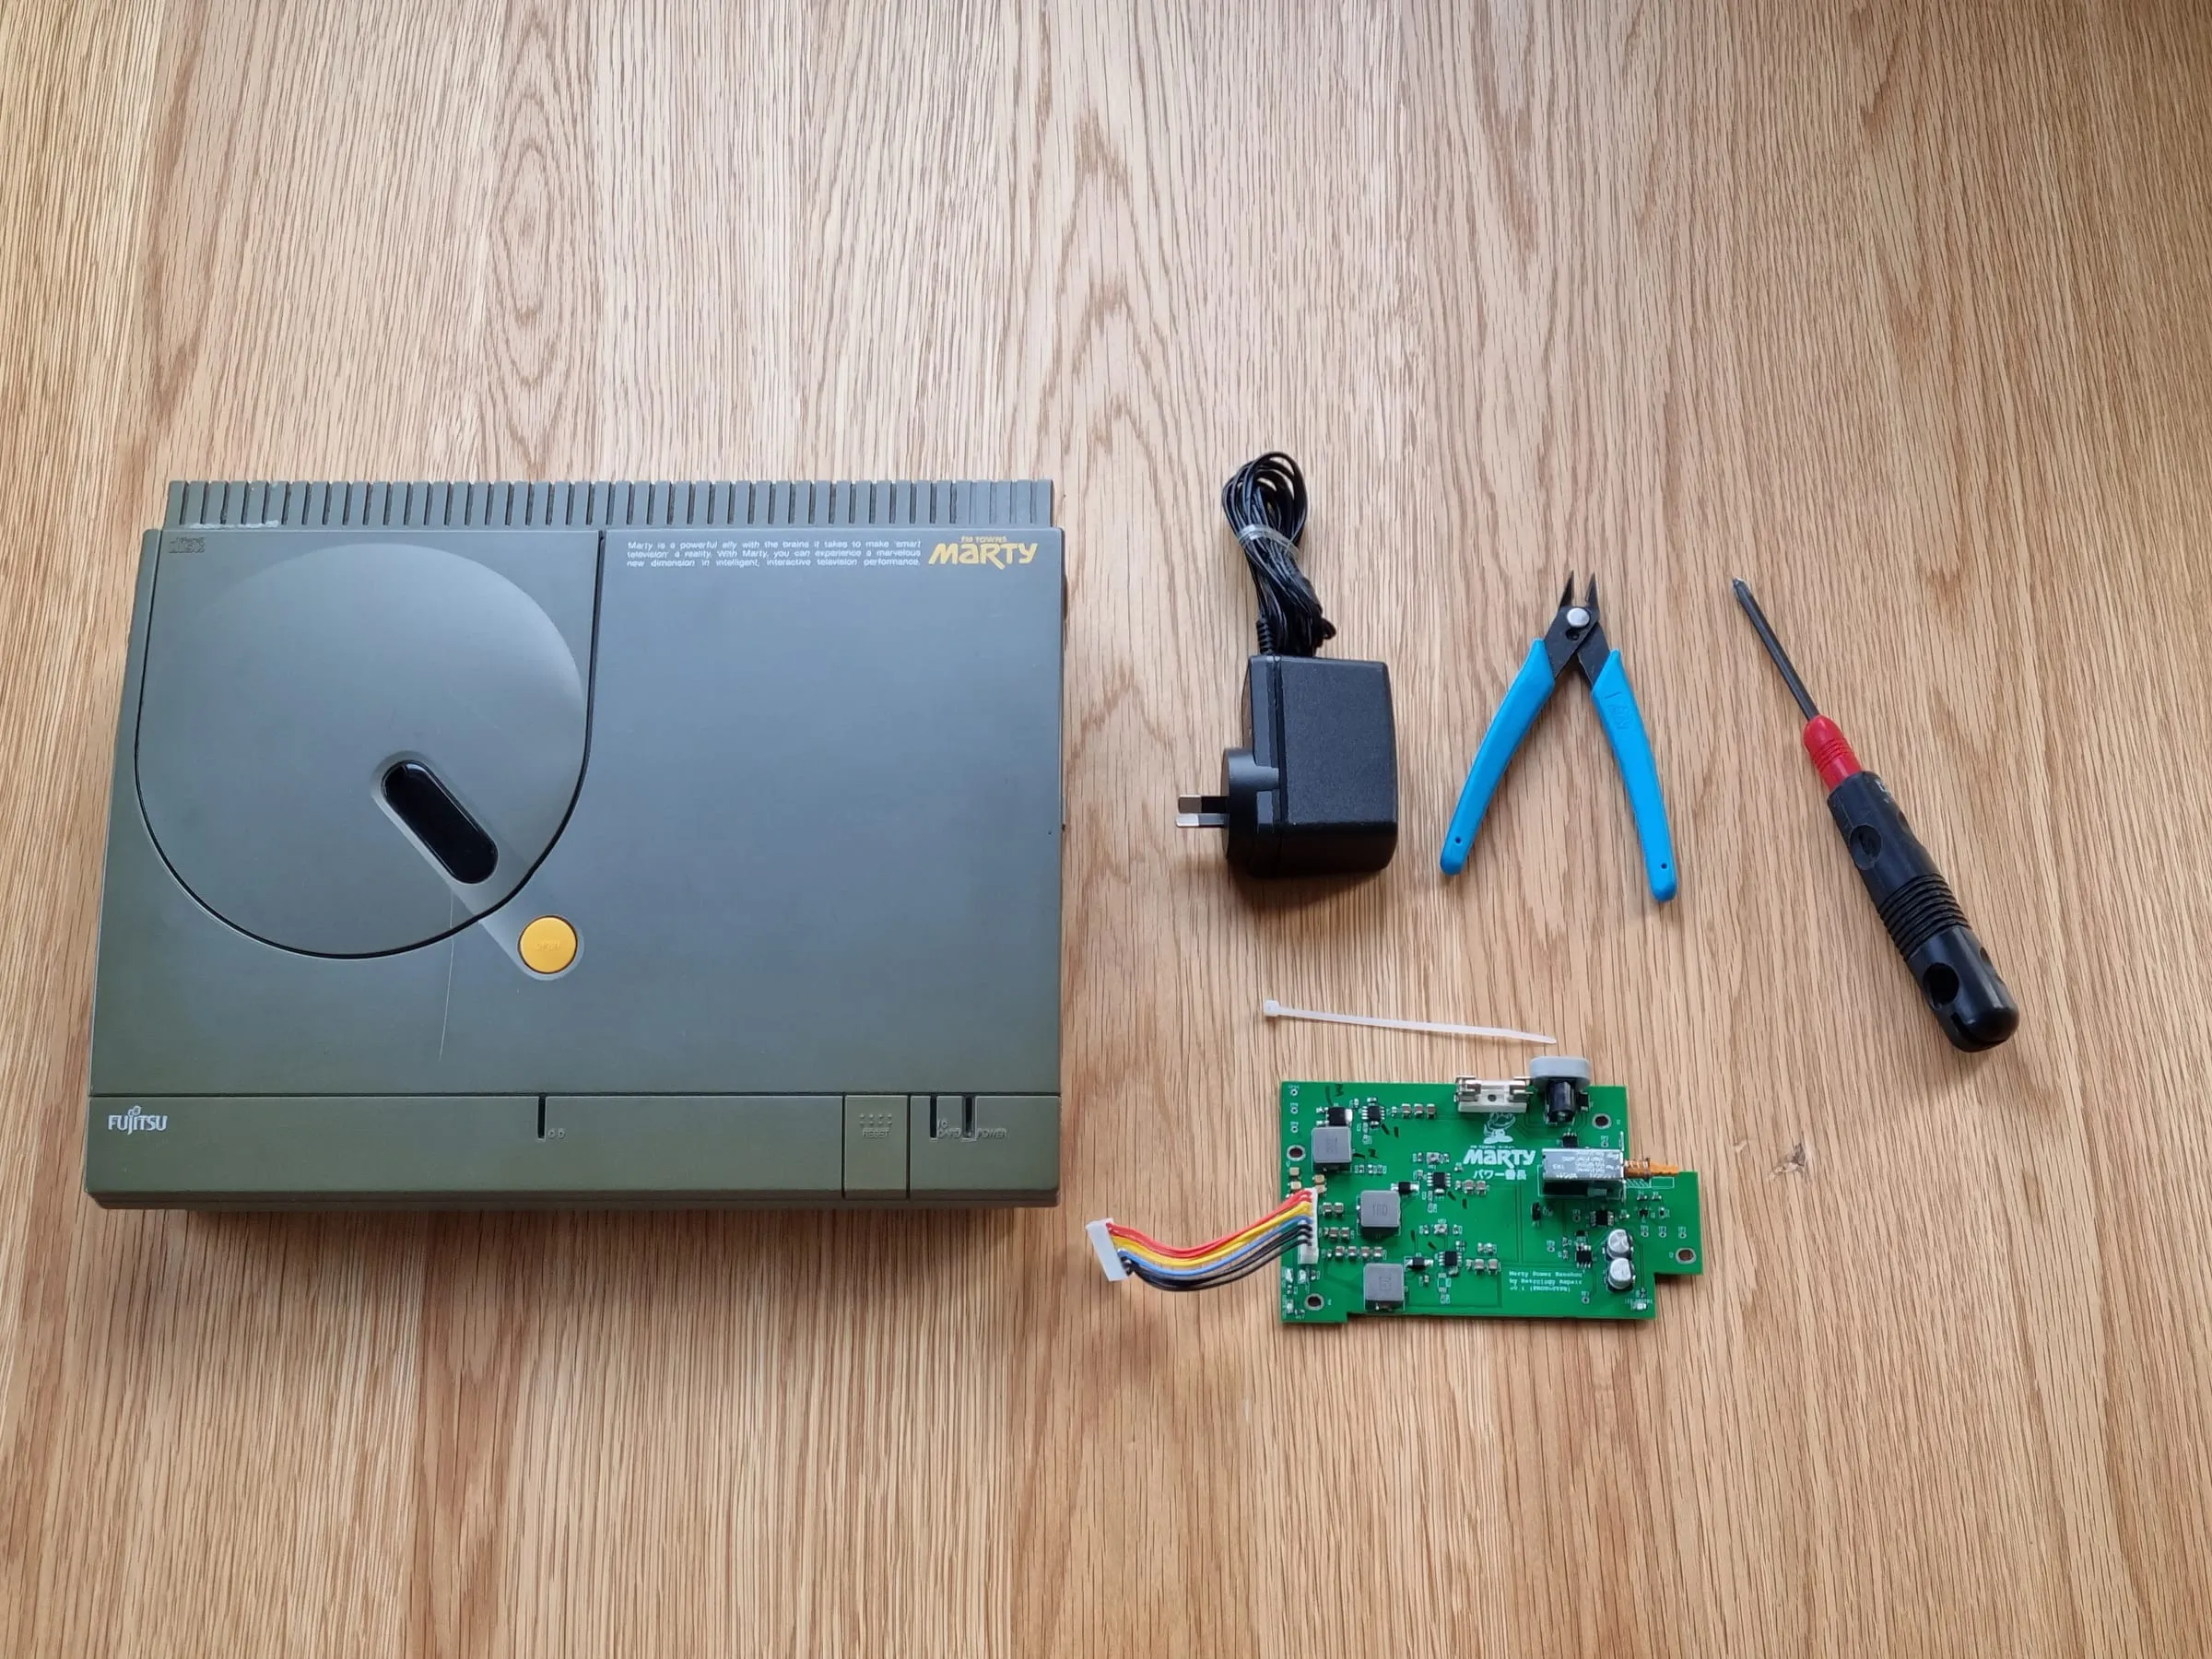
The 12V power adaptor needs to be centre positive, and rated at least 2A and above. Most of the 12V power adaptors have outer diameter of 5.5mm and inner diameter of 2.1mm or 2.5mm.
Test
First, test the PSU before installation. Find a non conductive surface, like a wooden table. Place the PSU flat on the surface, and plug in the 12V power adaptor.
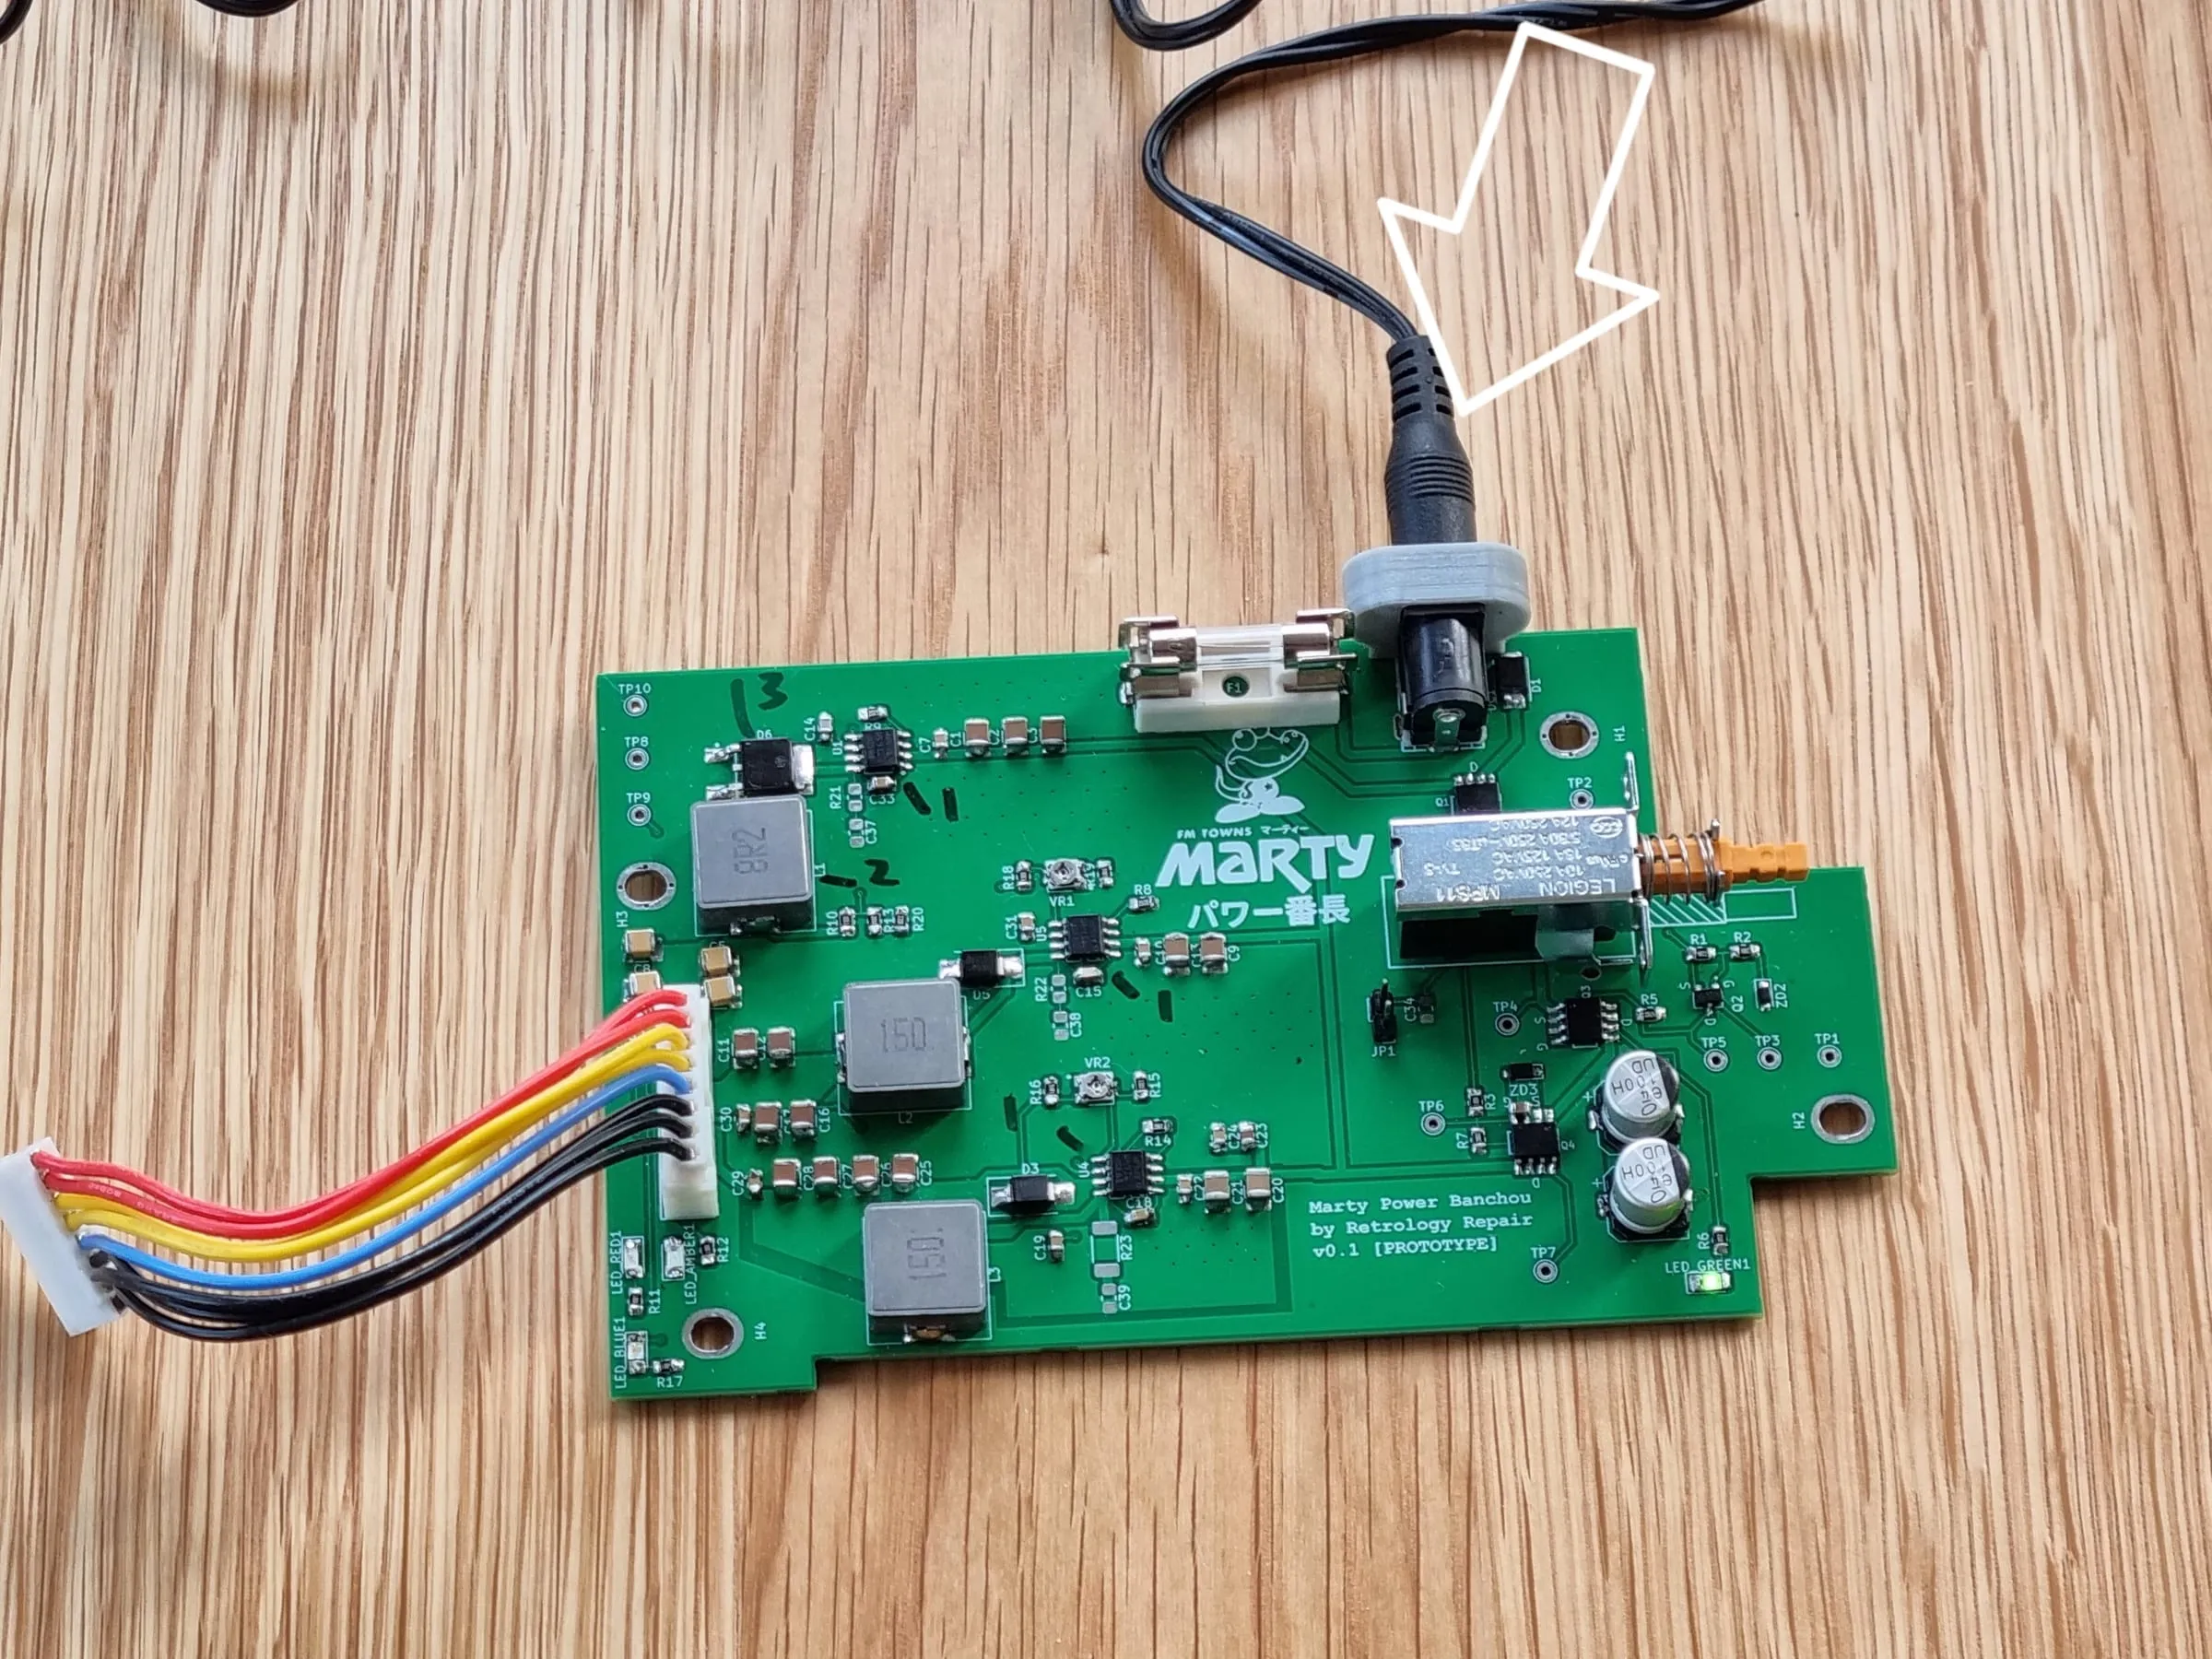
You should see the green LED on the right bottom lit up. If the LED isn’t lit up or it’s too dim, check the 12V power adaptor spec and the connection. It might be undervoltaged.
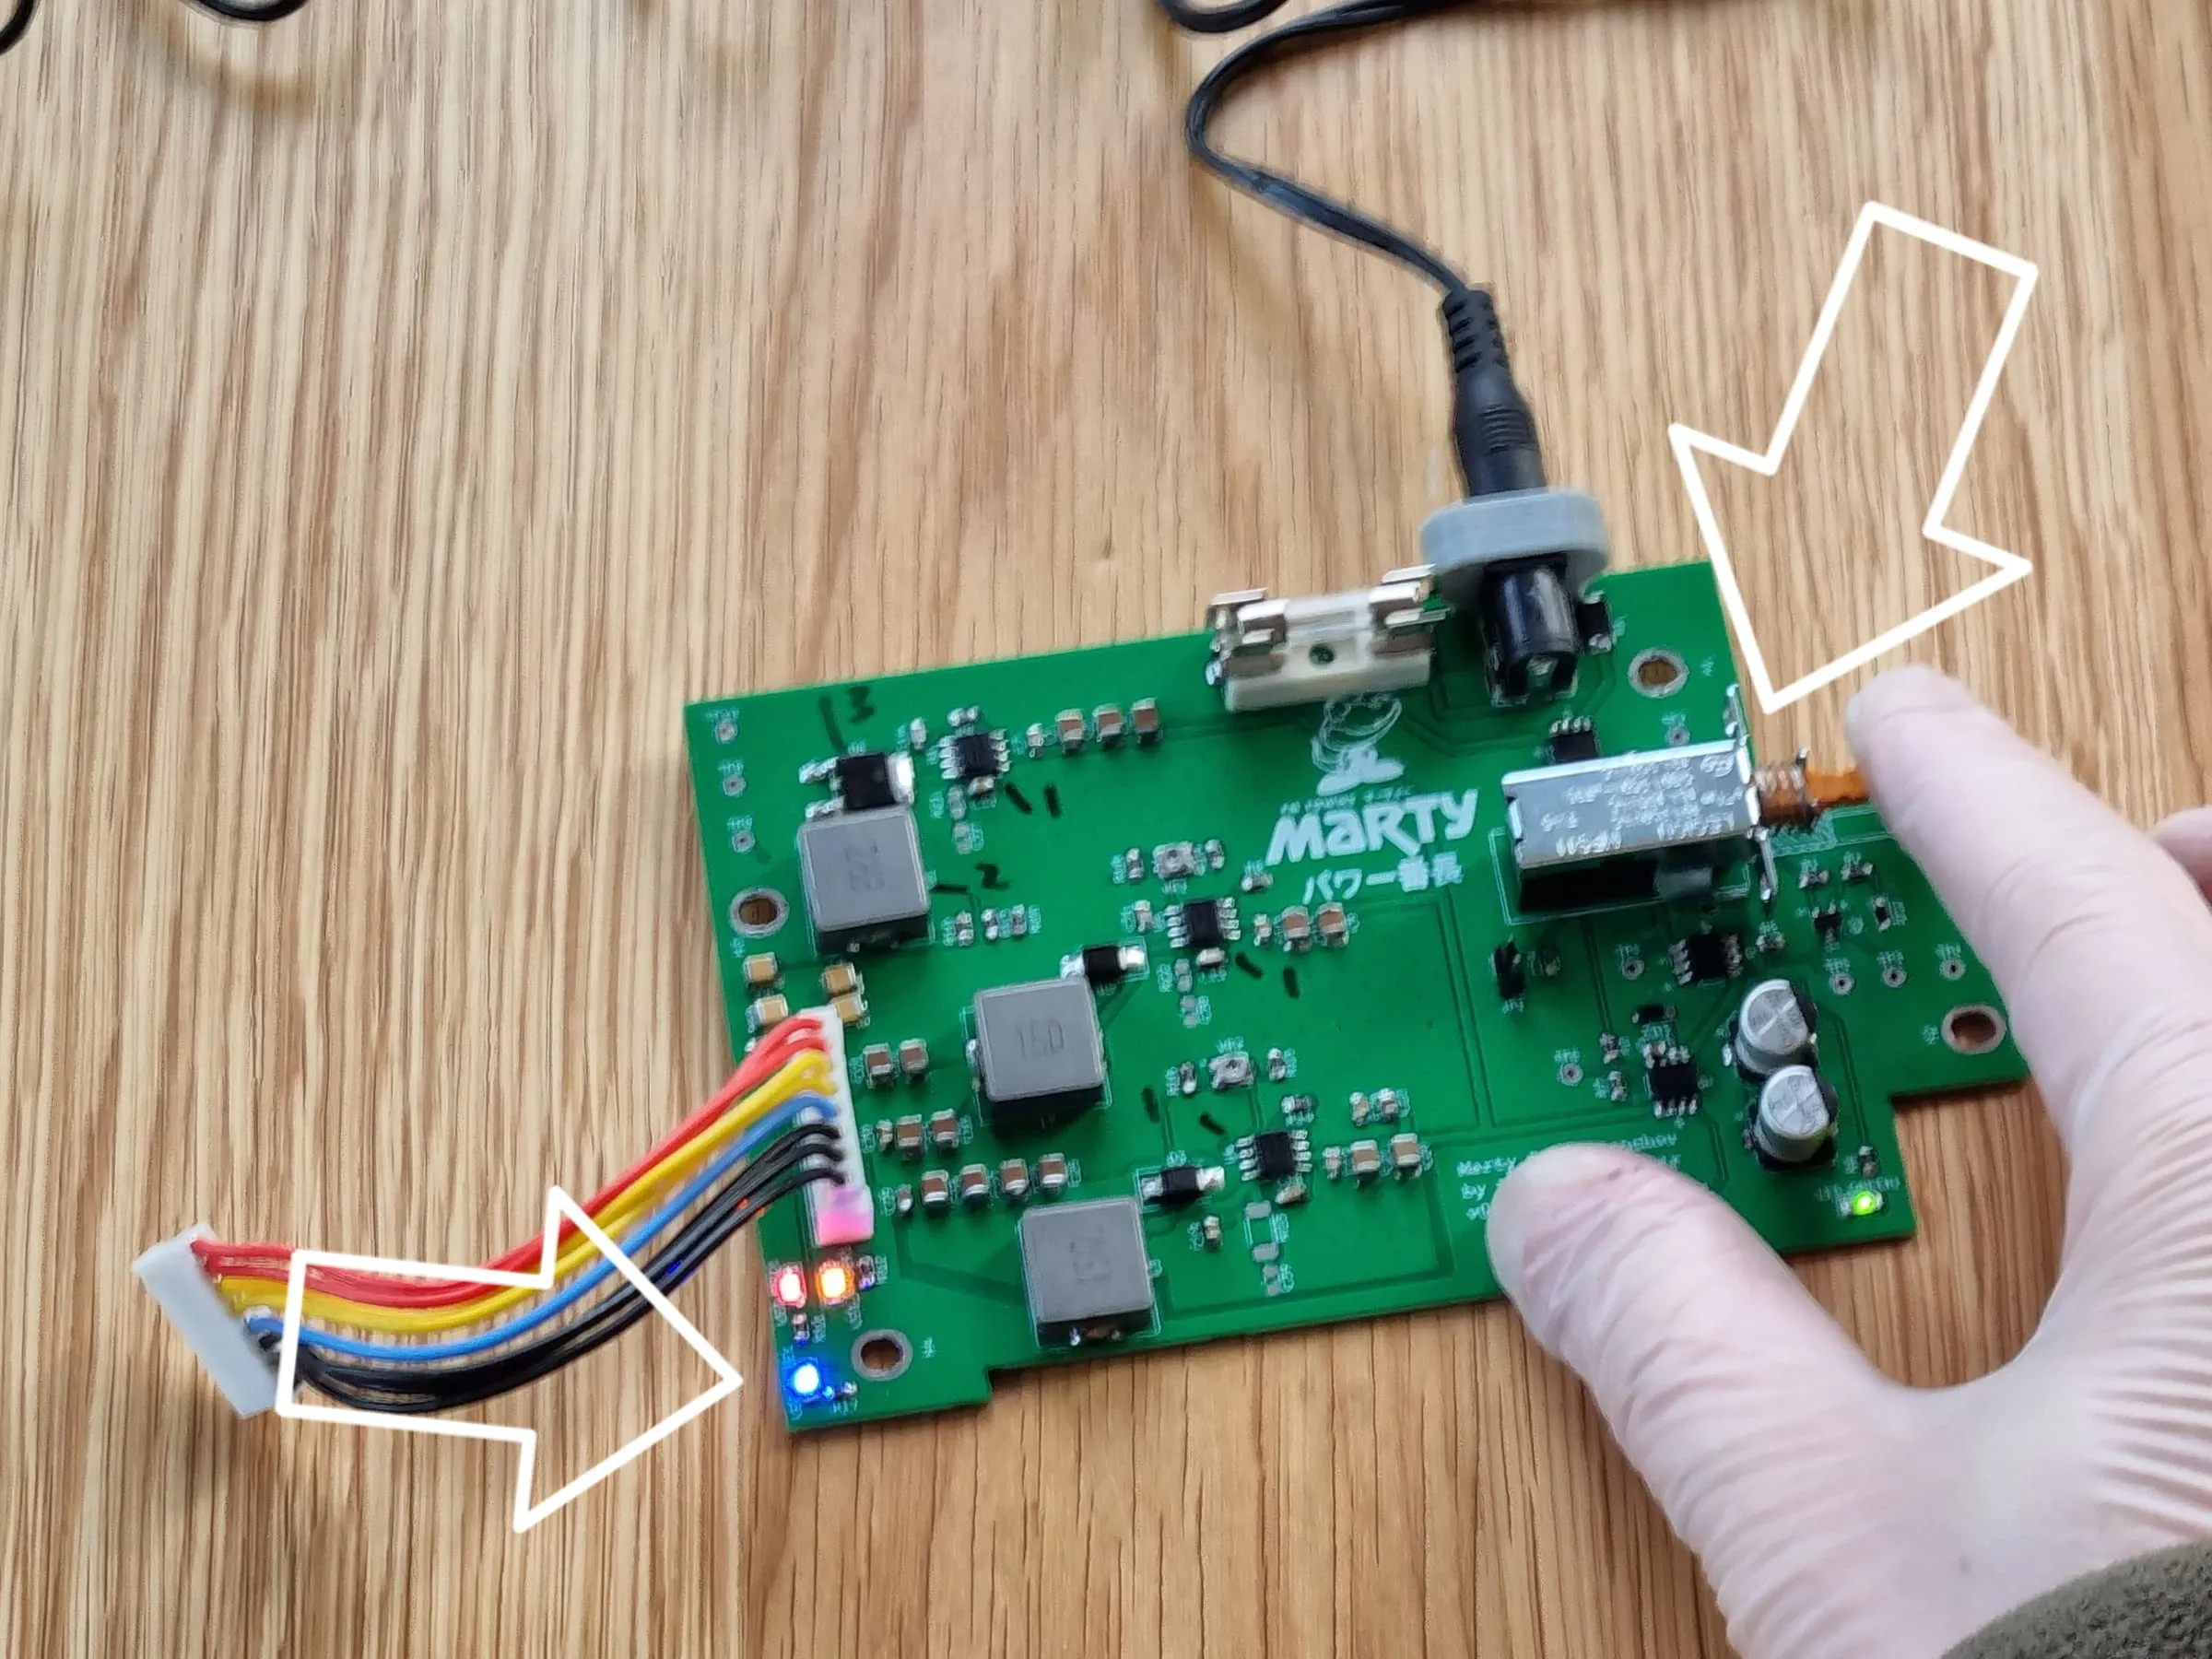
Next try push the big switch on the right. This is the power switch. After that, you should immediately see three more LEDs lit up on the left bottom corner. If they’re not lit up or are flashing, stop using the PSU and contact Retrology Repair.
Once the LED is done, push the power switch again to turn off the PSU. Put it aside and proceed to the next step.
Installation
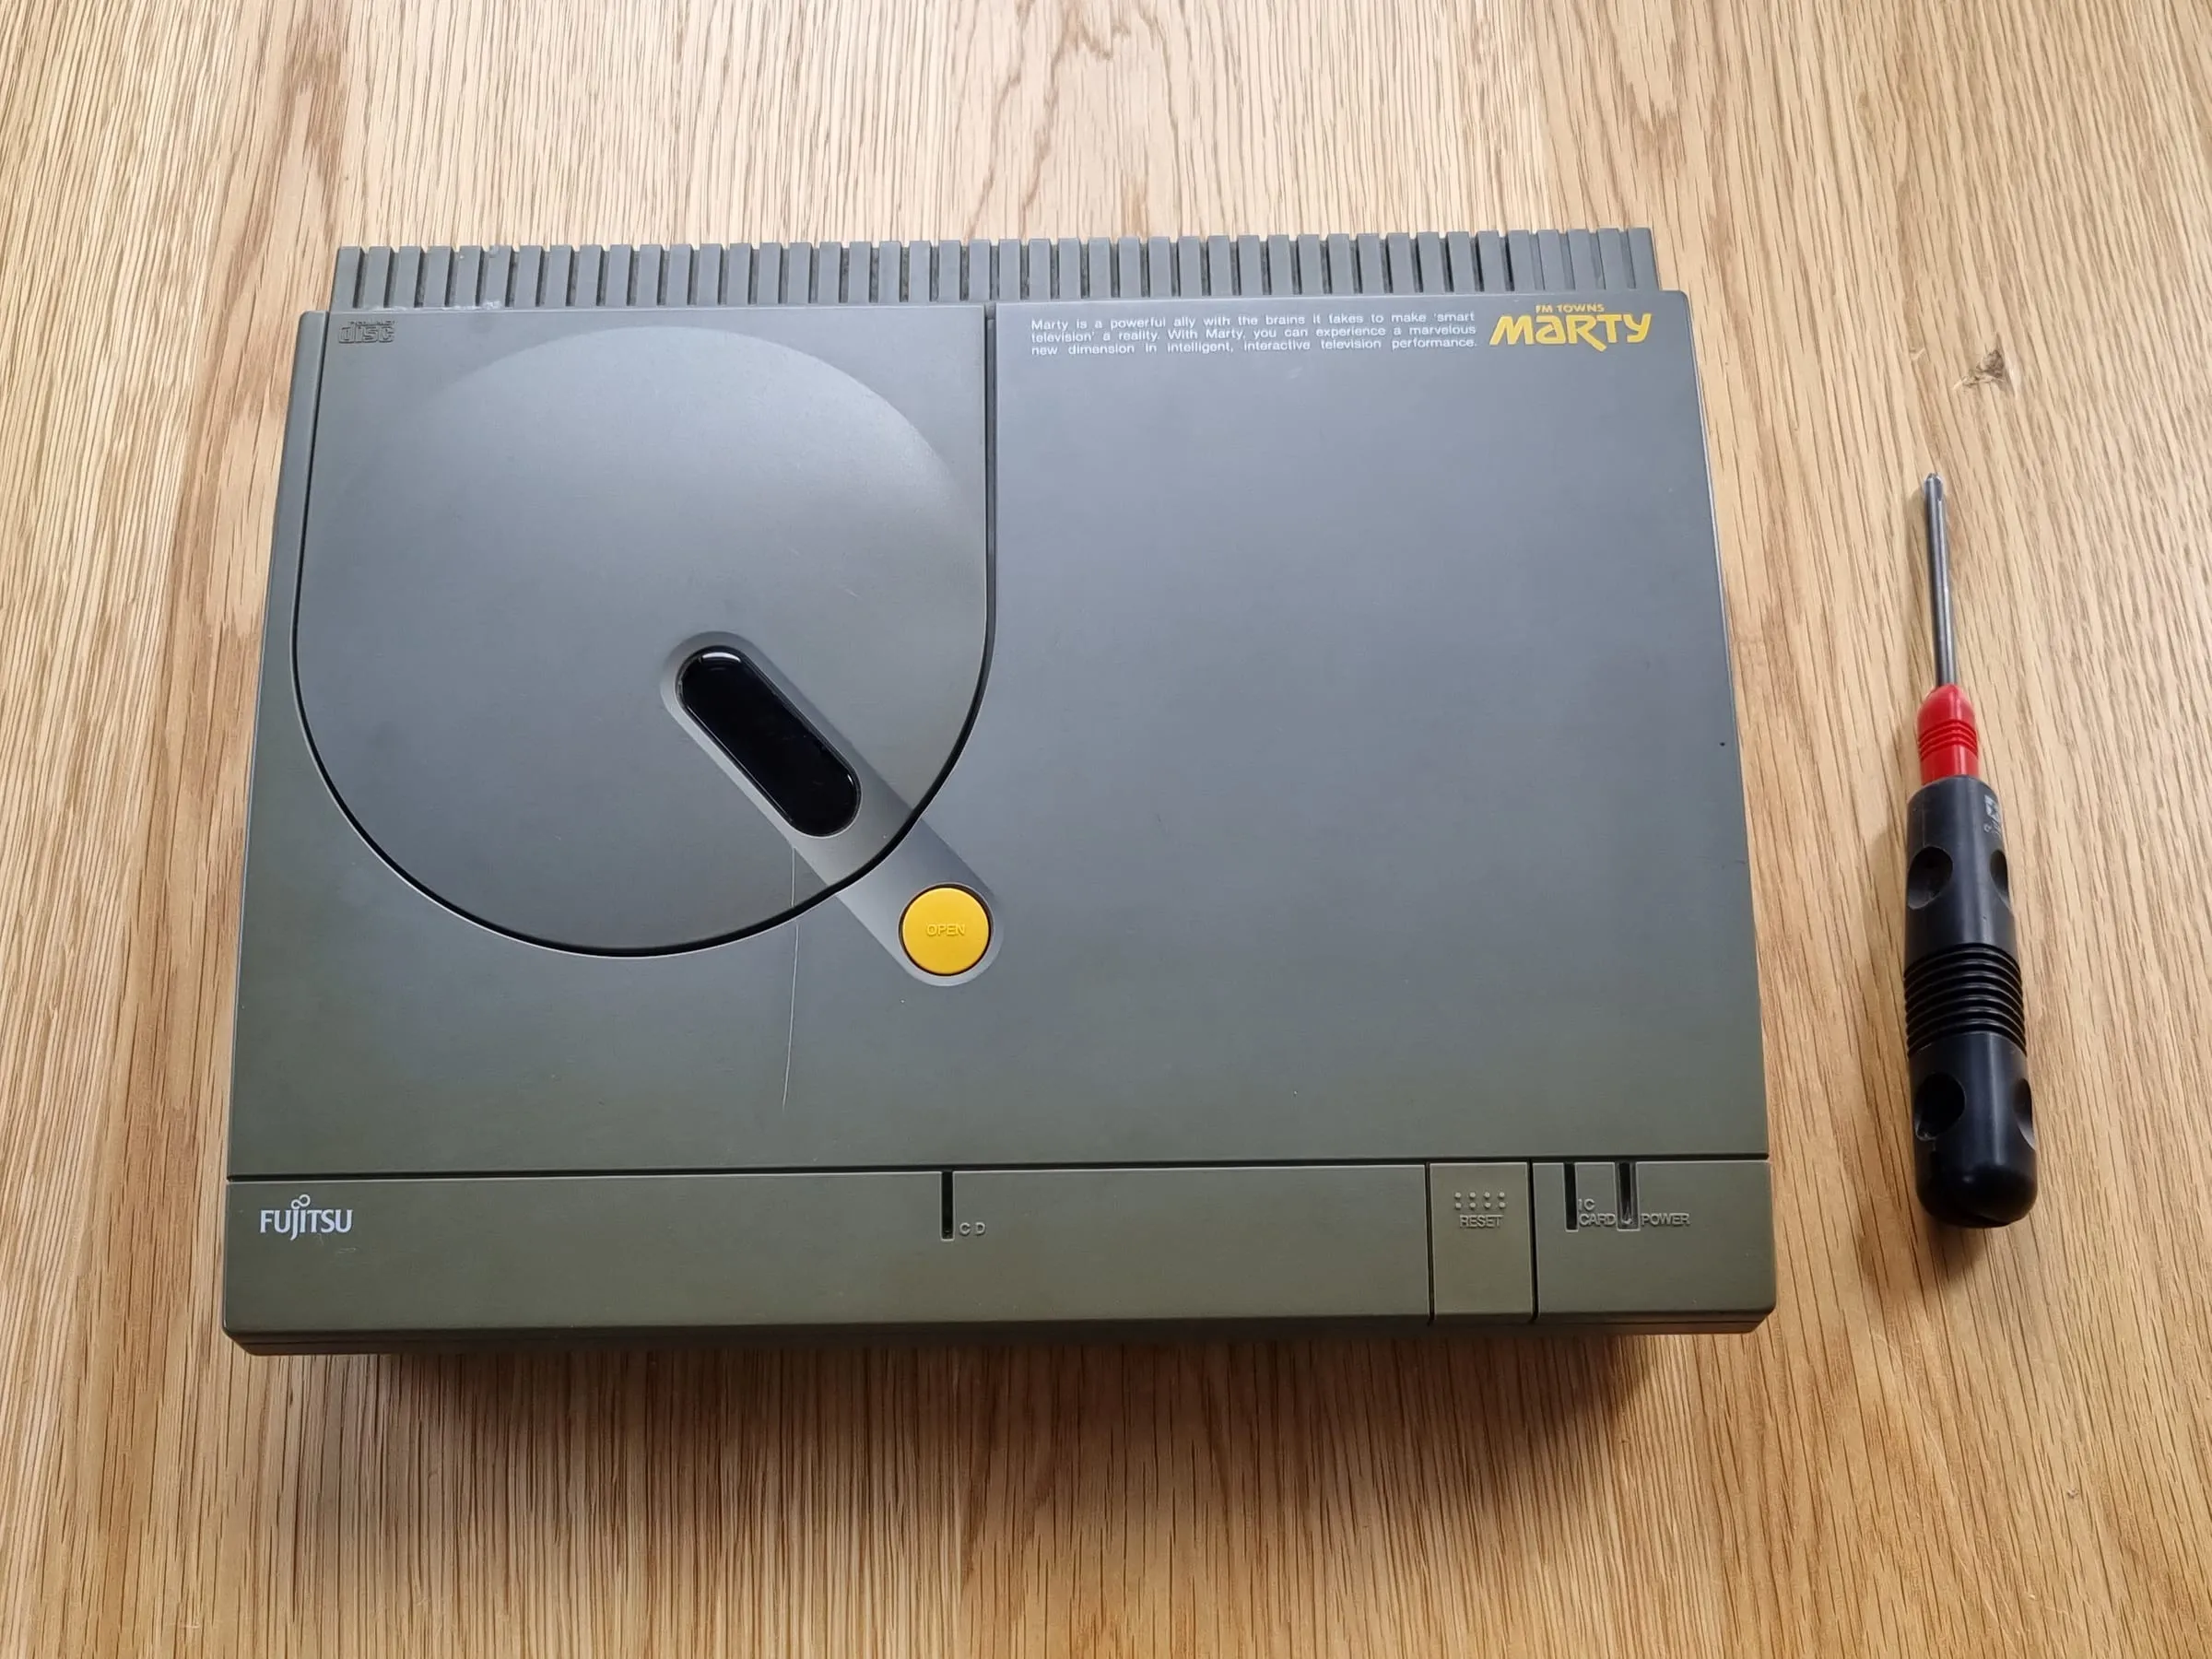
Now with the Marty and the screw driver, flip the Marty so that its bottom faces you.
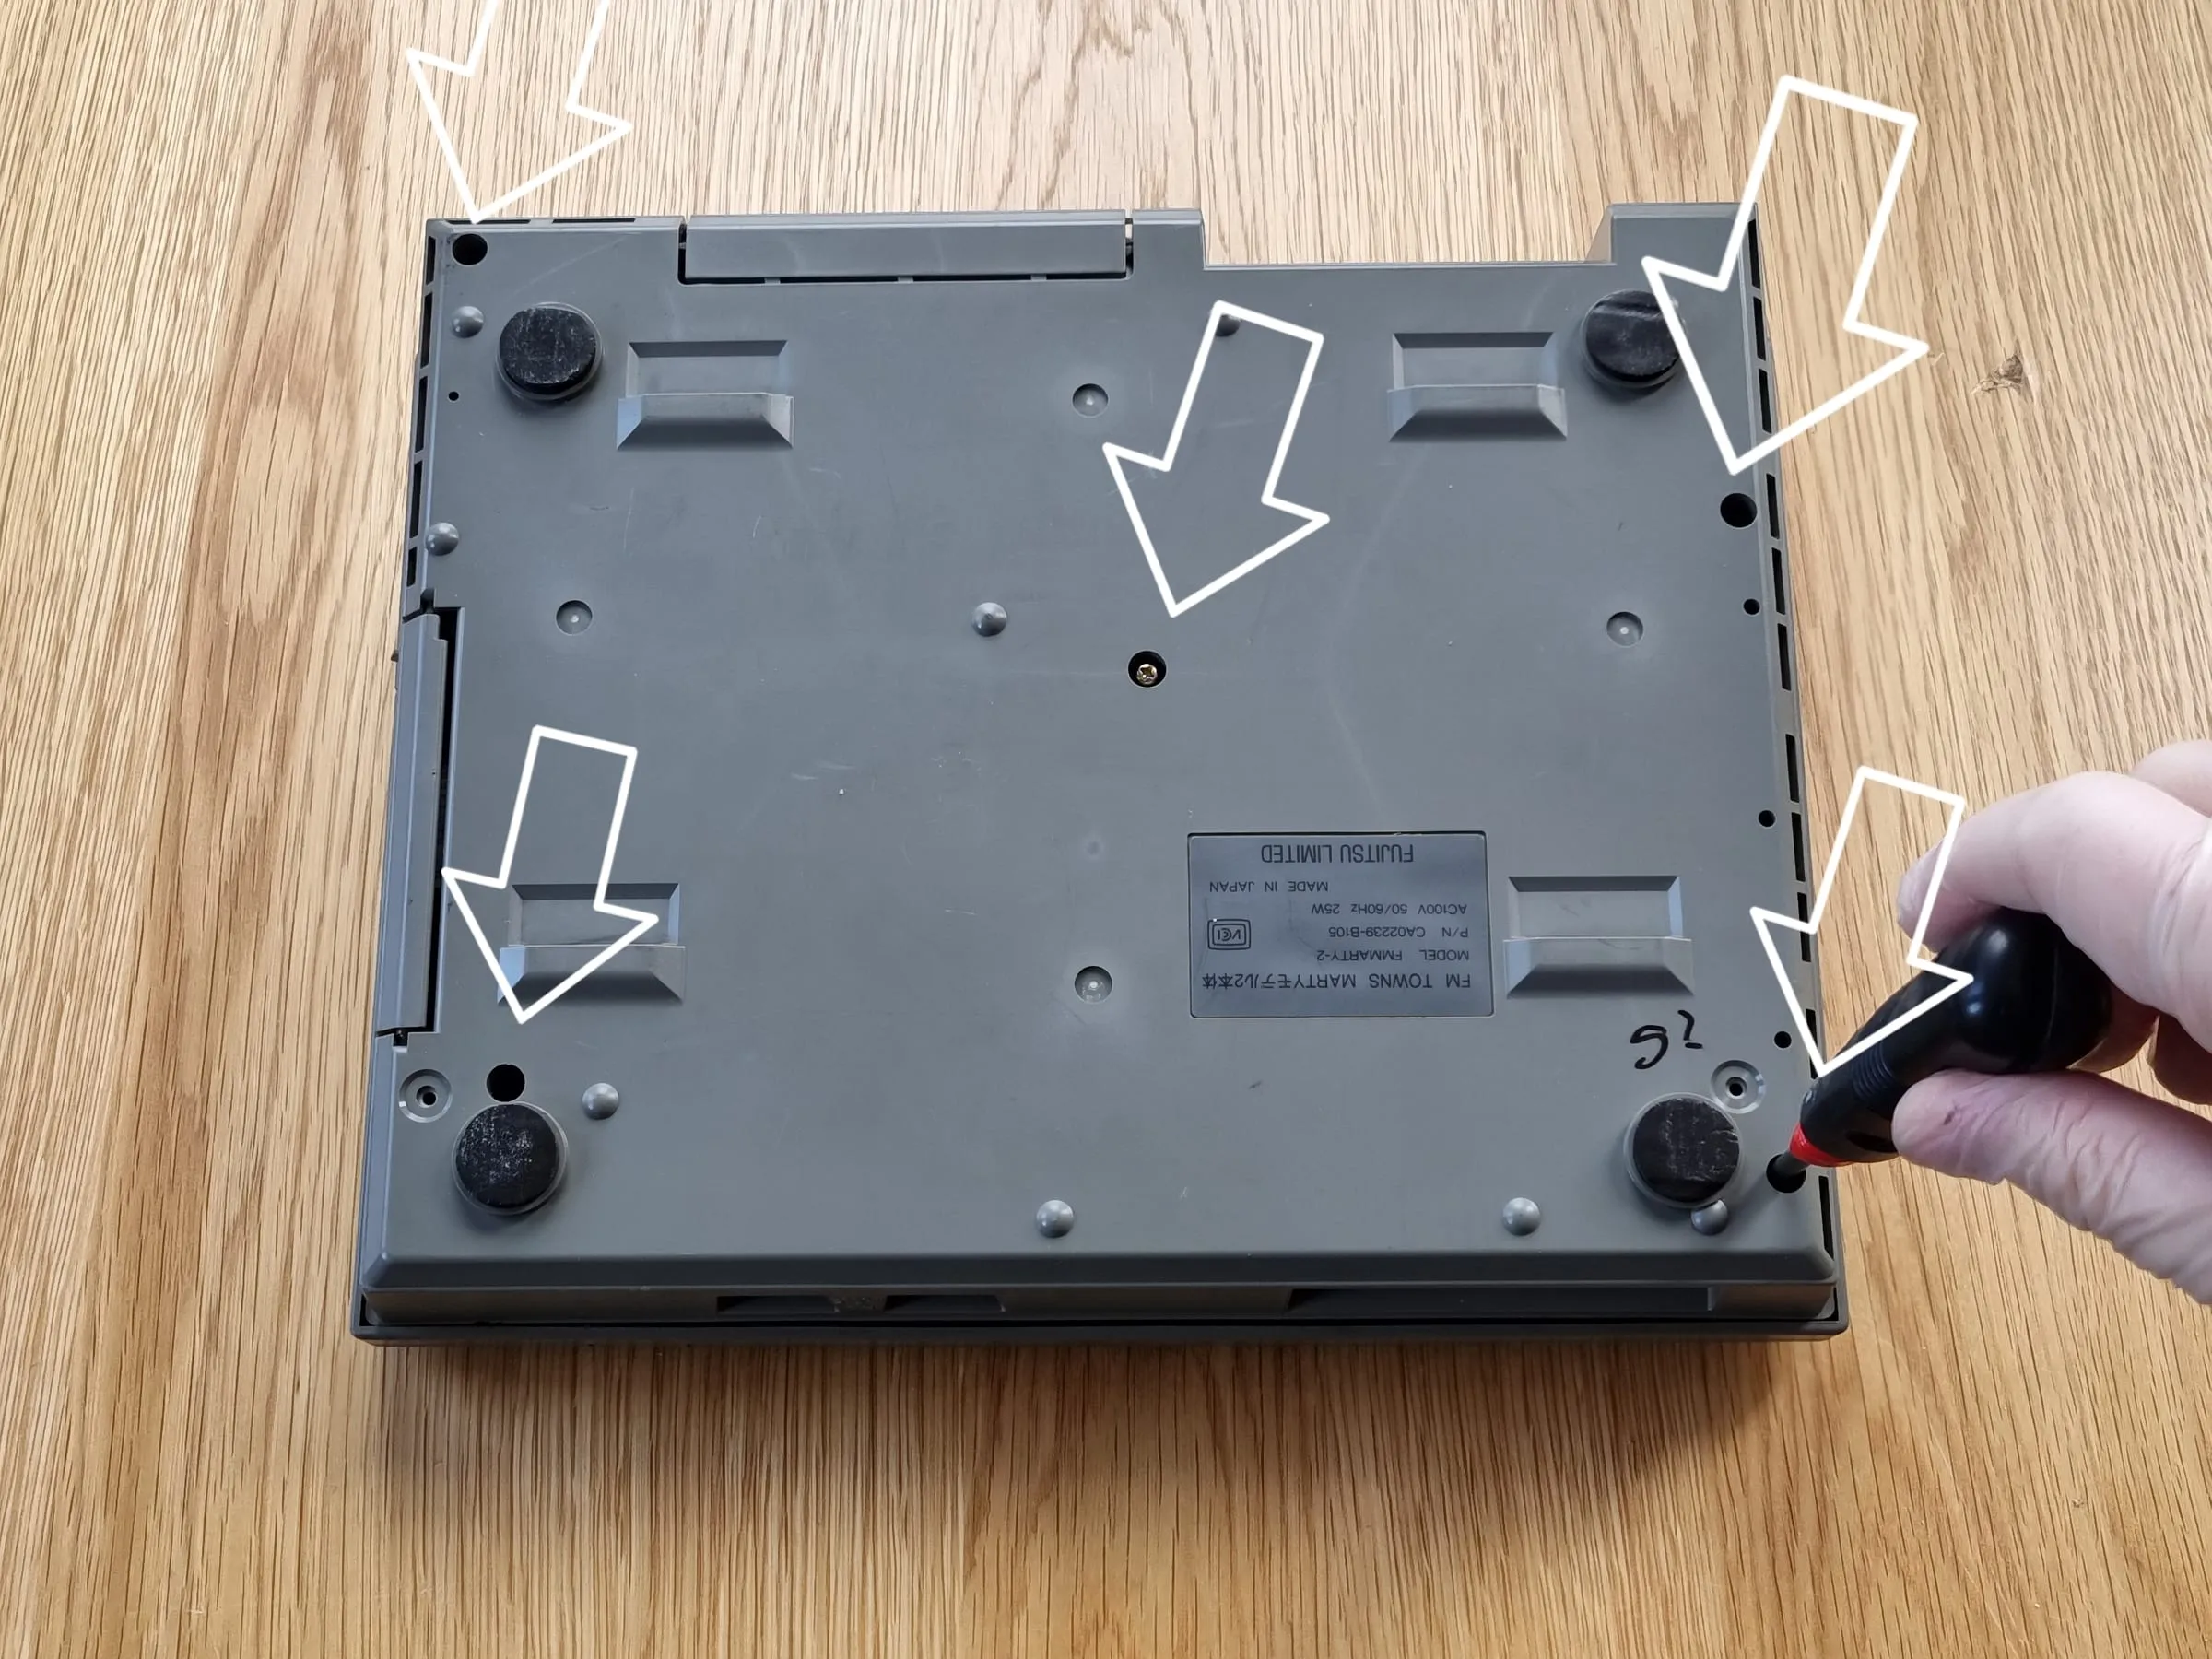
Remove the 5 tapping screws from the bottom. Note depending on the model, you might have one small screw on the right bottom. Make mental mark on that.
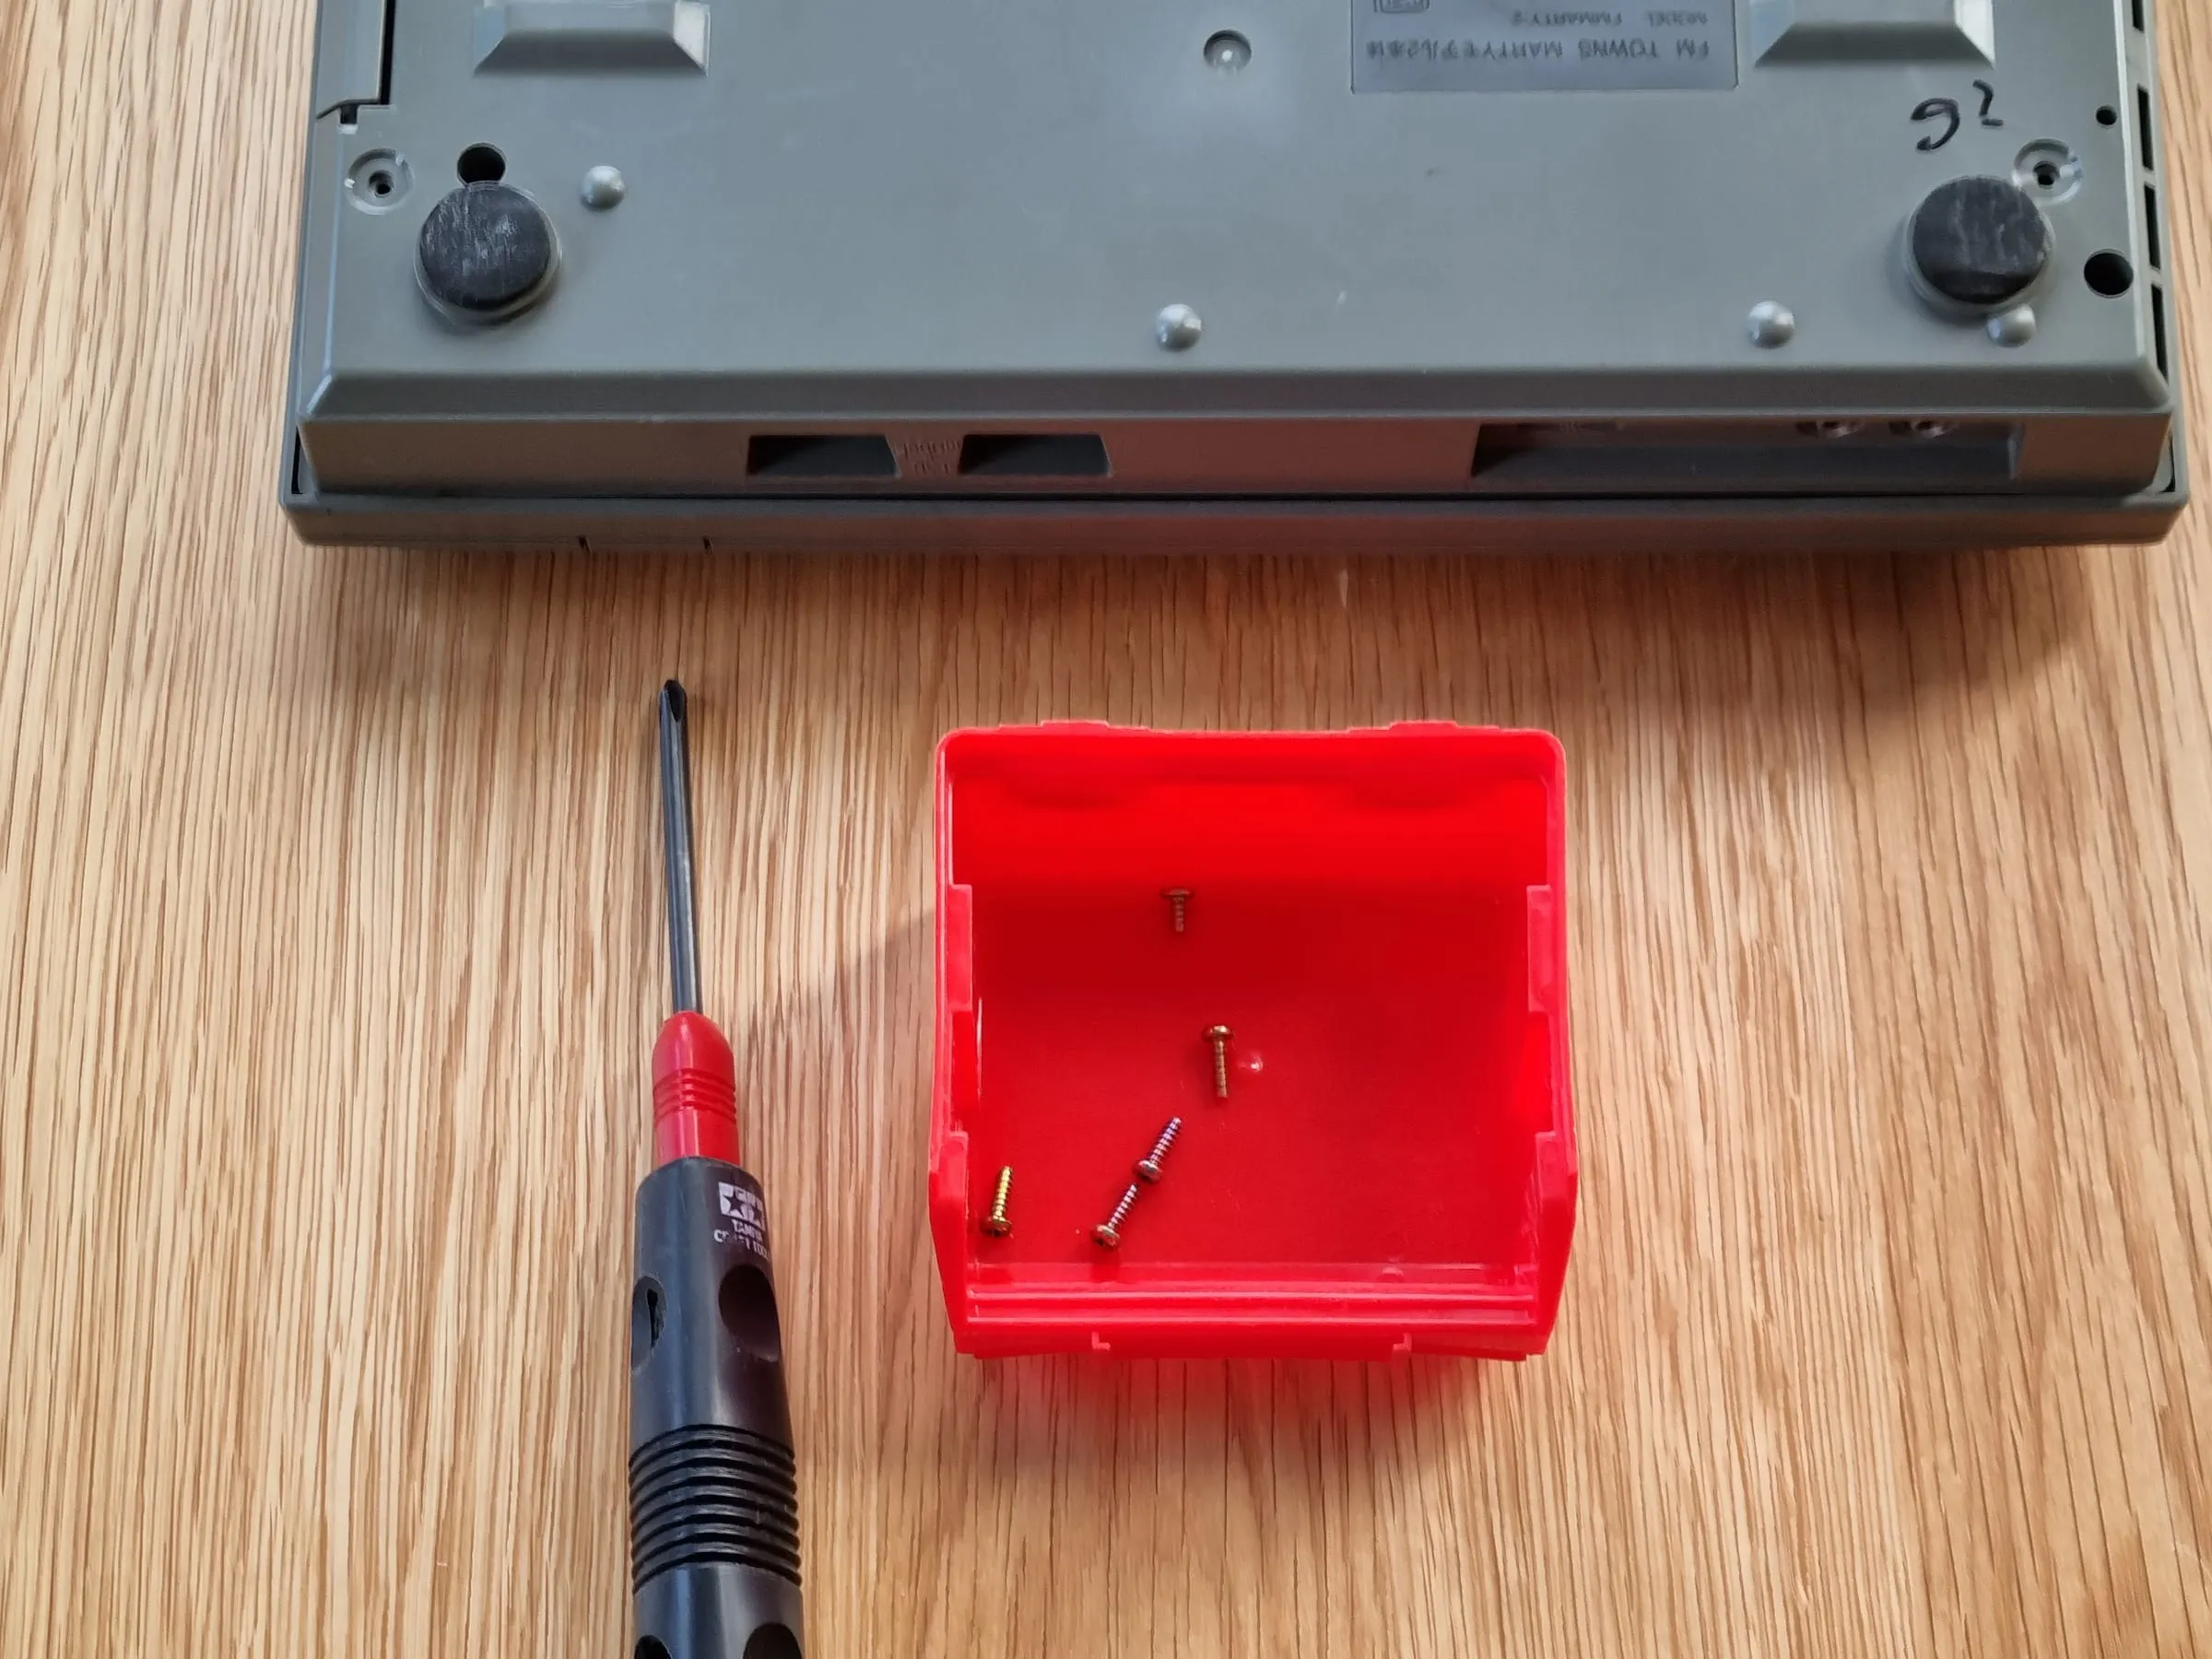
Leave all 5 tapping screws in one container, don’t mix up with machine screws in a later stage.
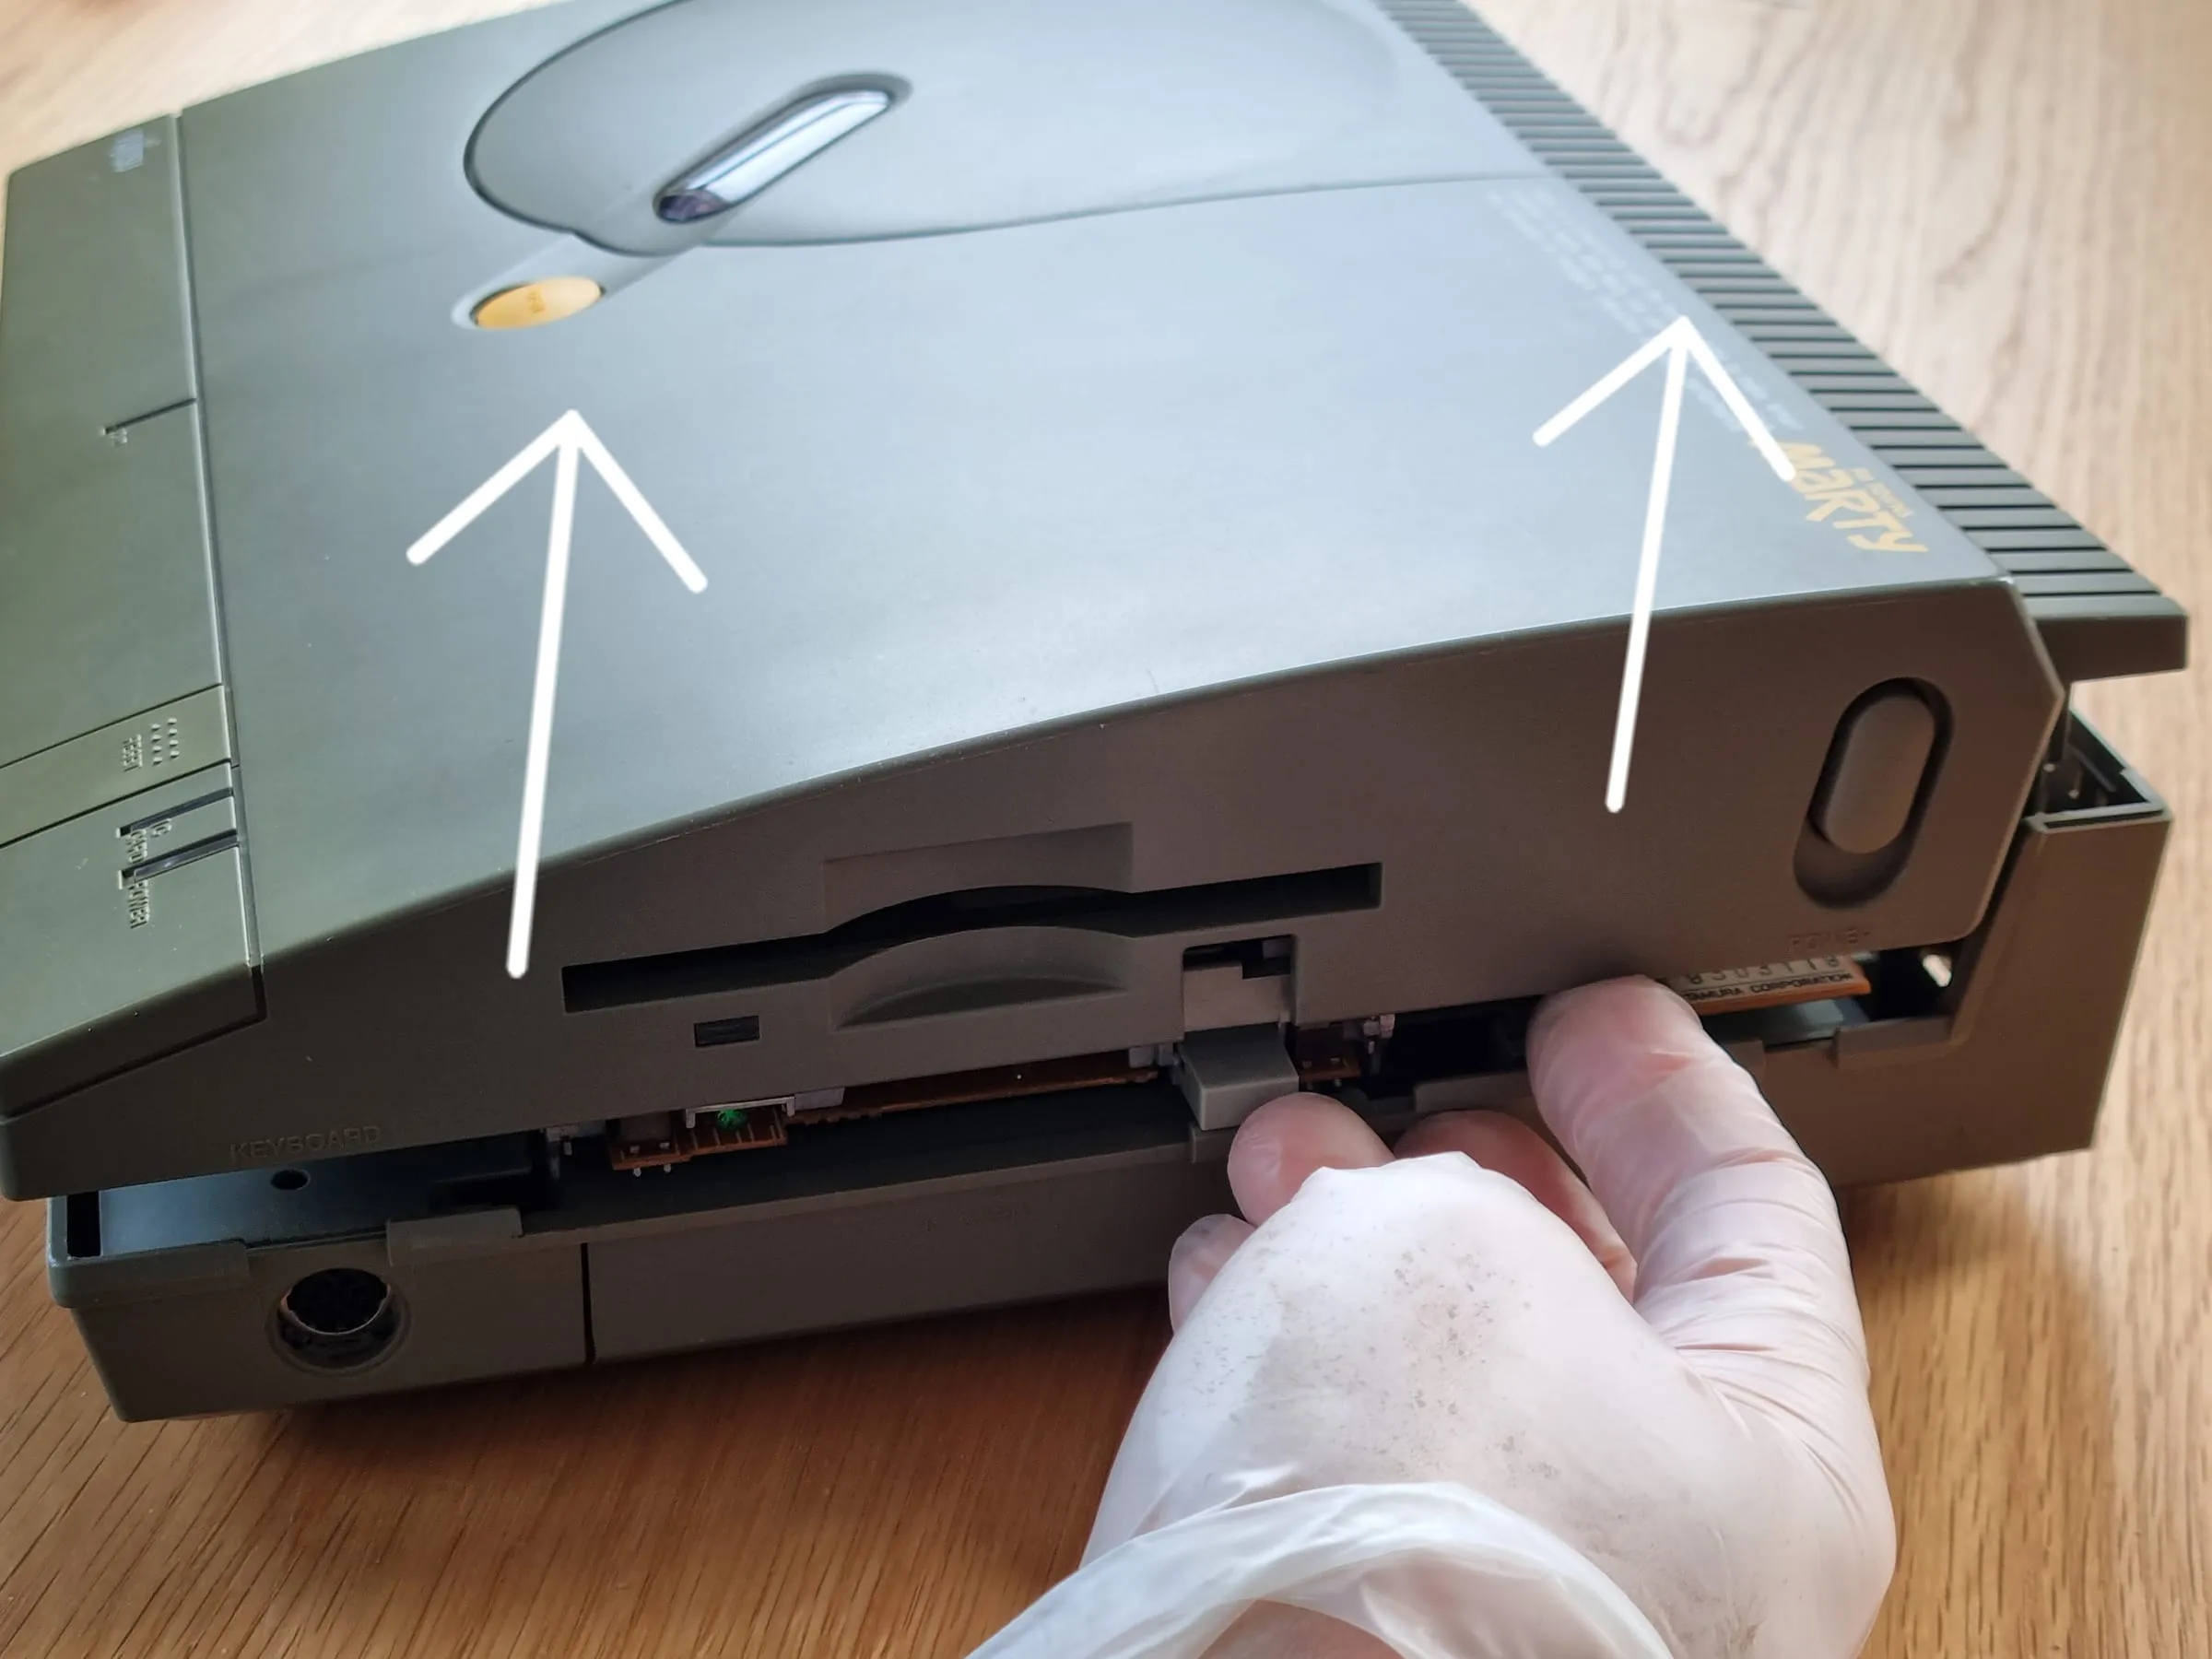
With all 5 screws removed, carefully flip the Marty back and lift up the top cover. There should be no obvious obstruction to do so.
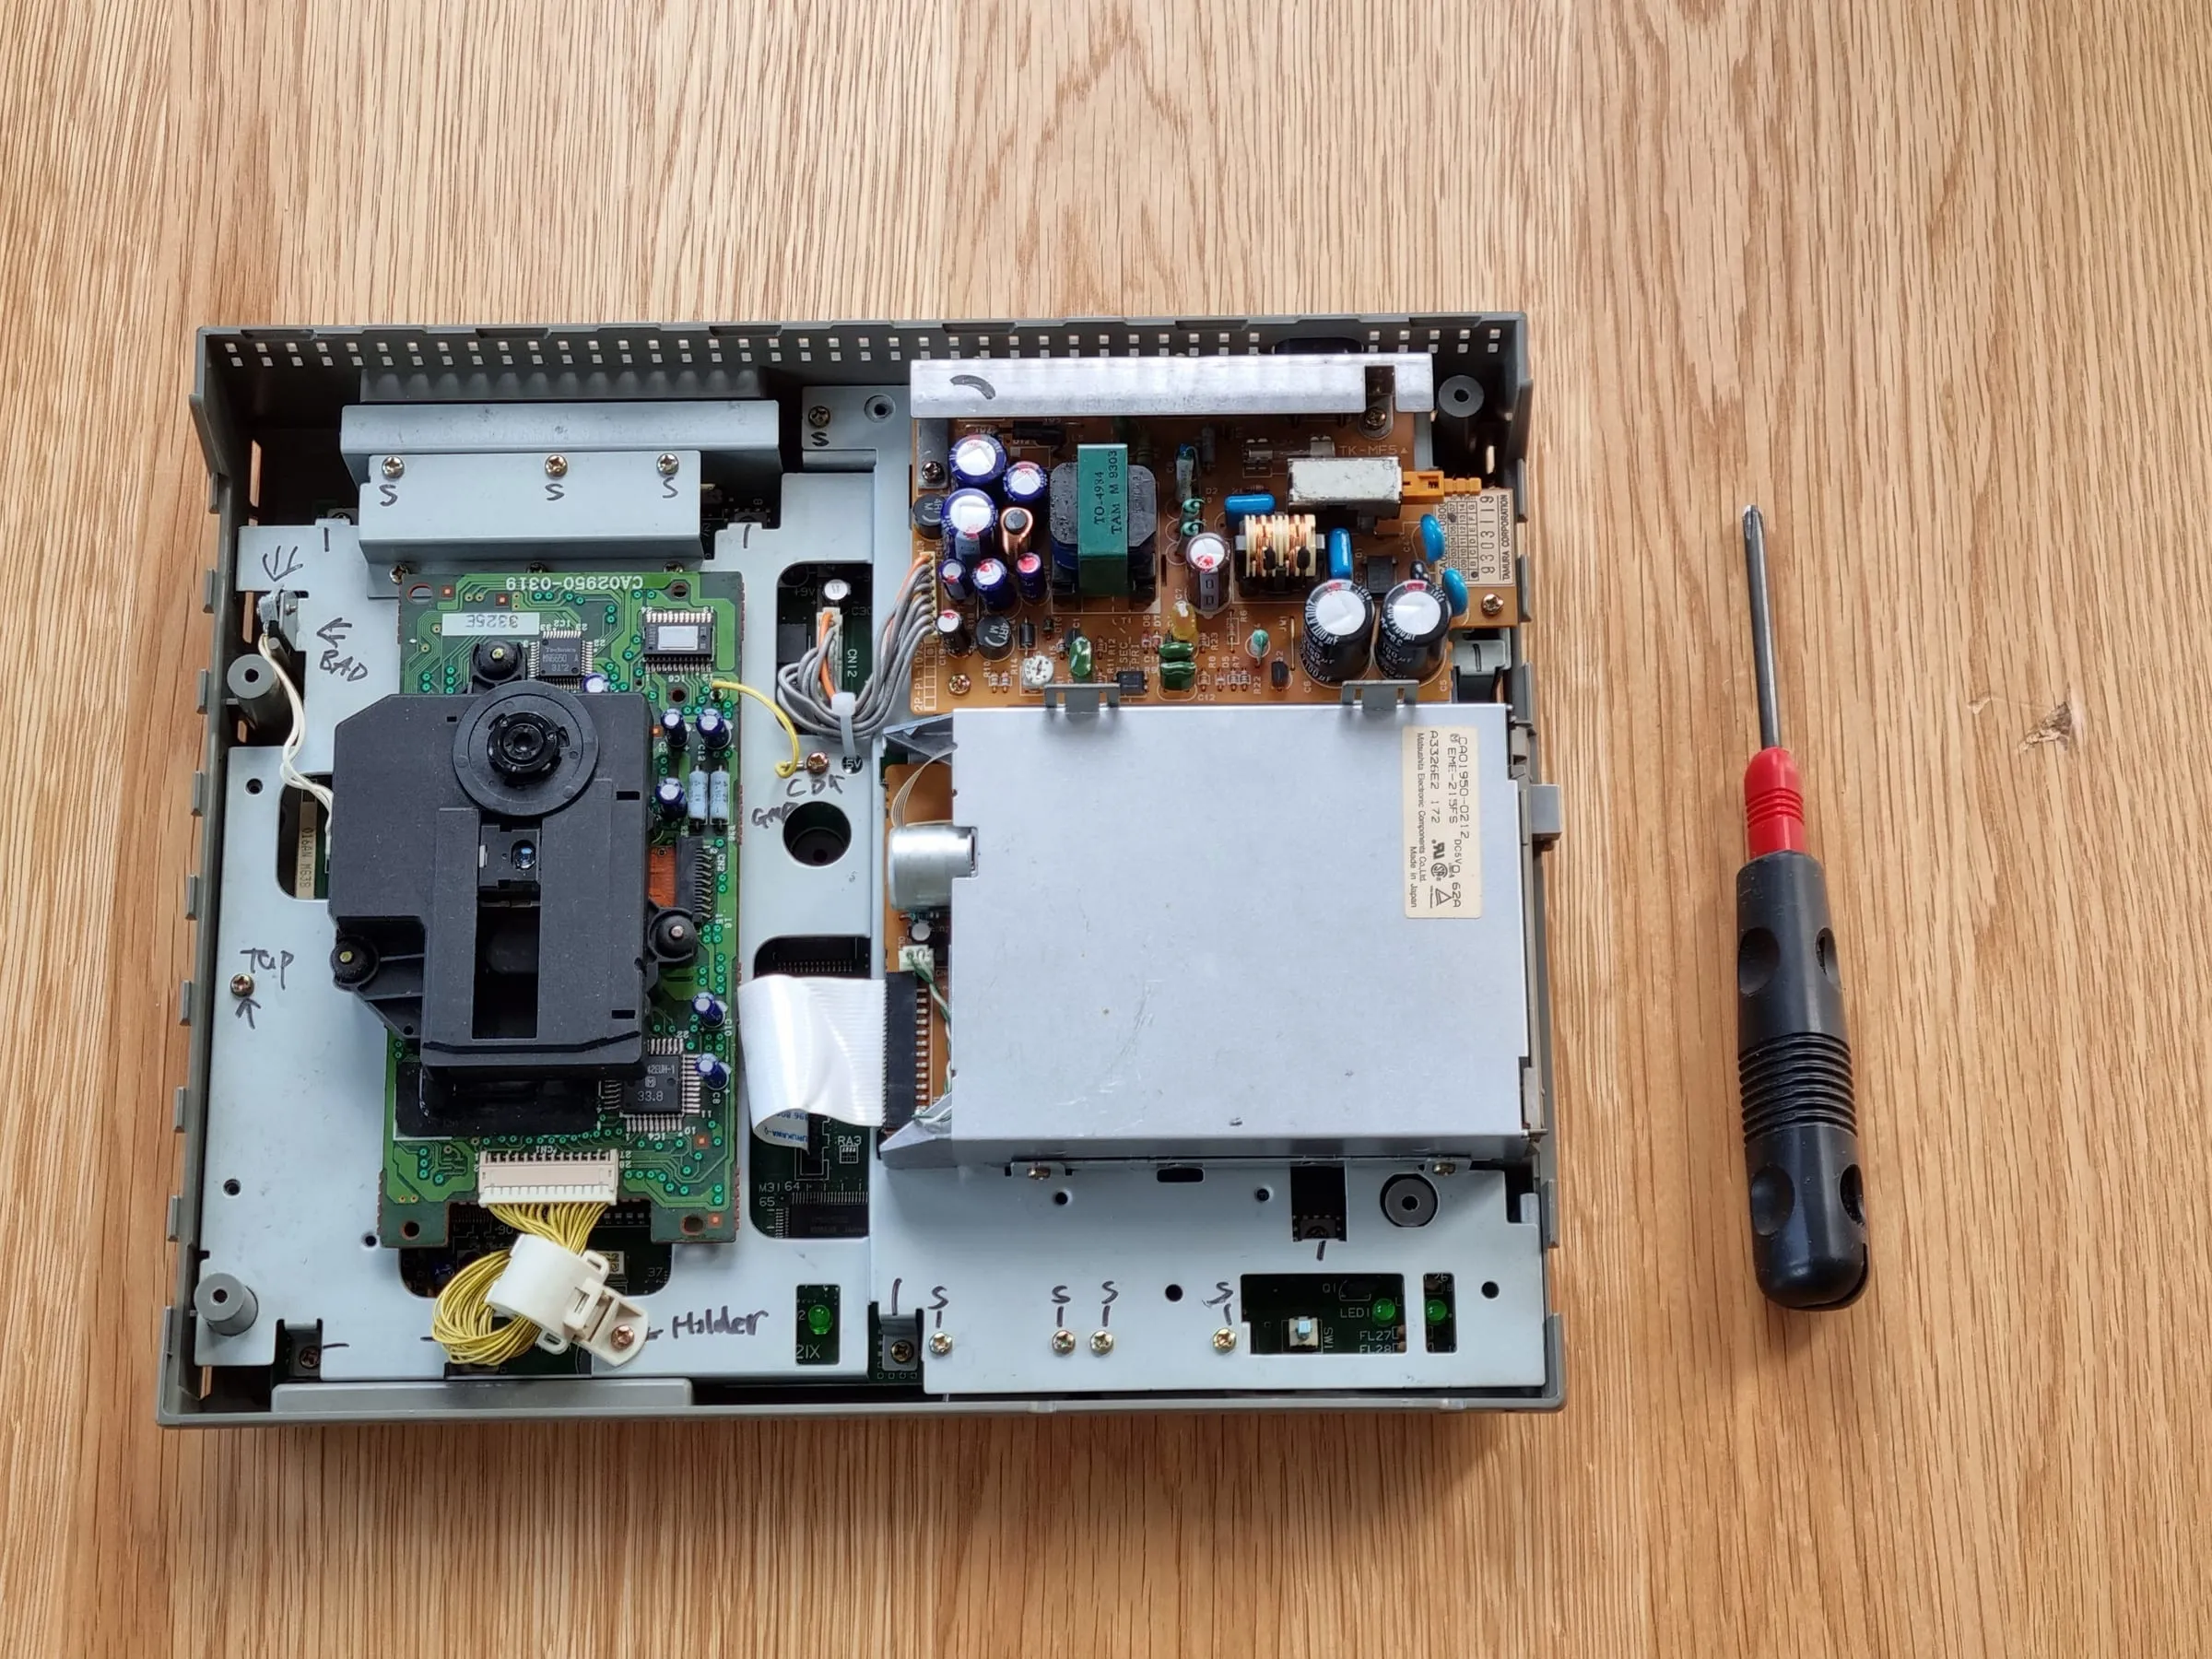
Now you should be able to see a picture similar to this. The power supply unit is on the top right corner.
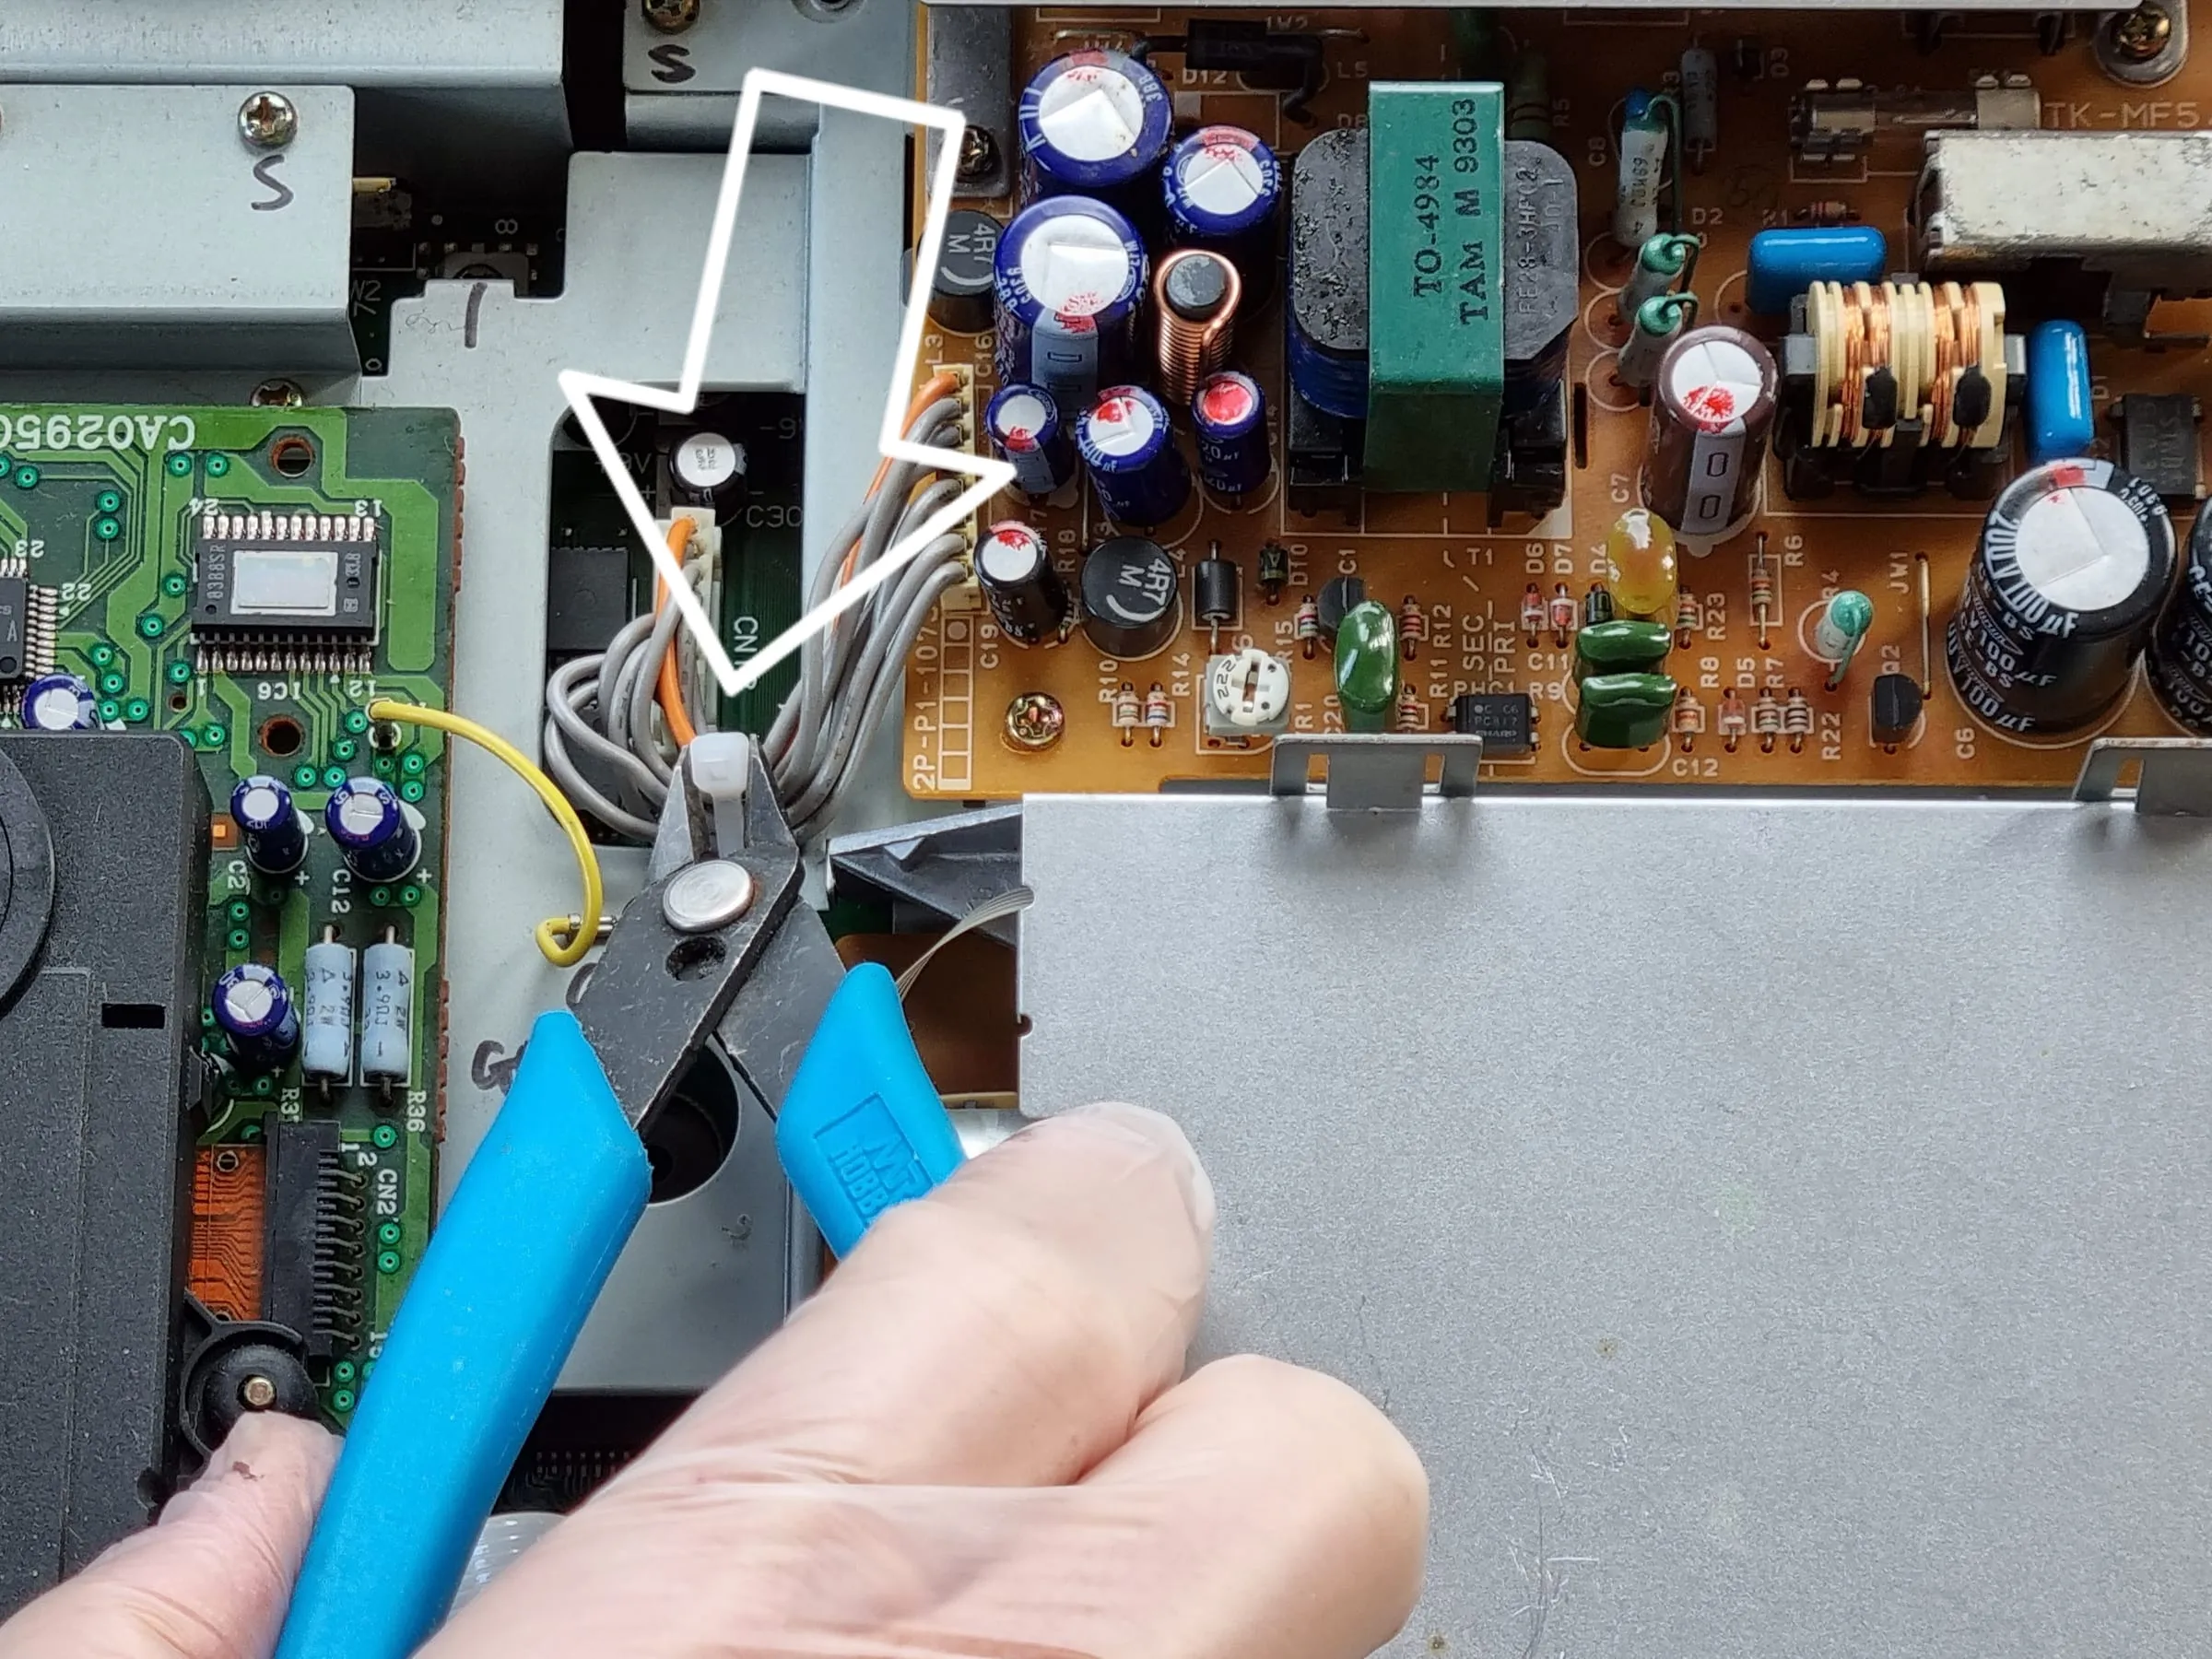
If your Marty has never been opened before, it’s very likely the original cable tie is still in place. Look into the top middle part. With the nipper or scissors, carefully remove the cable tie that ties the power cable to the chassis. Do not cut to the wires.
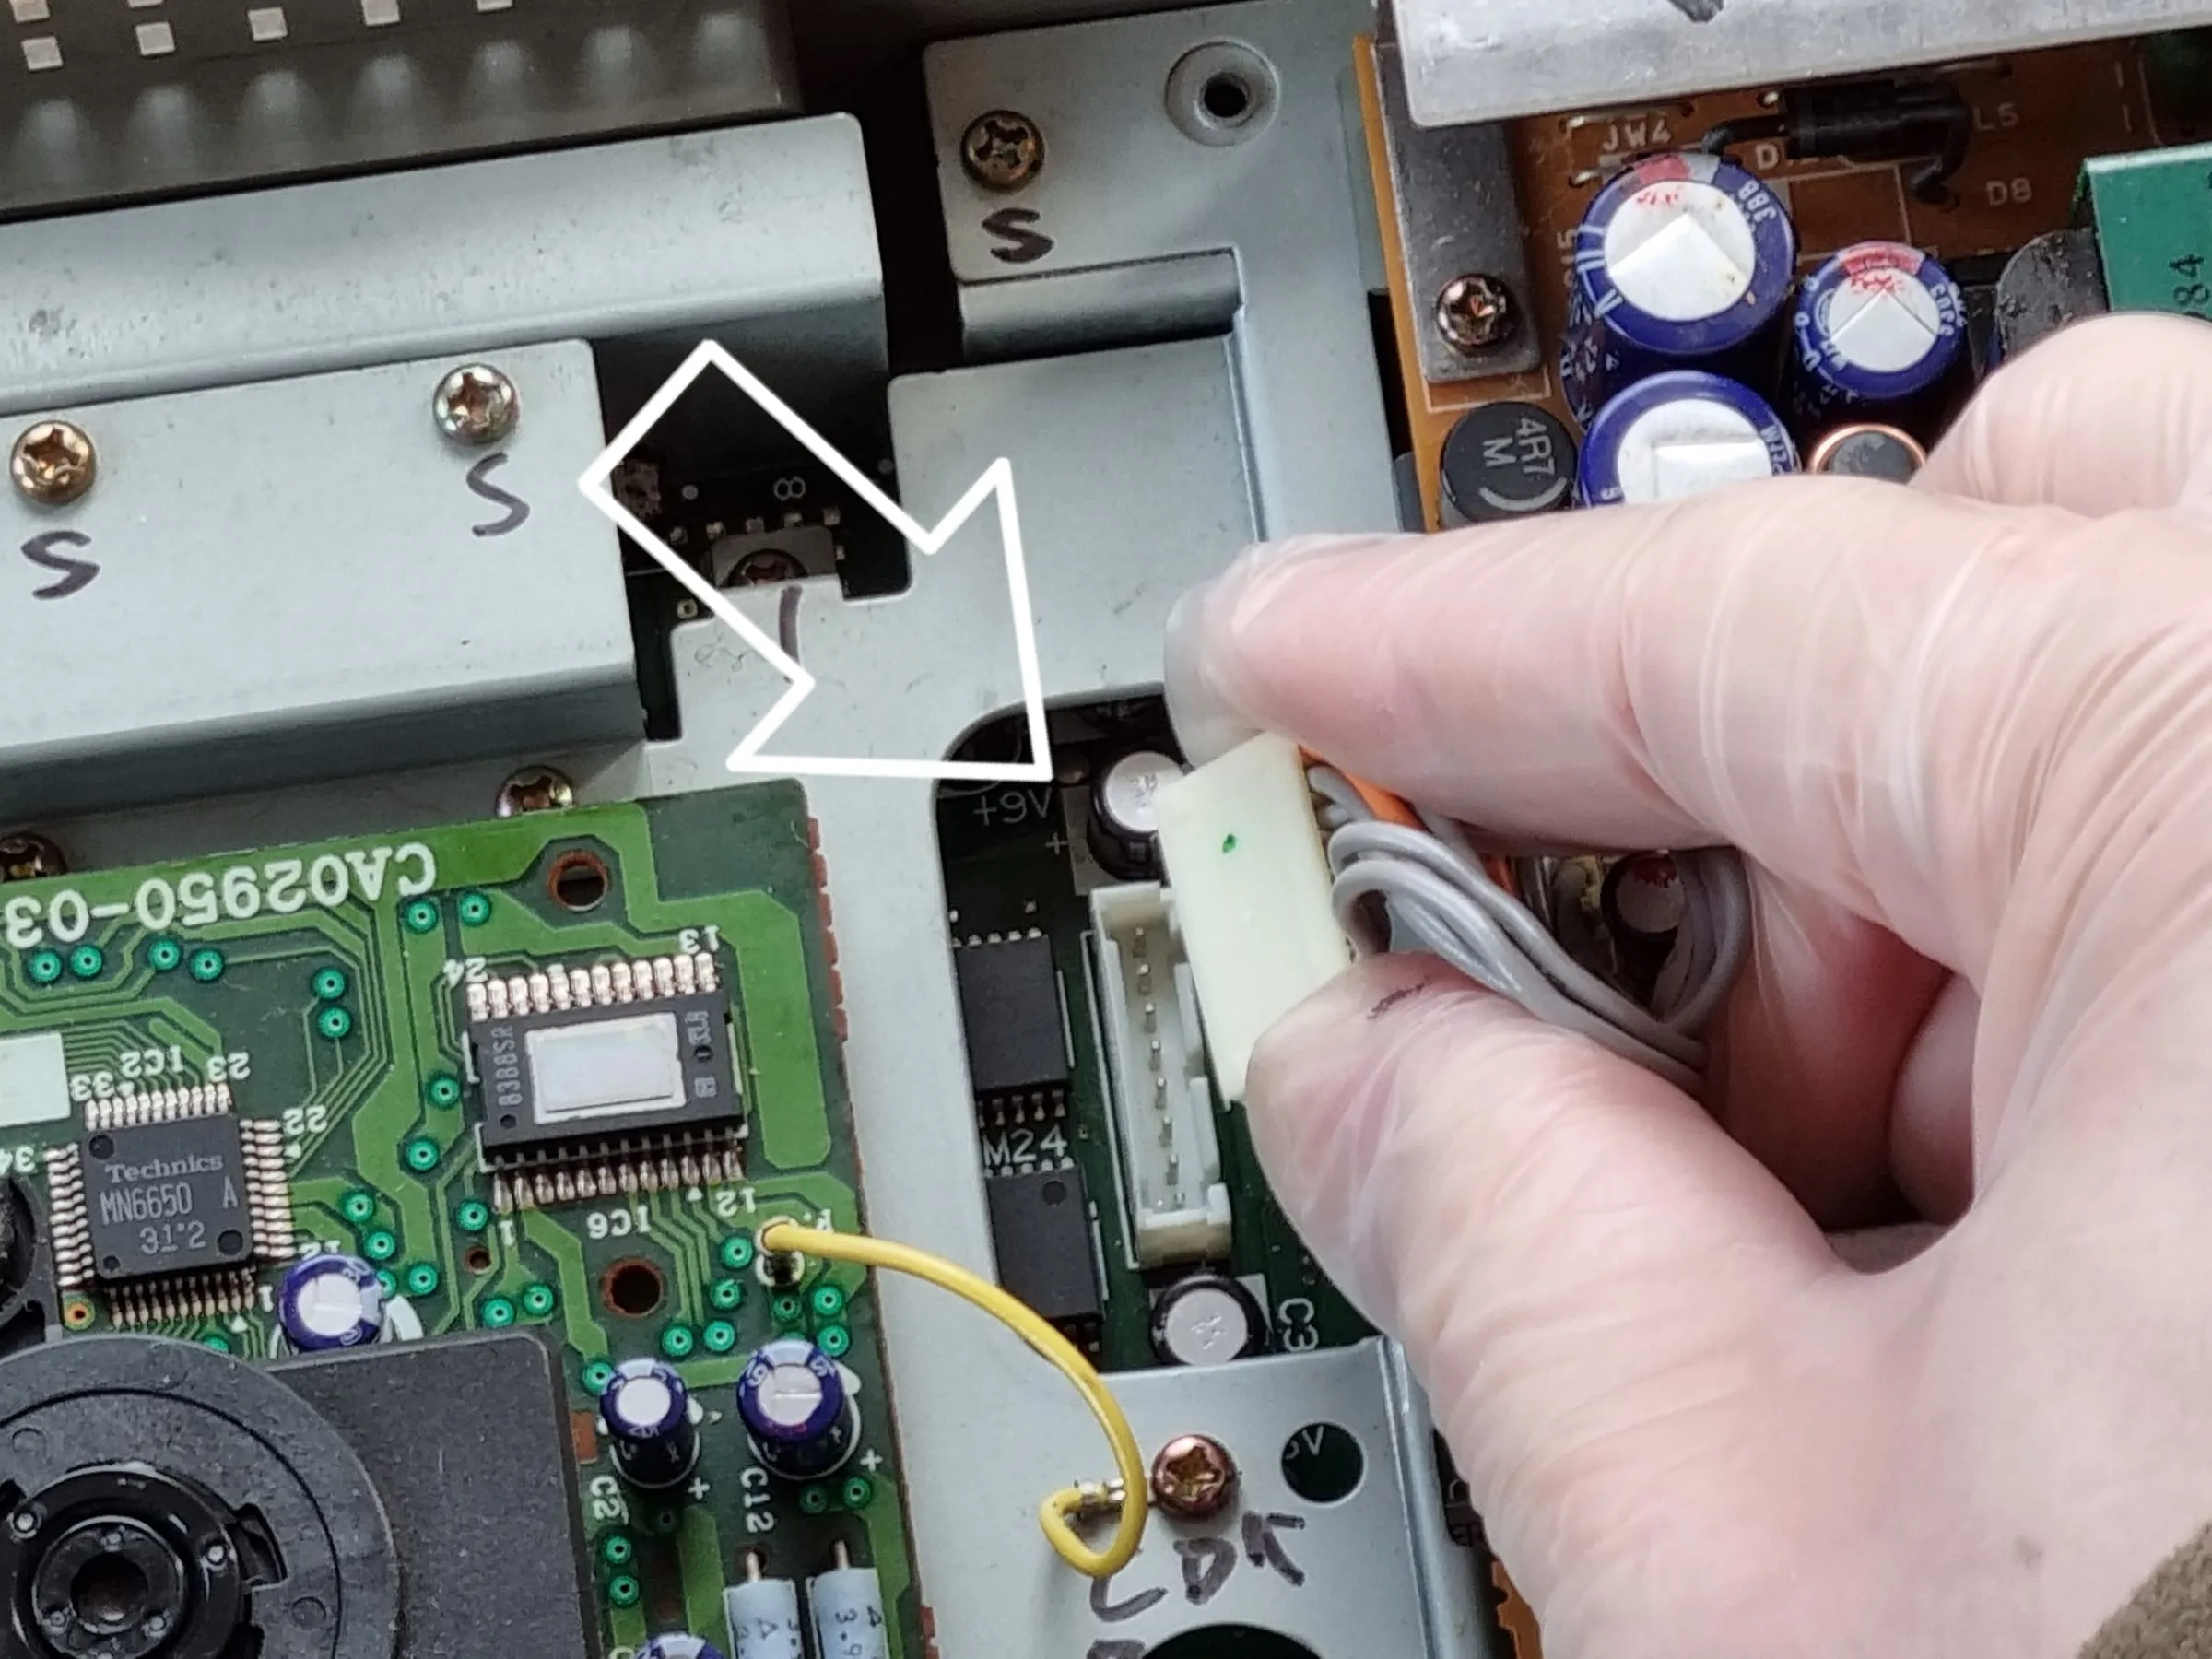
Then pull out the power connector.
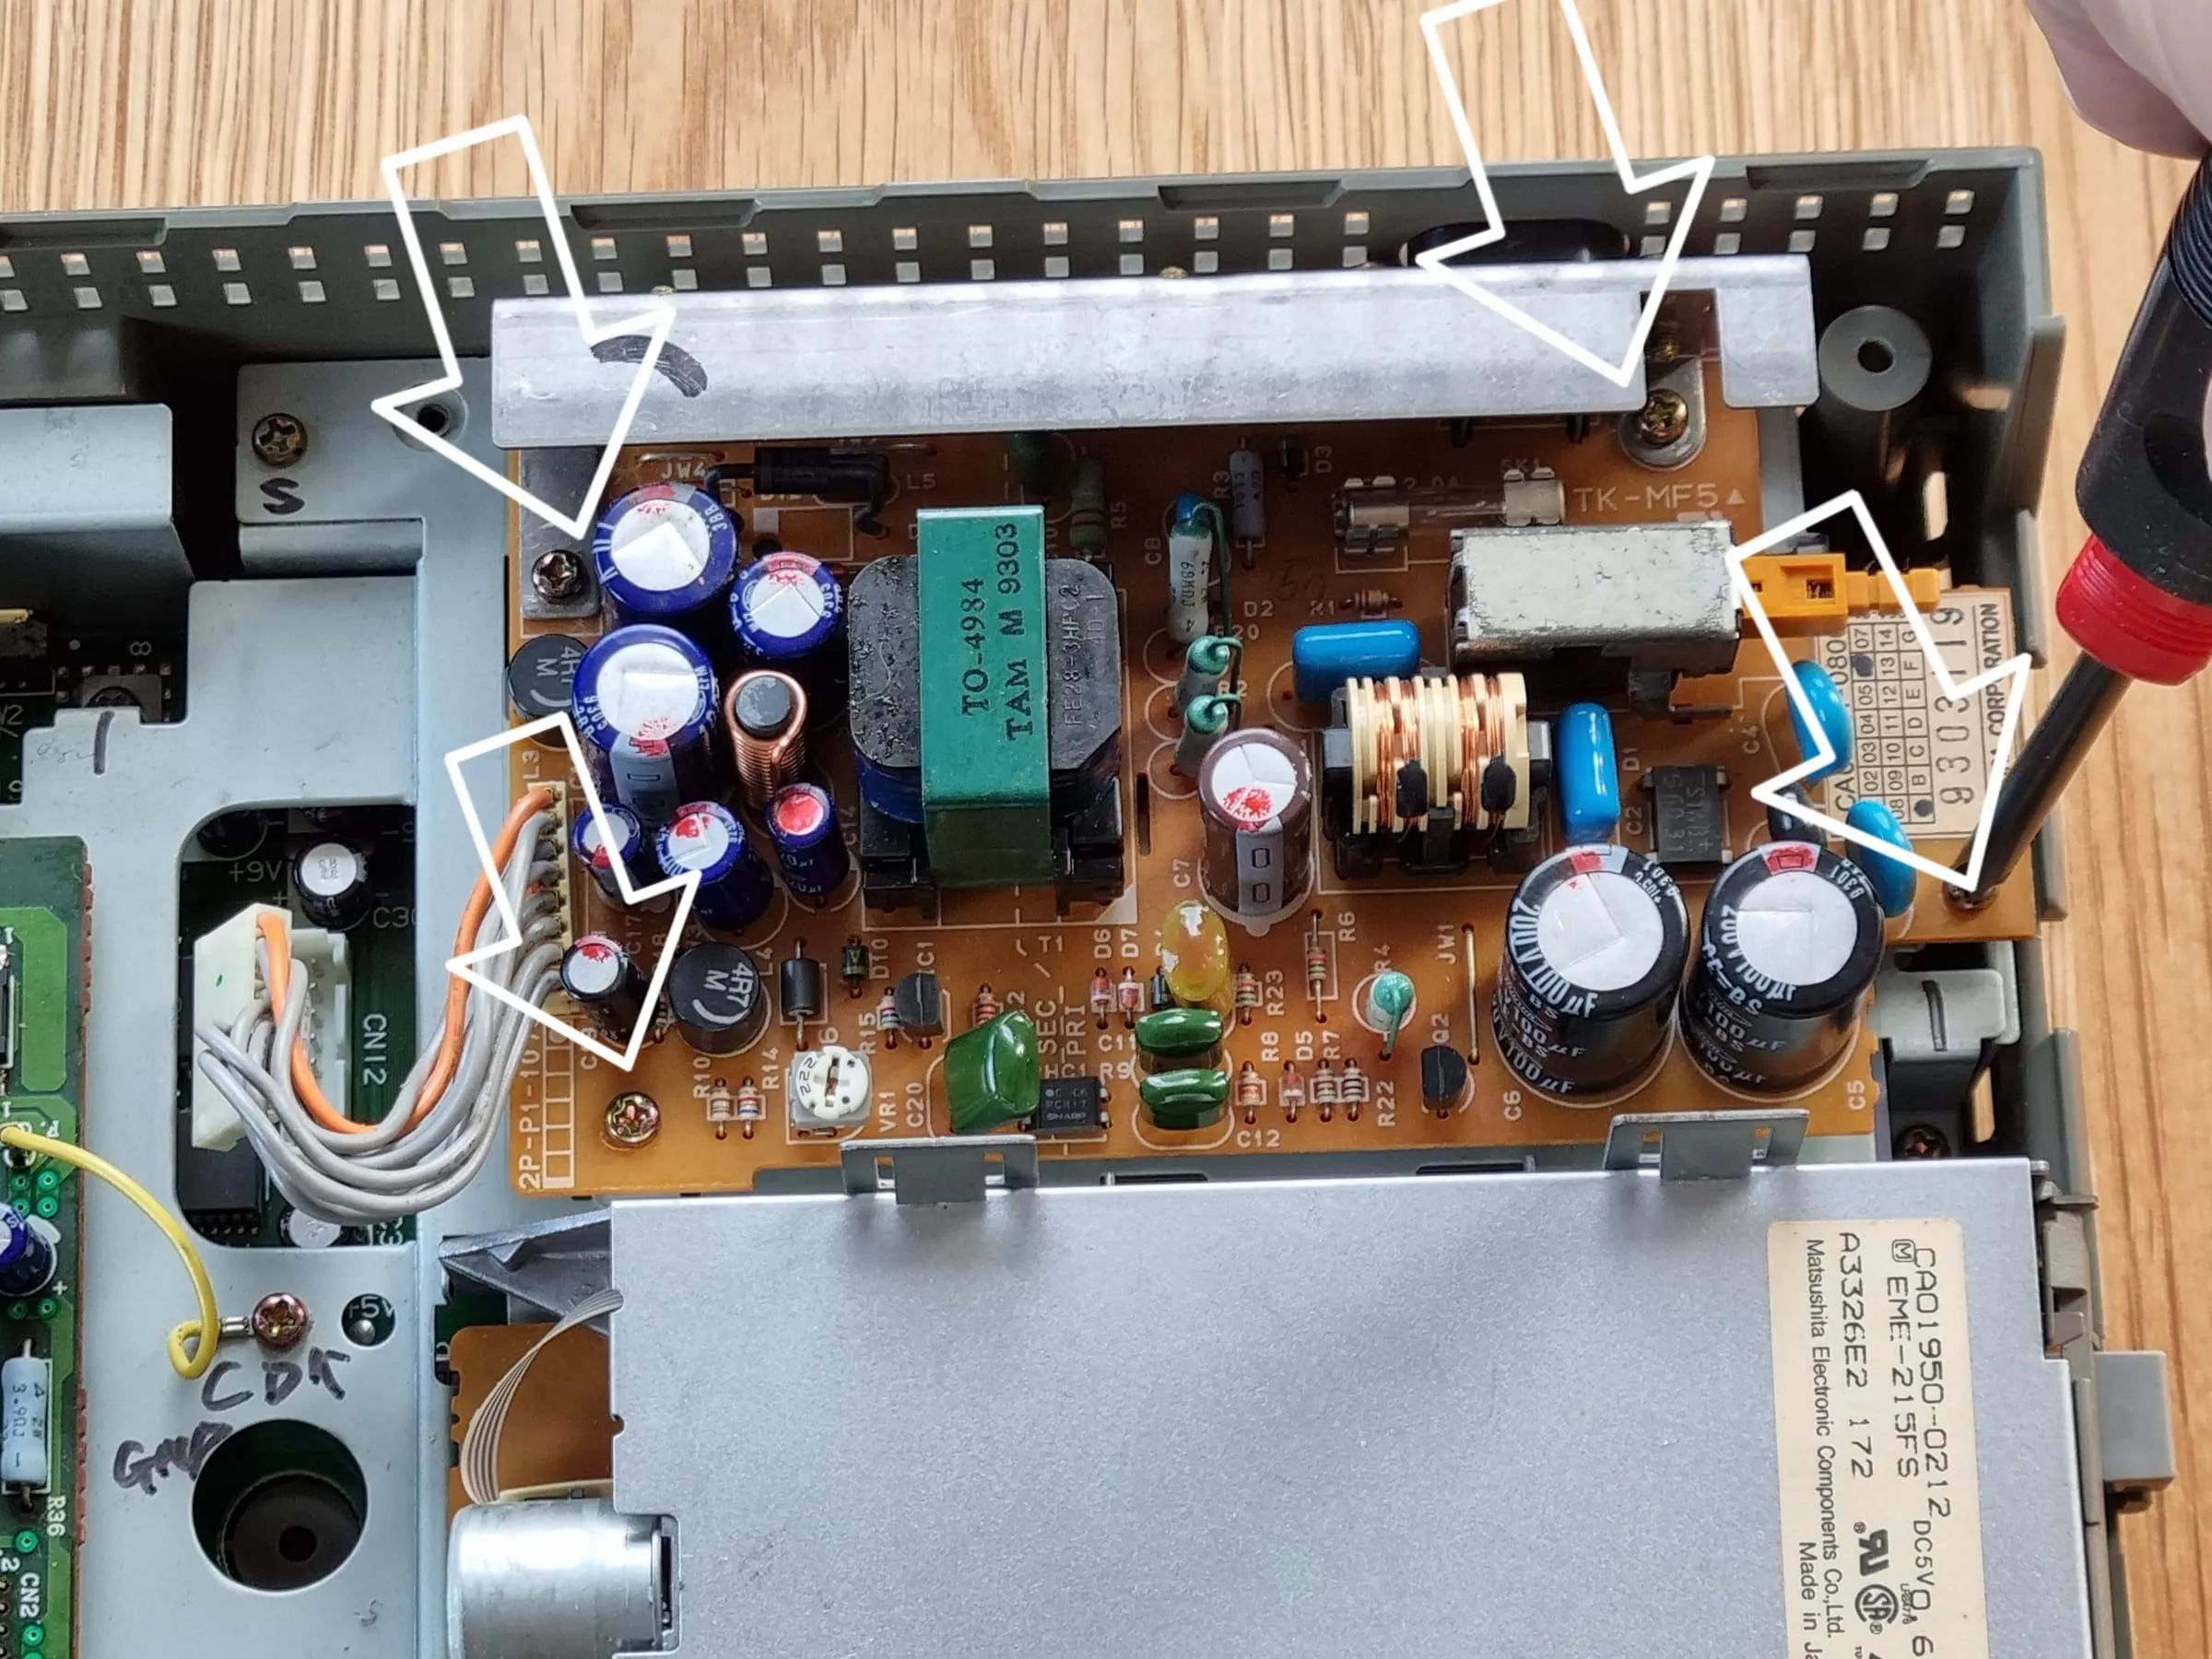
Next use the screw driver to remove 4 machine screws that hold the original PSU.
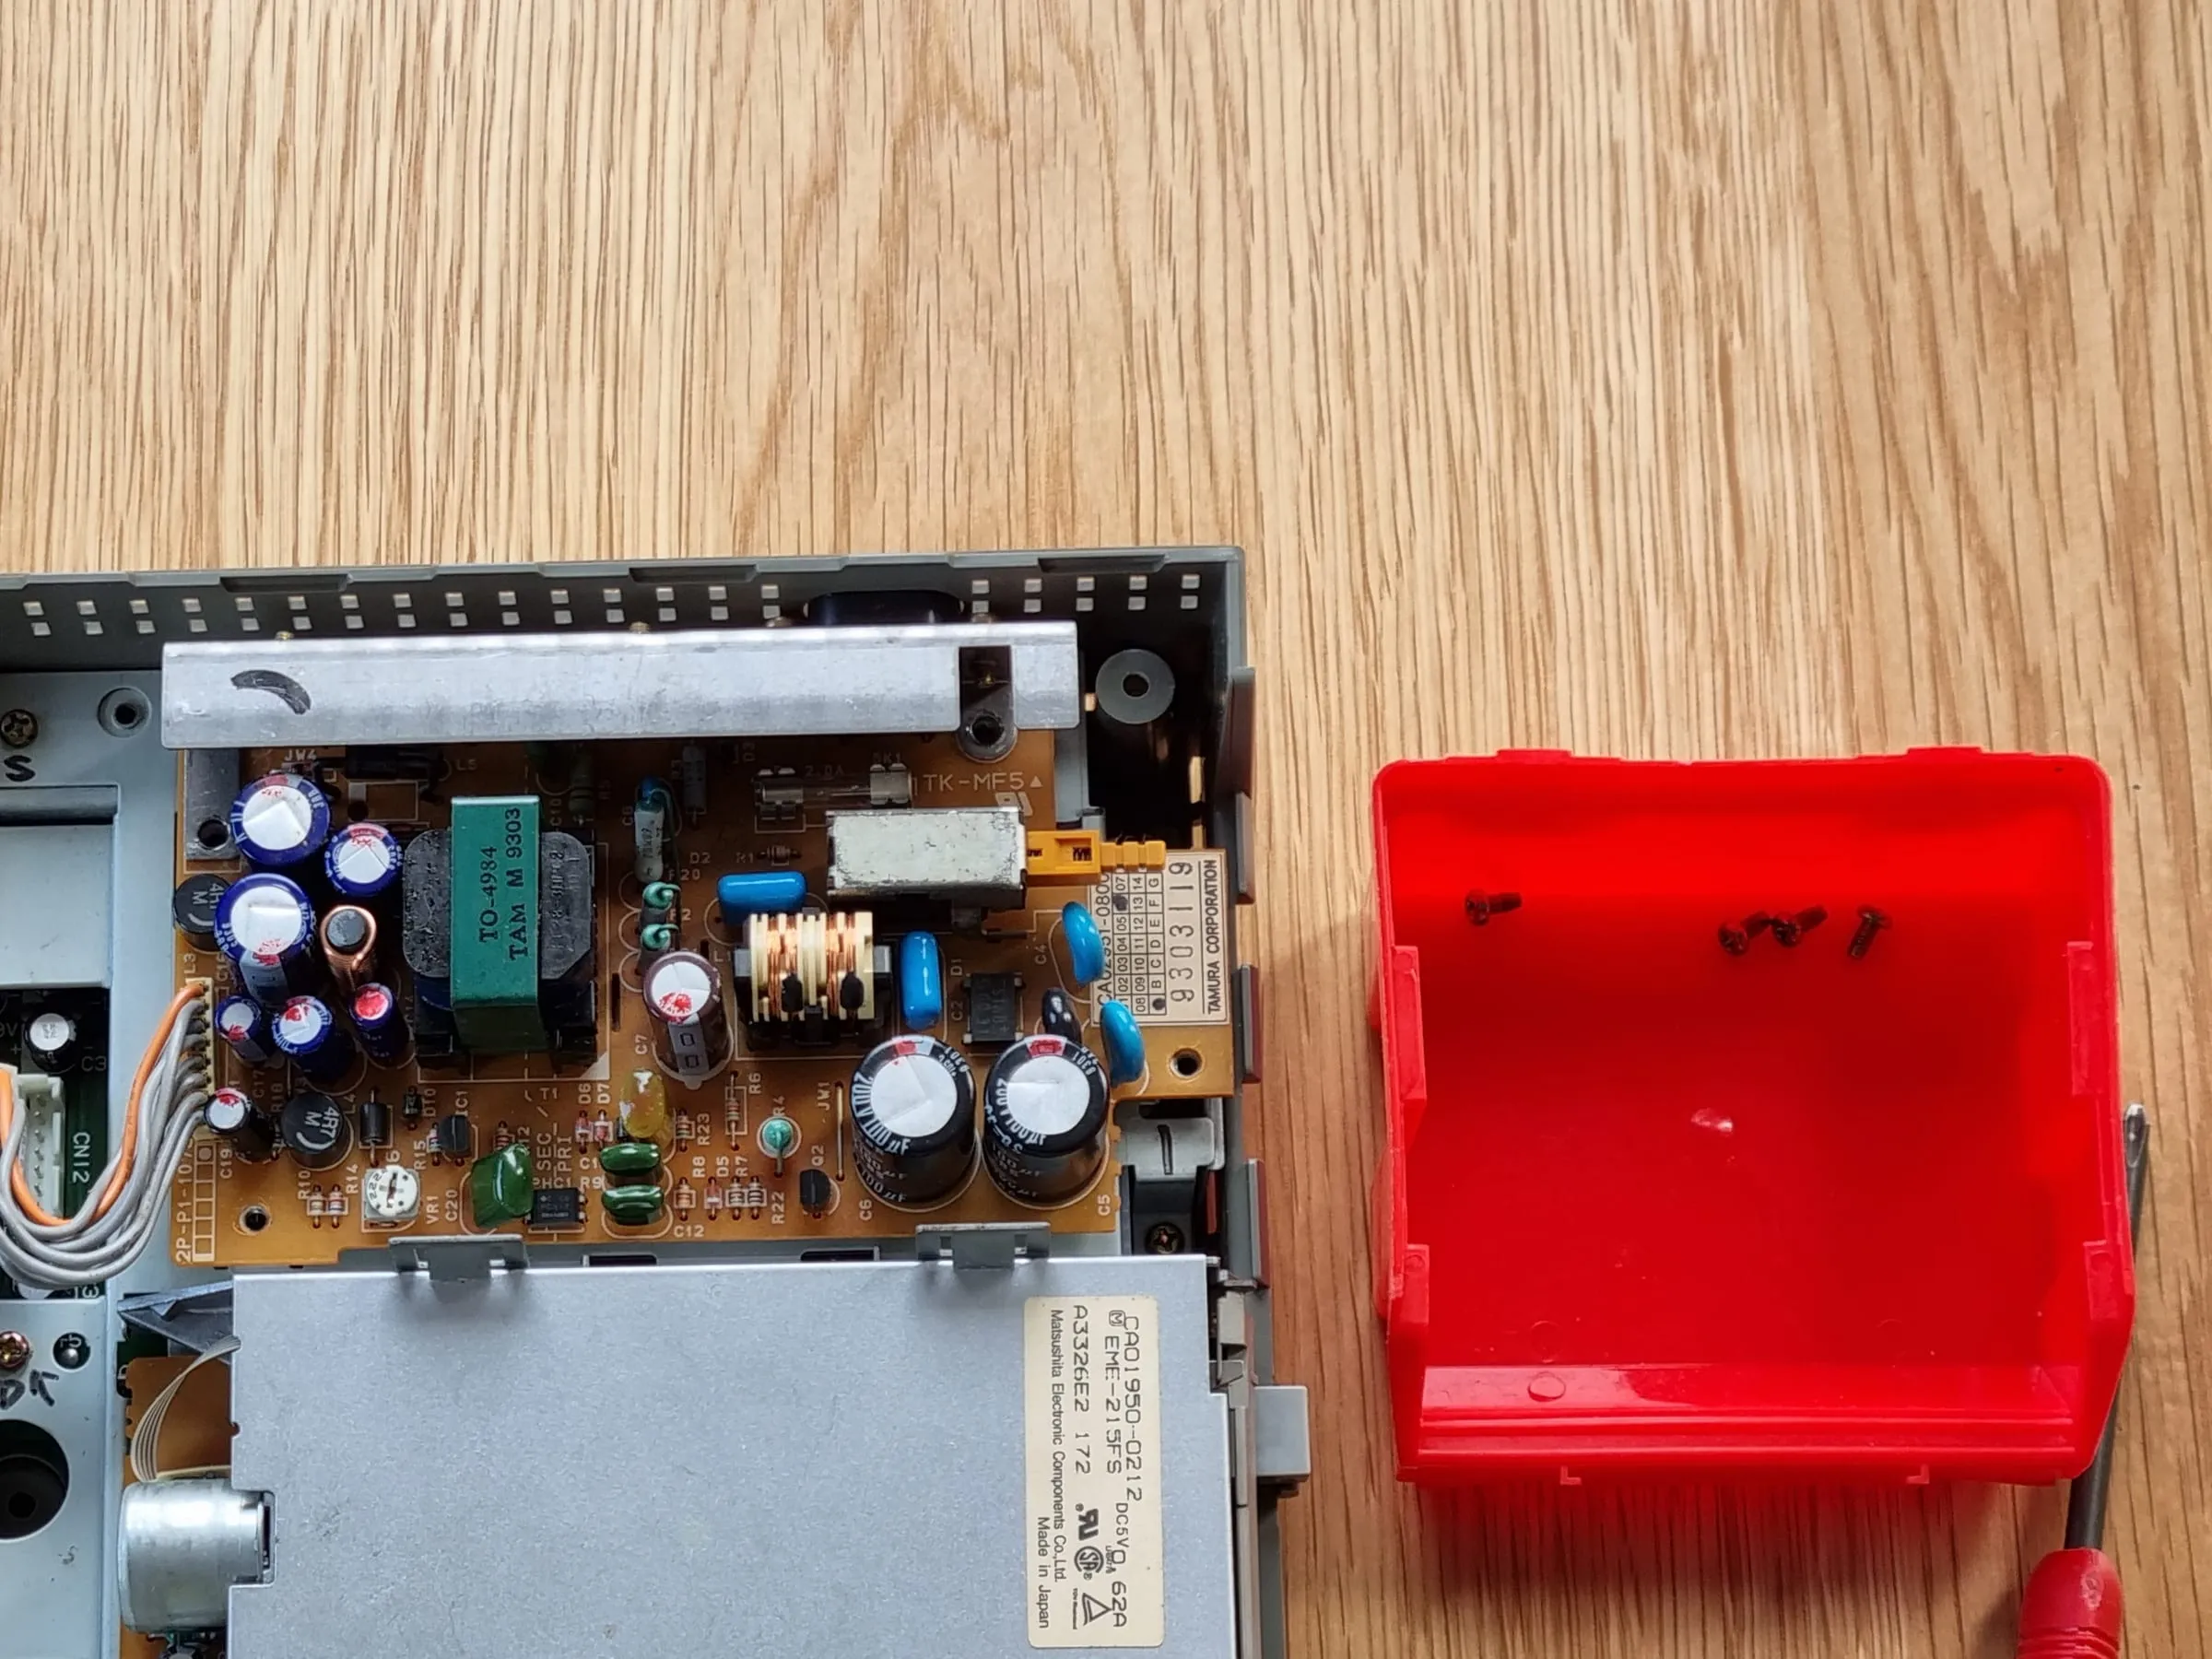
Keep the machine screws in another container, don’t mix up with the tapping screws.
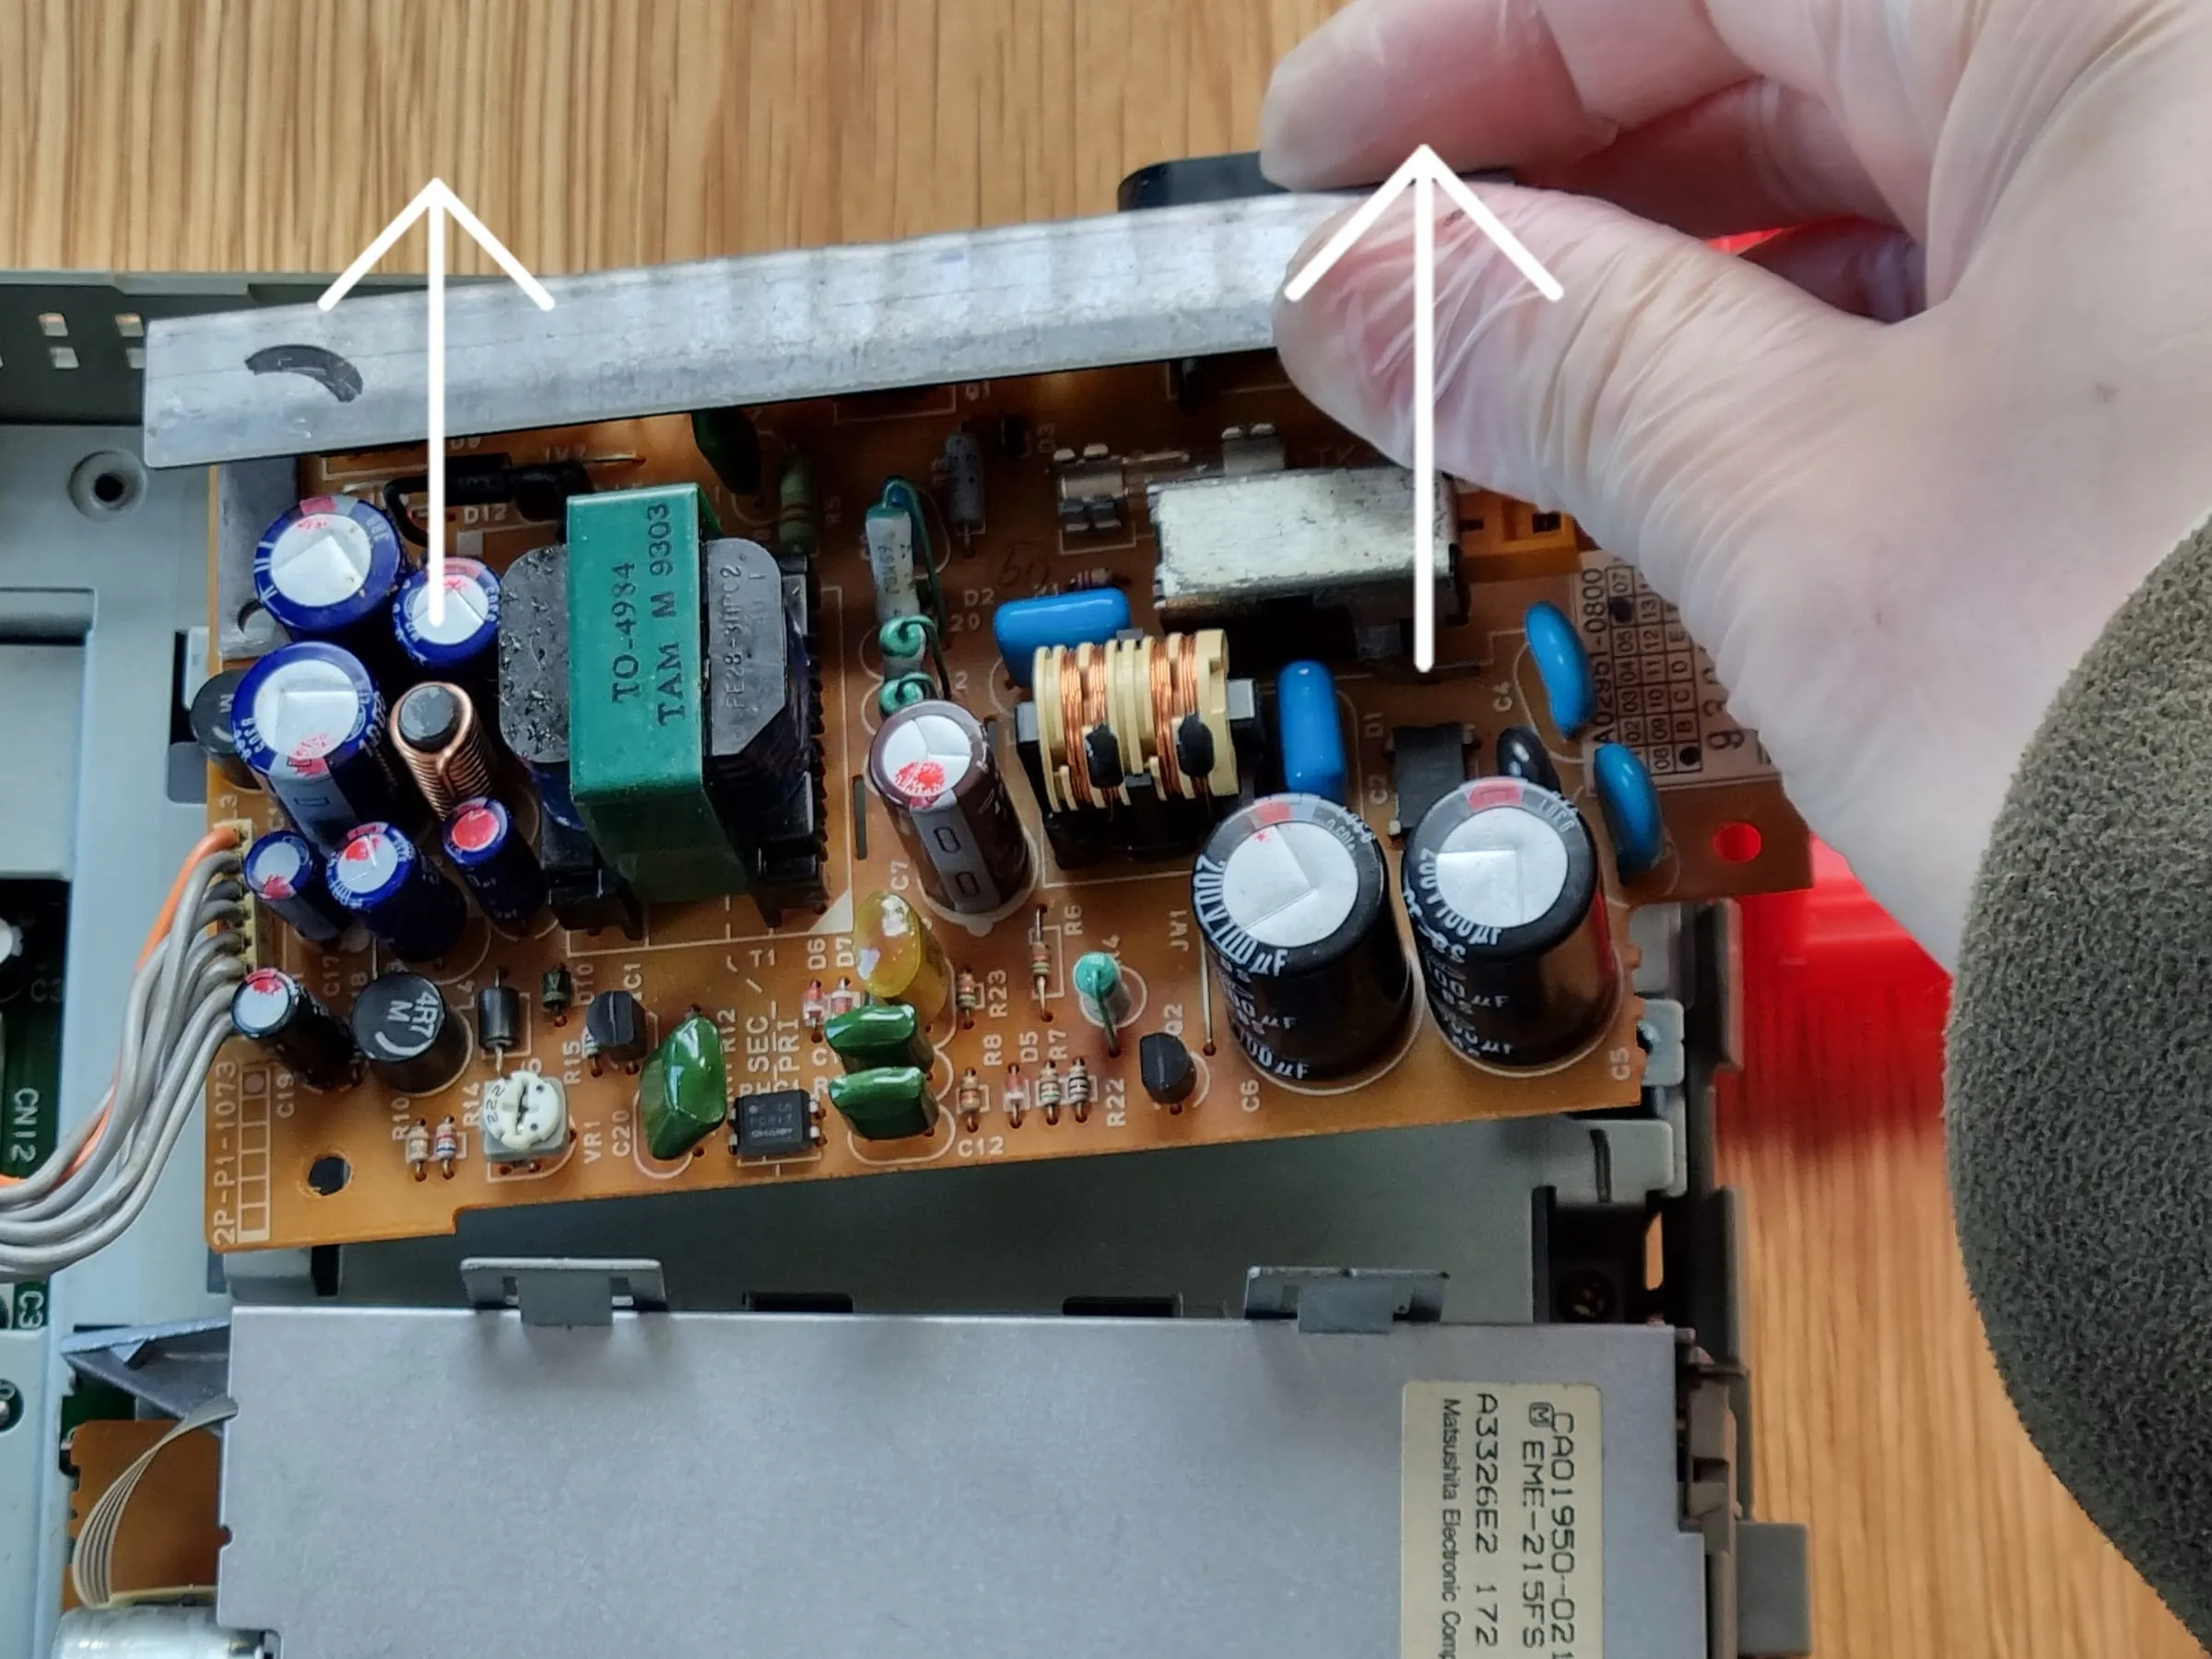
Now you should be able to lift up the original PSU with ease.
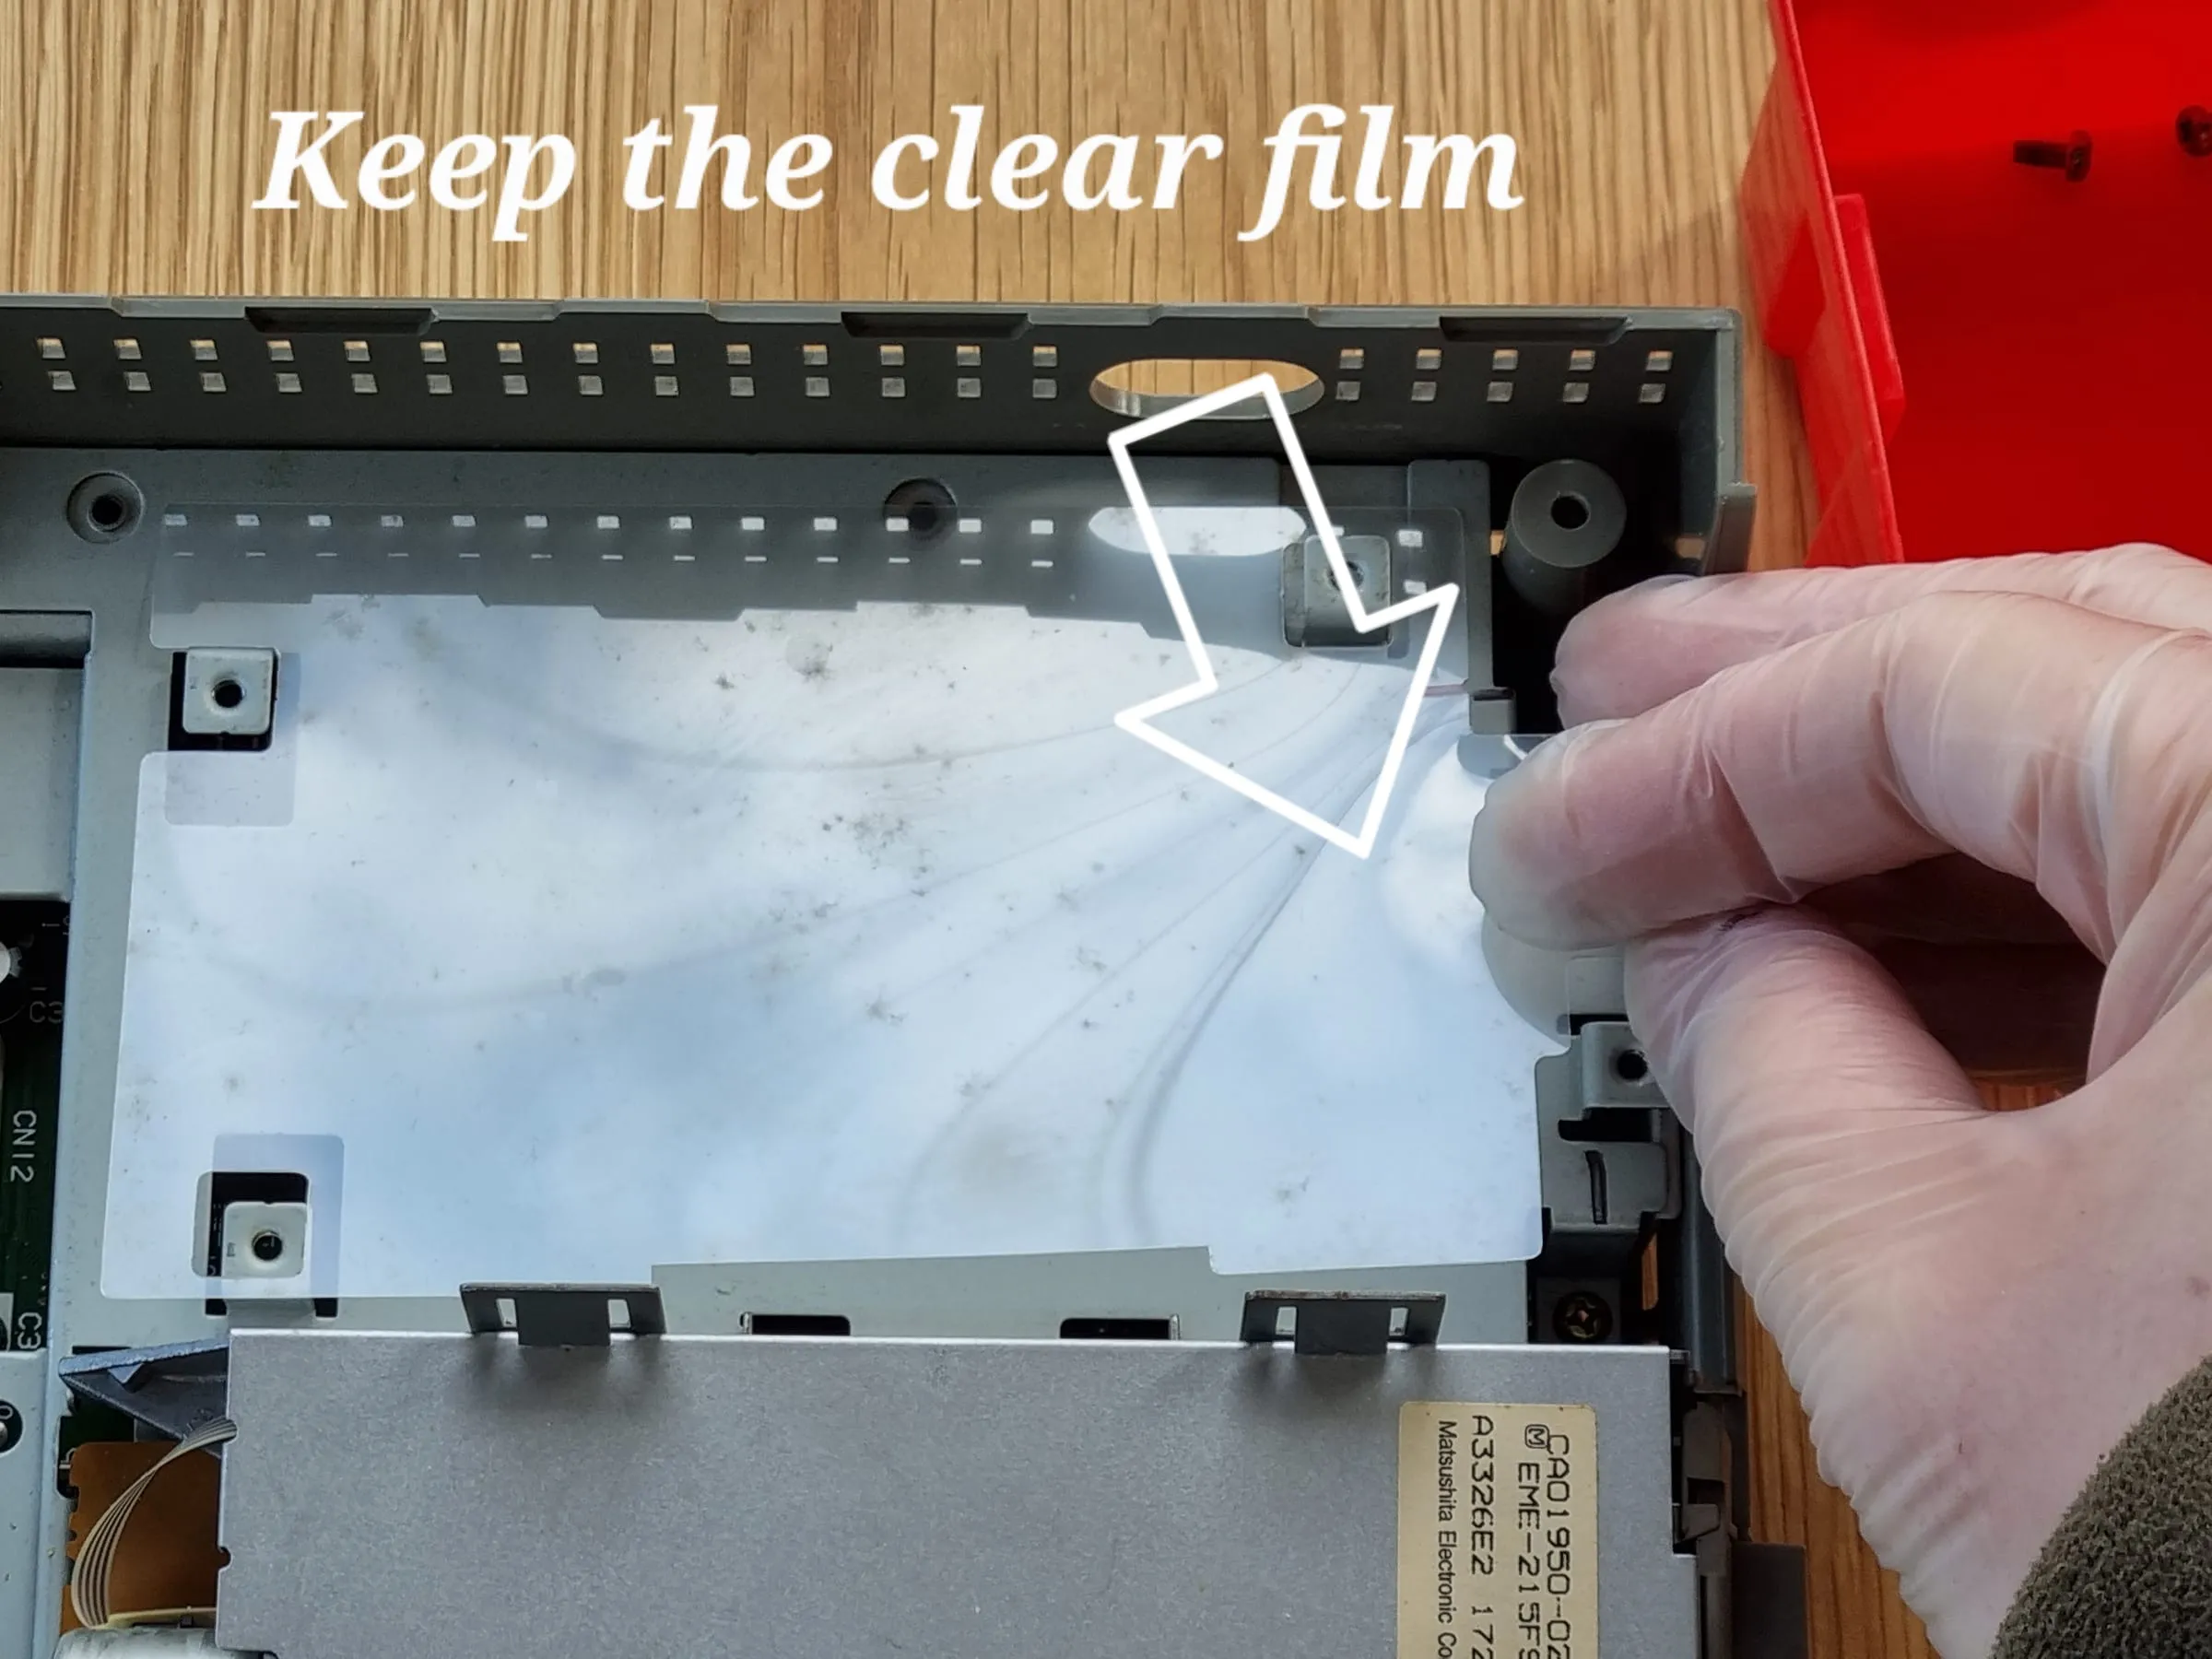
Keep the original clear film in its place. It provides important insulation.
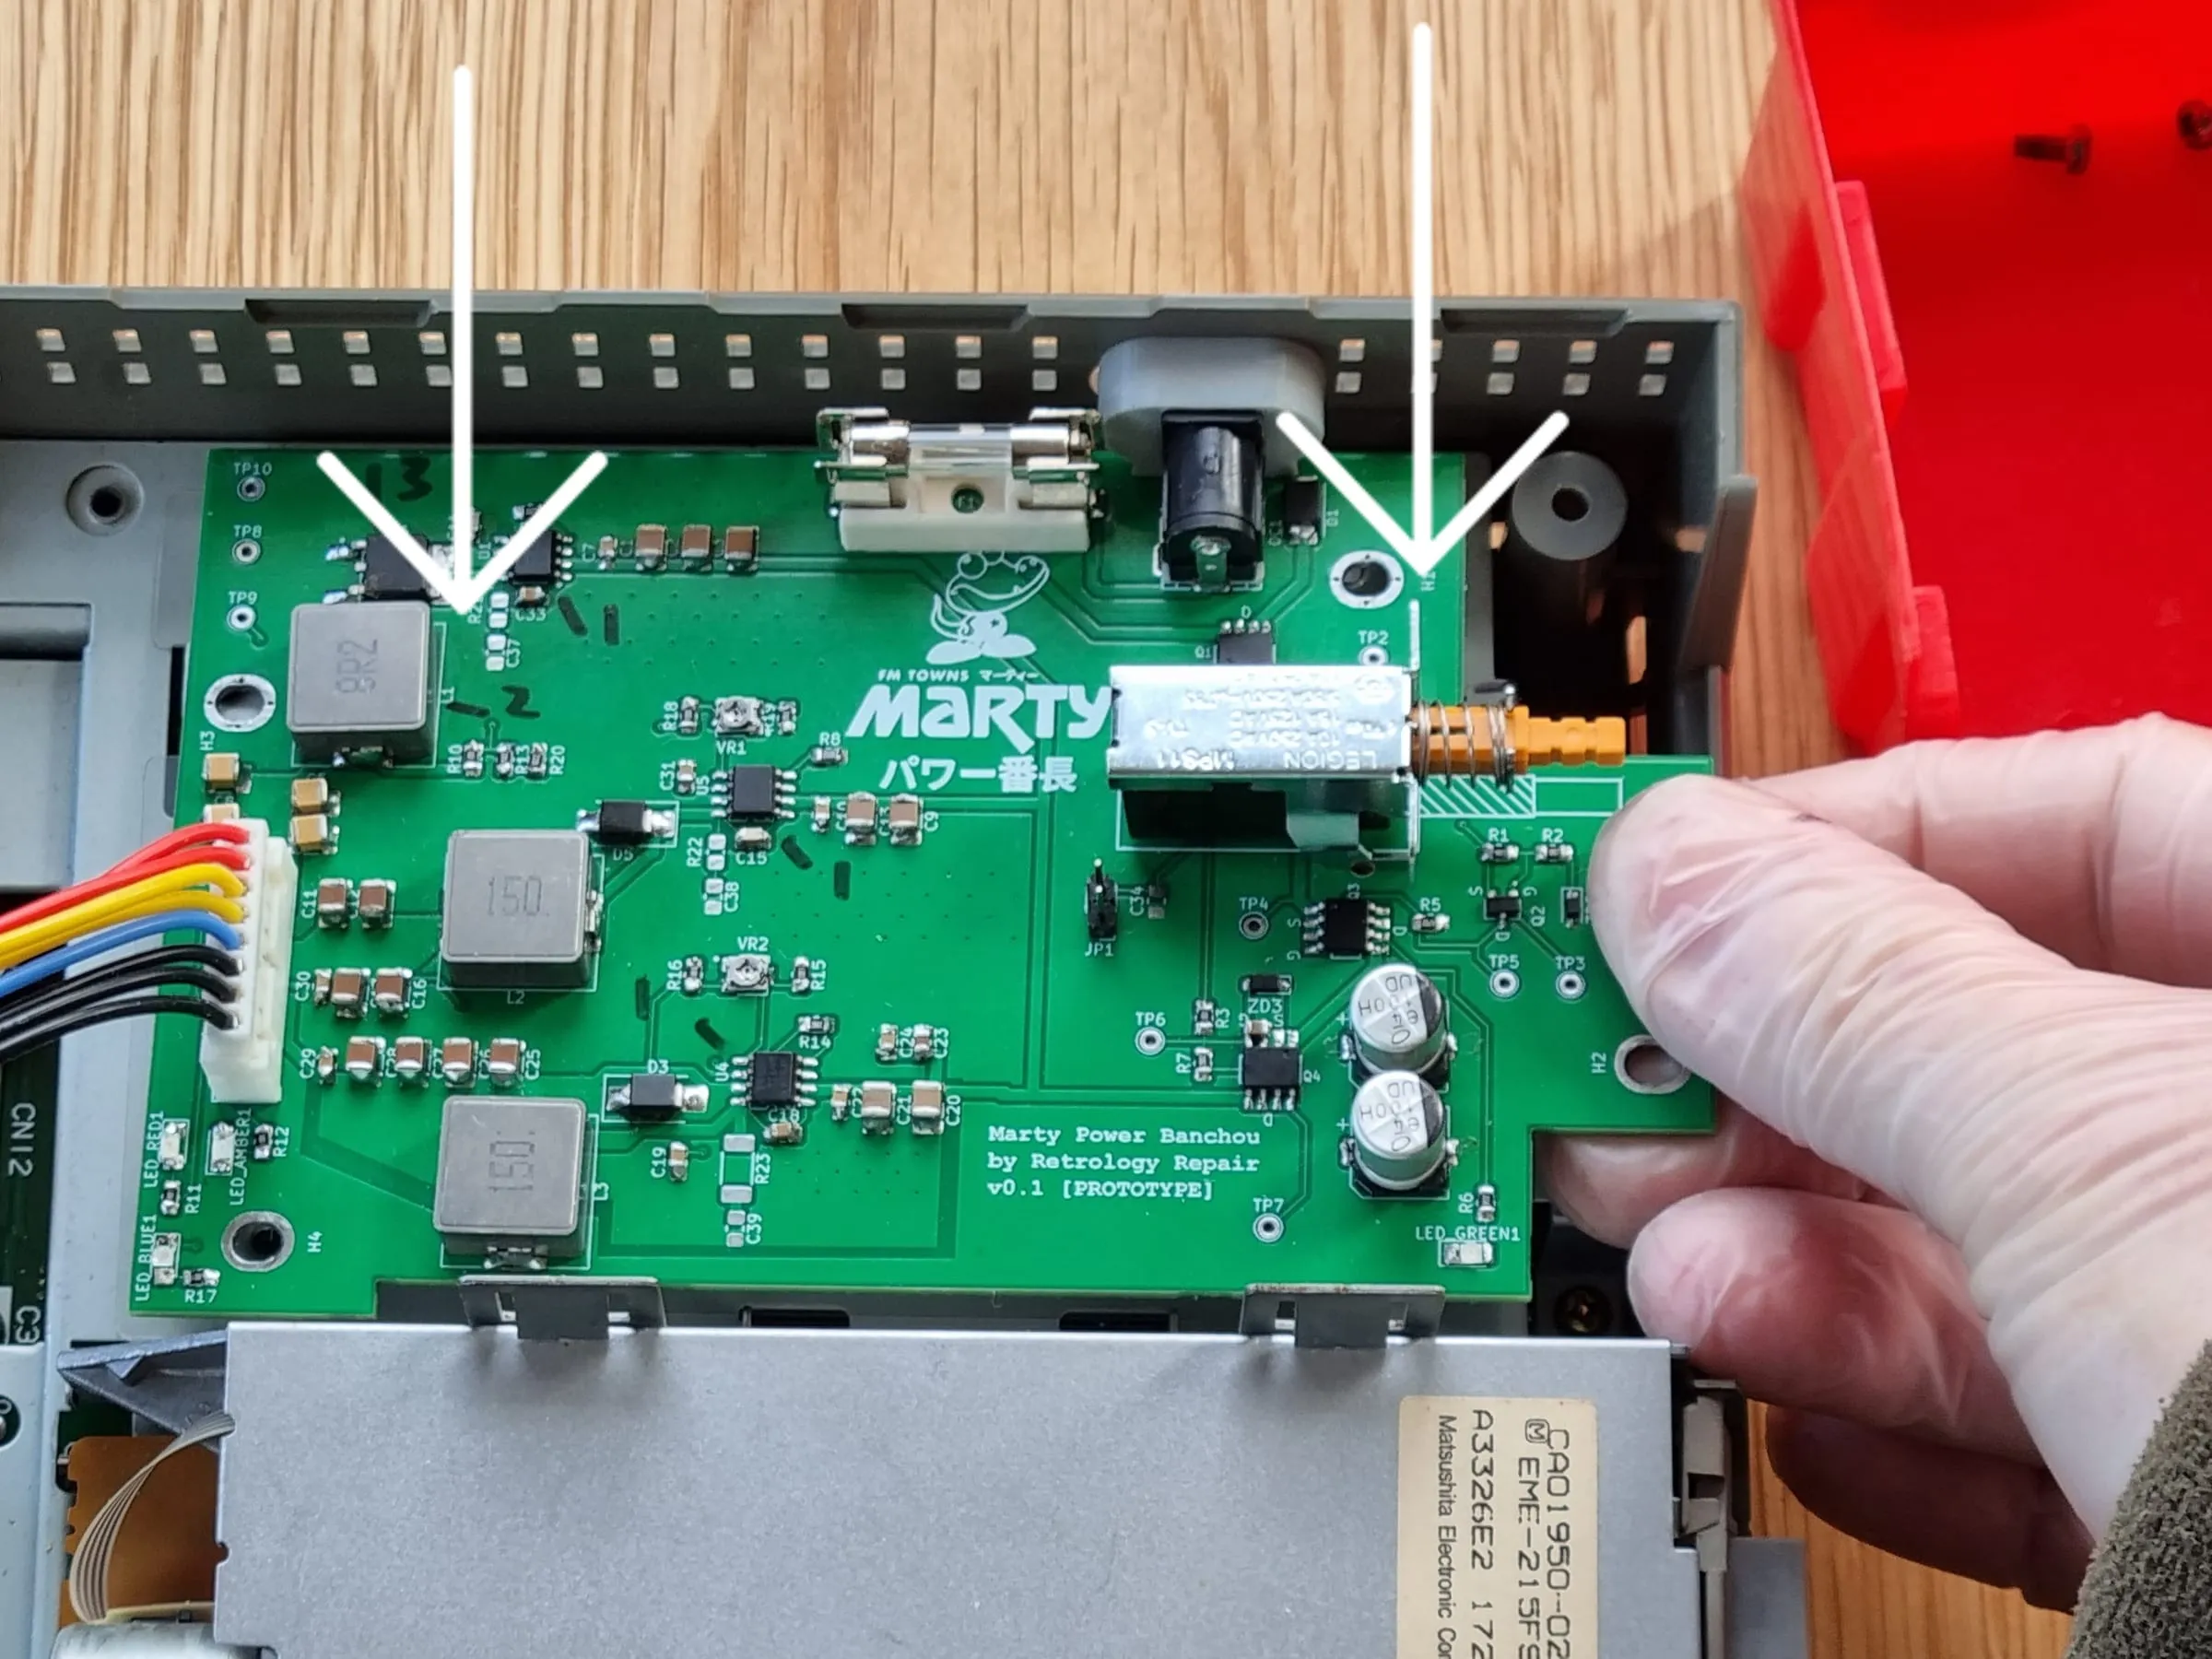
Now you can put Marty Power Banchou back to the place.
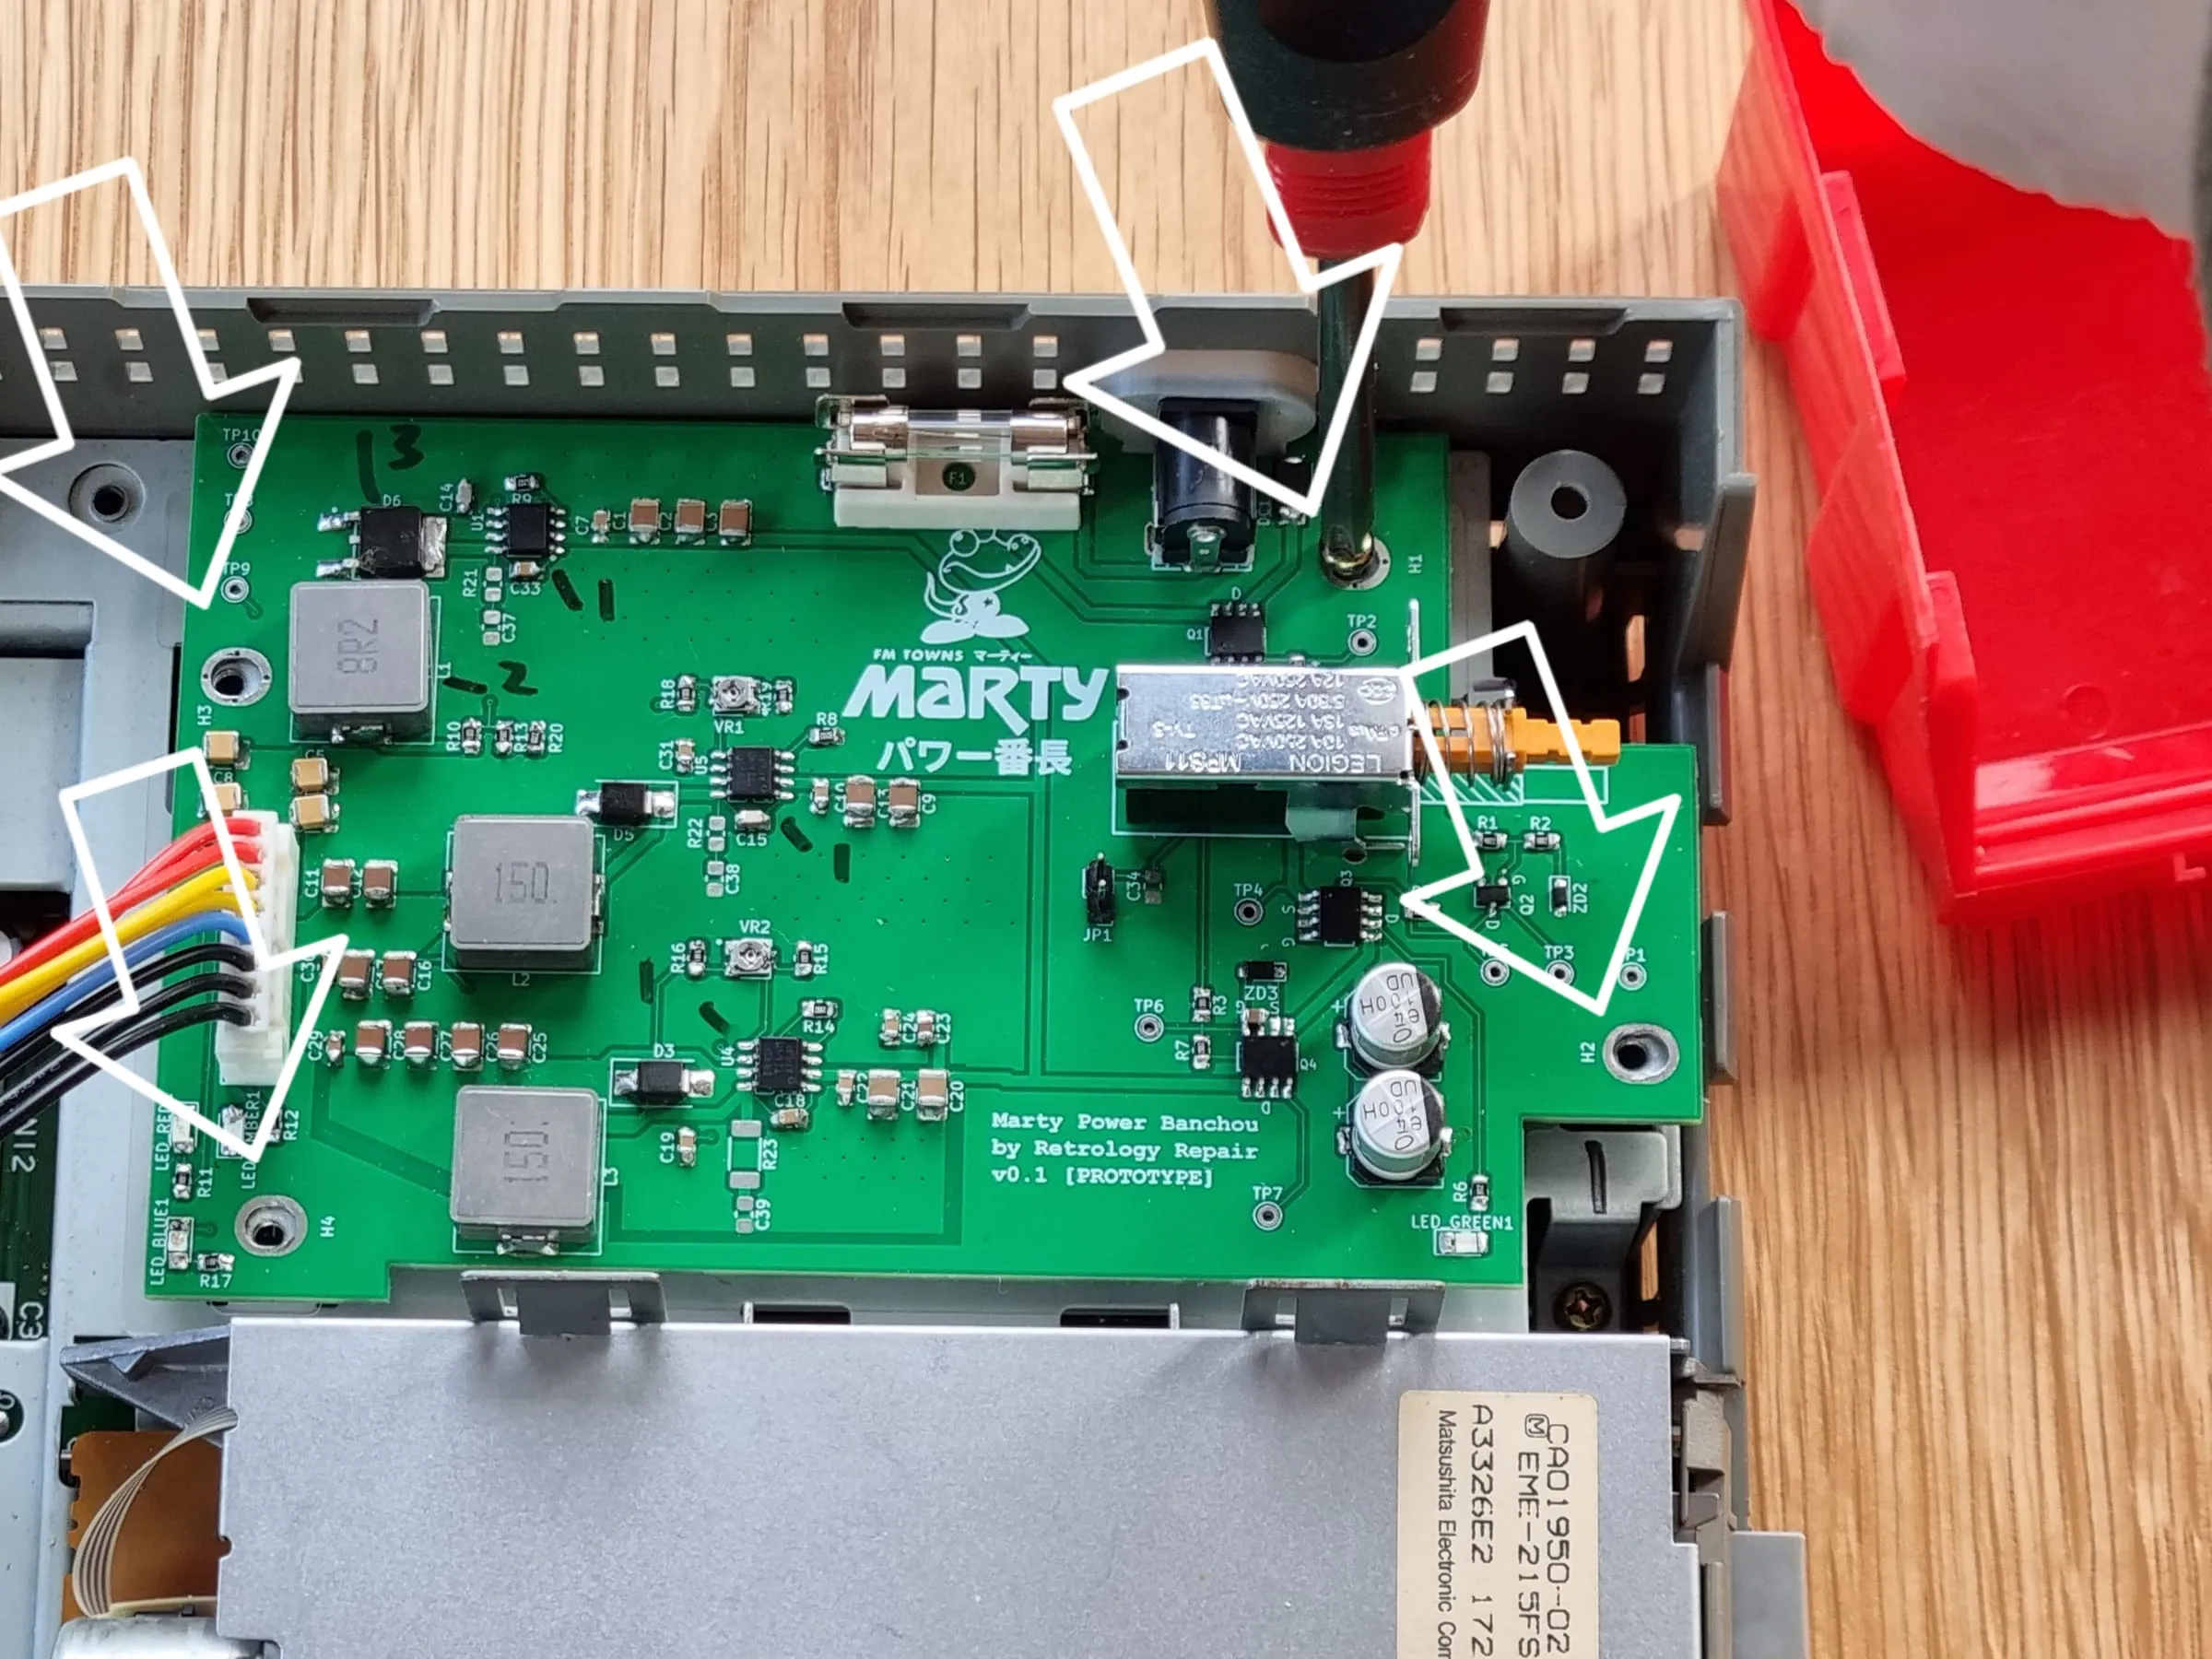
And use the screw driver to fasten 4 machine screws.
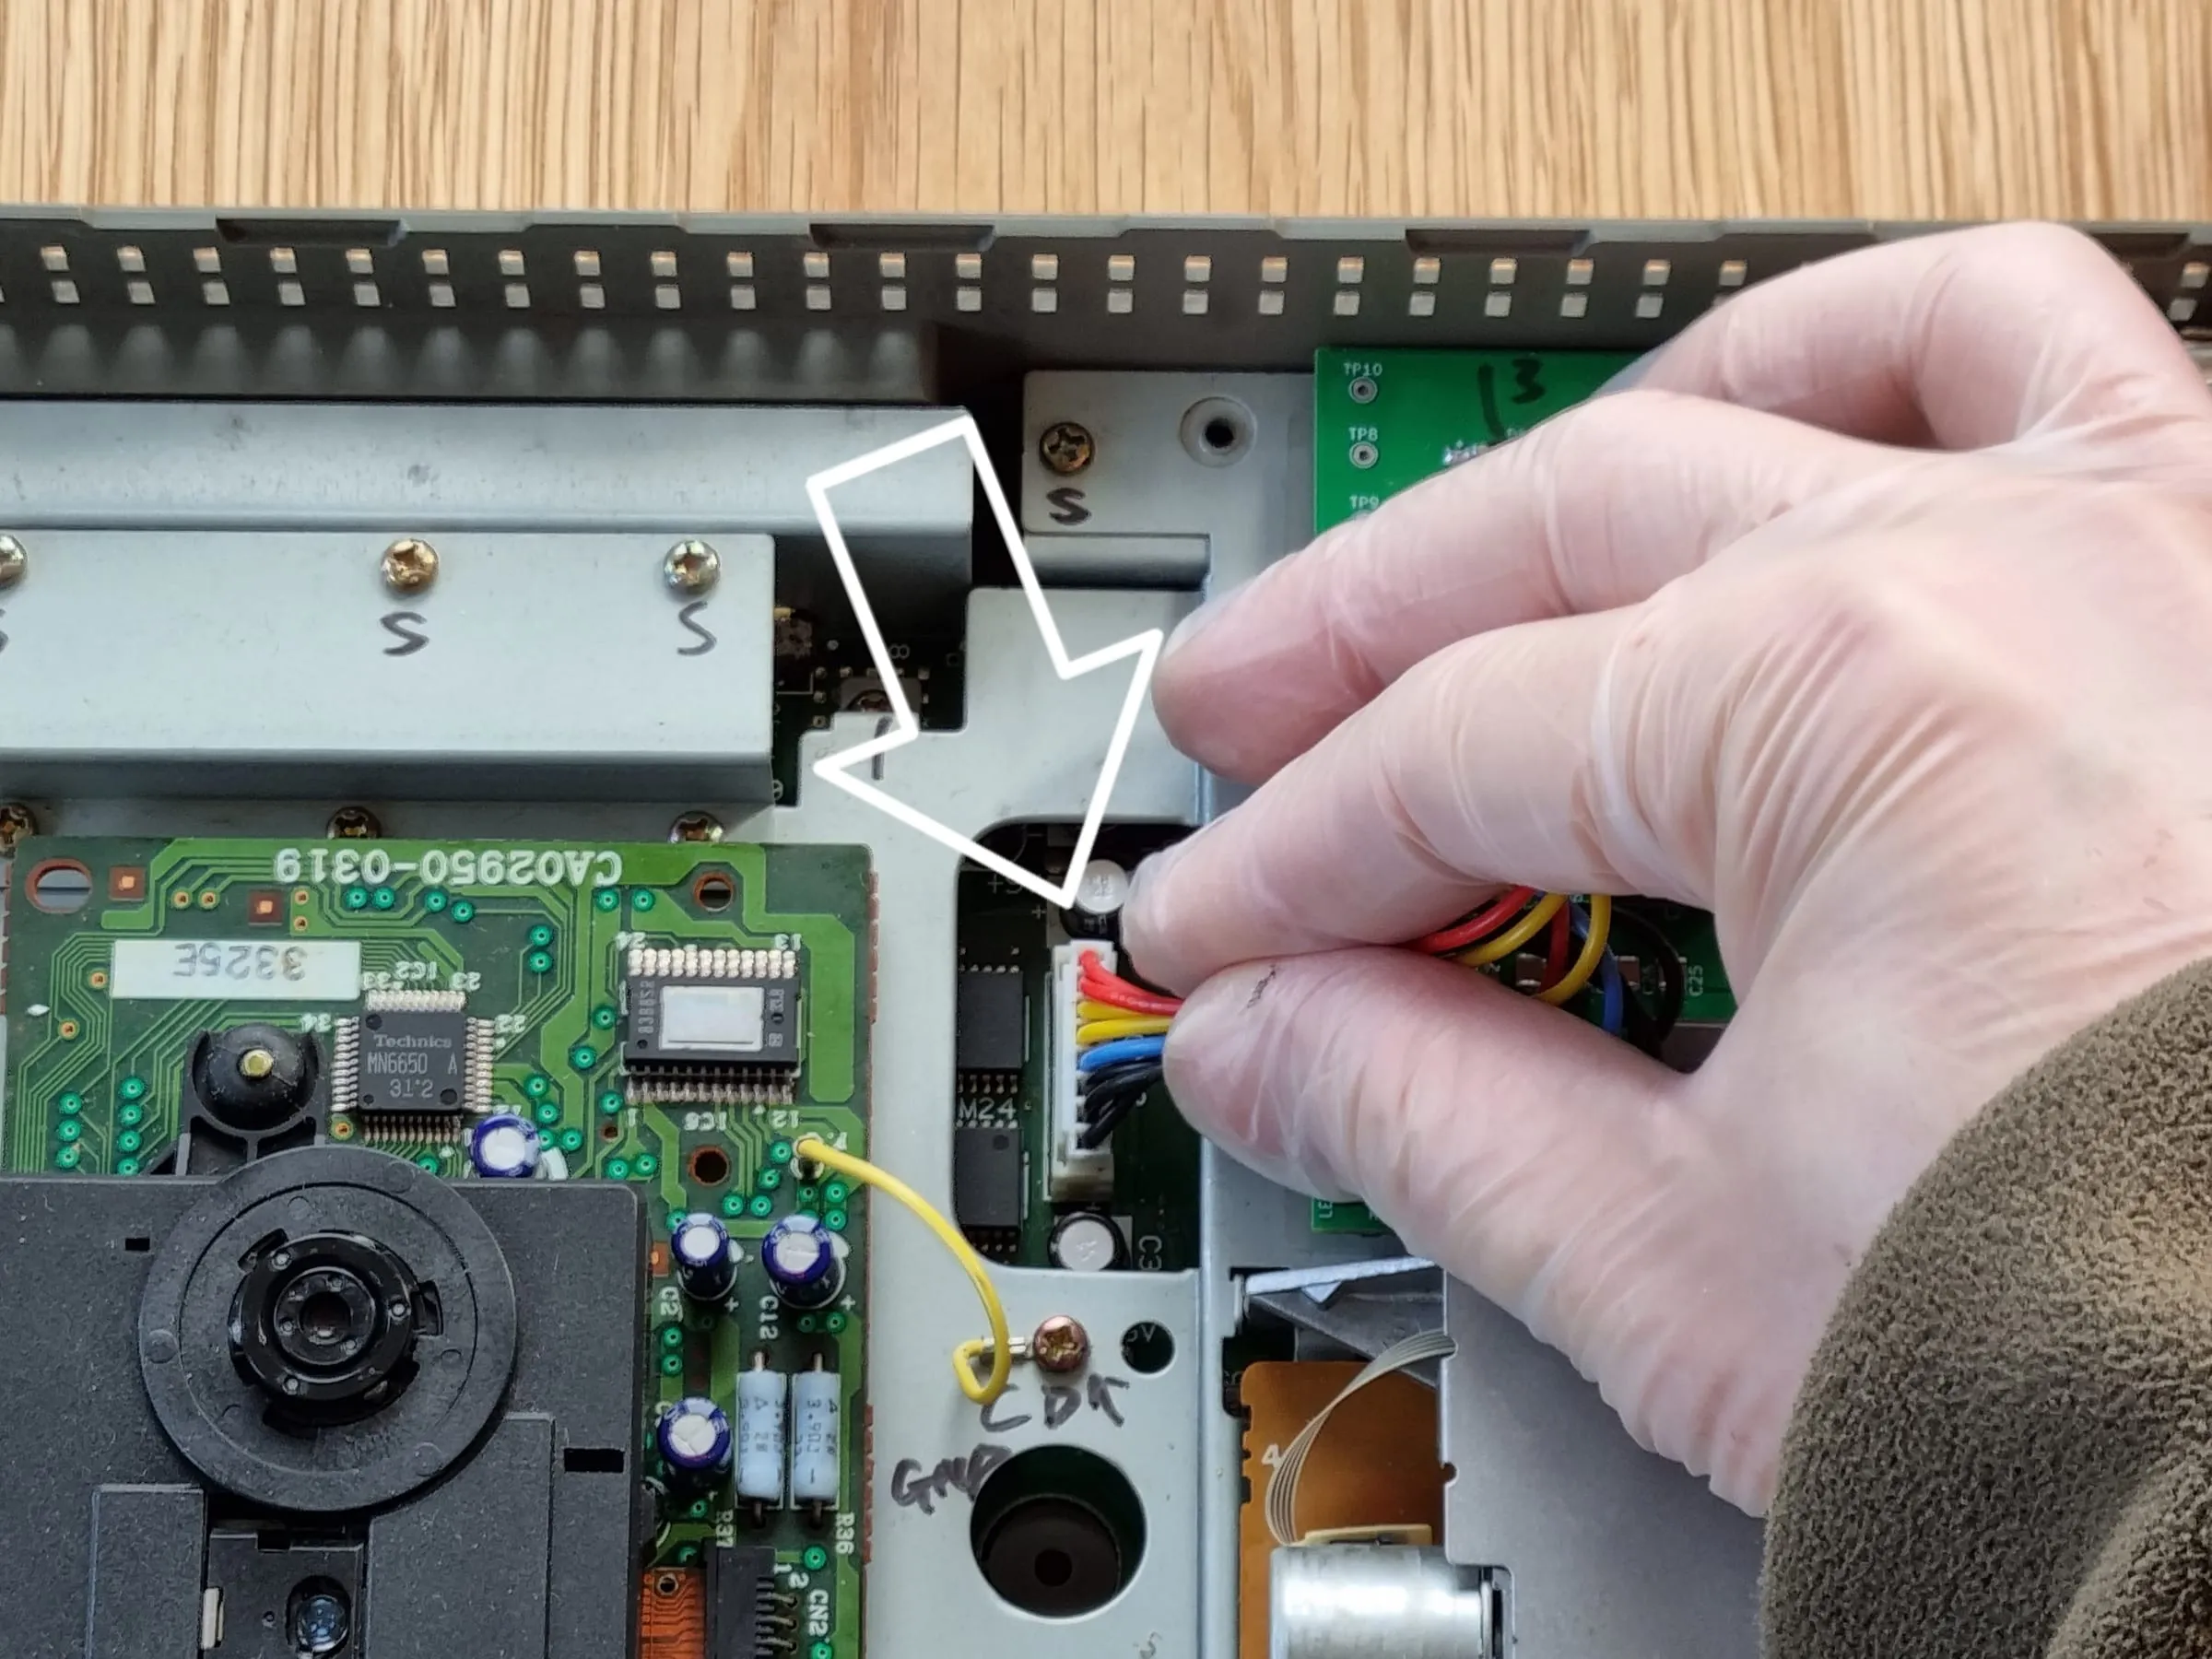
Then plug in the power connector. The connector has two fool-proof tabs which should prevent accidentally plug in backwards. But still check and make sure the red wires faces the rear of the console. The installed PSU should look like this:
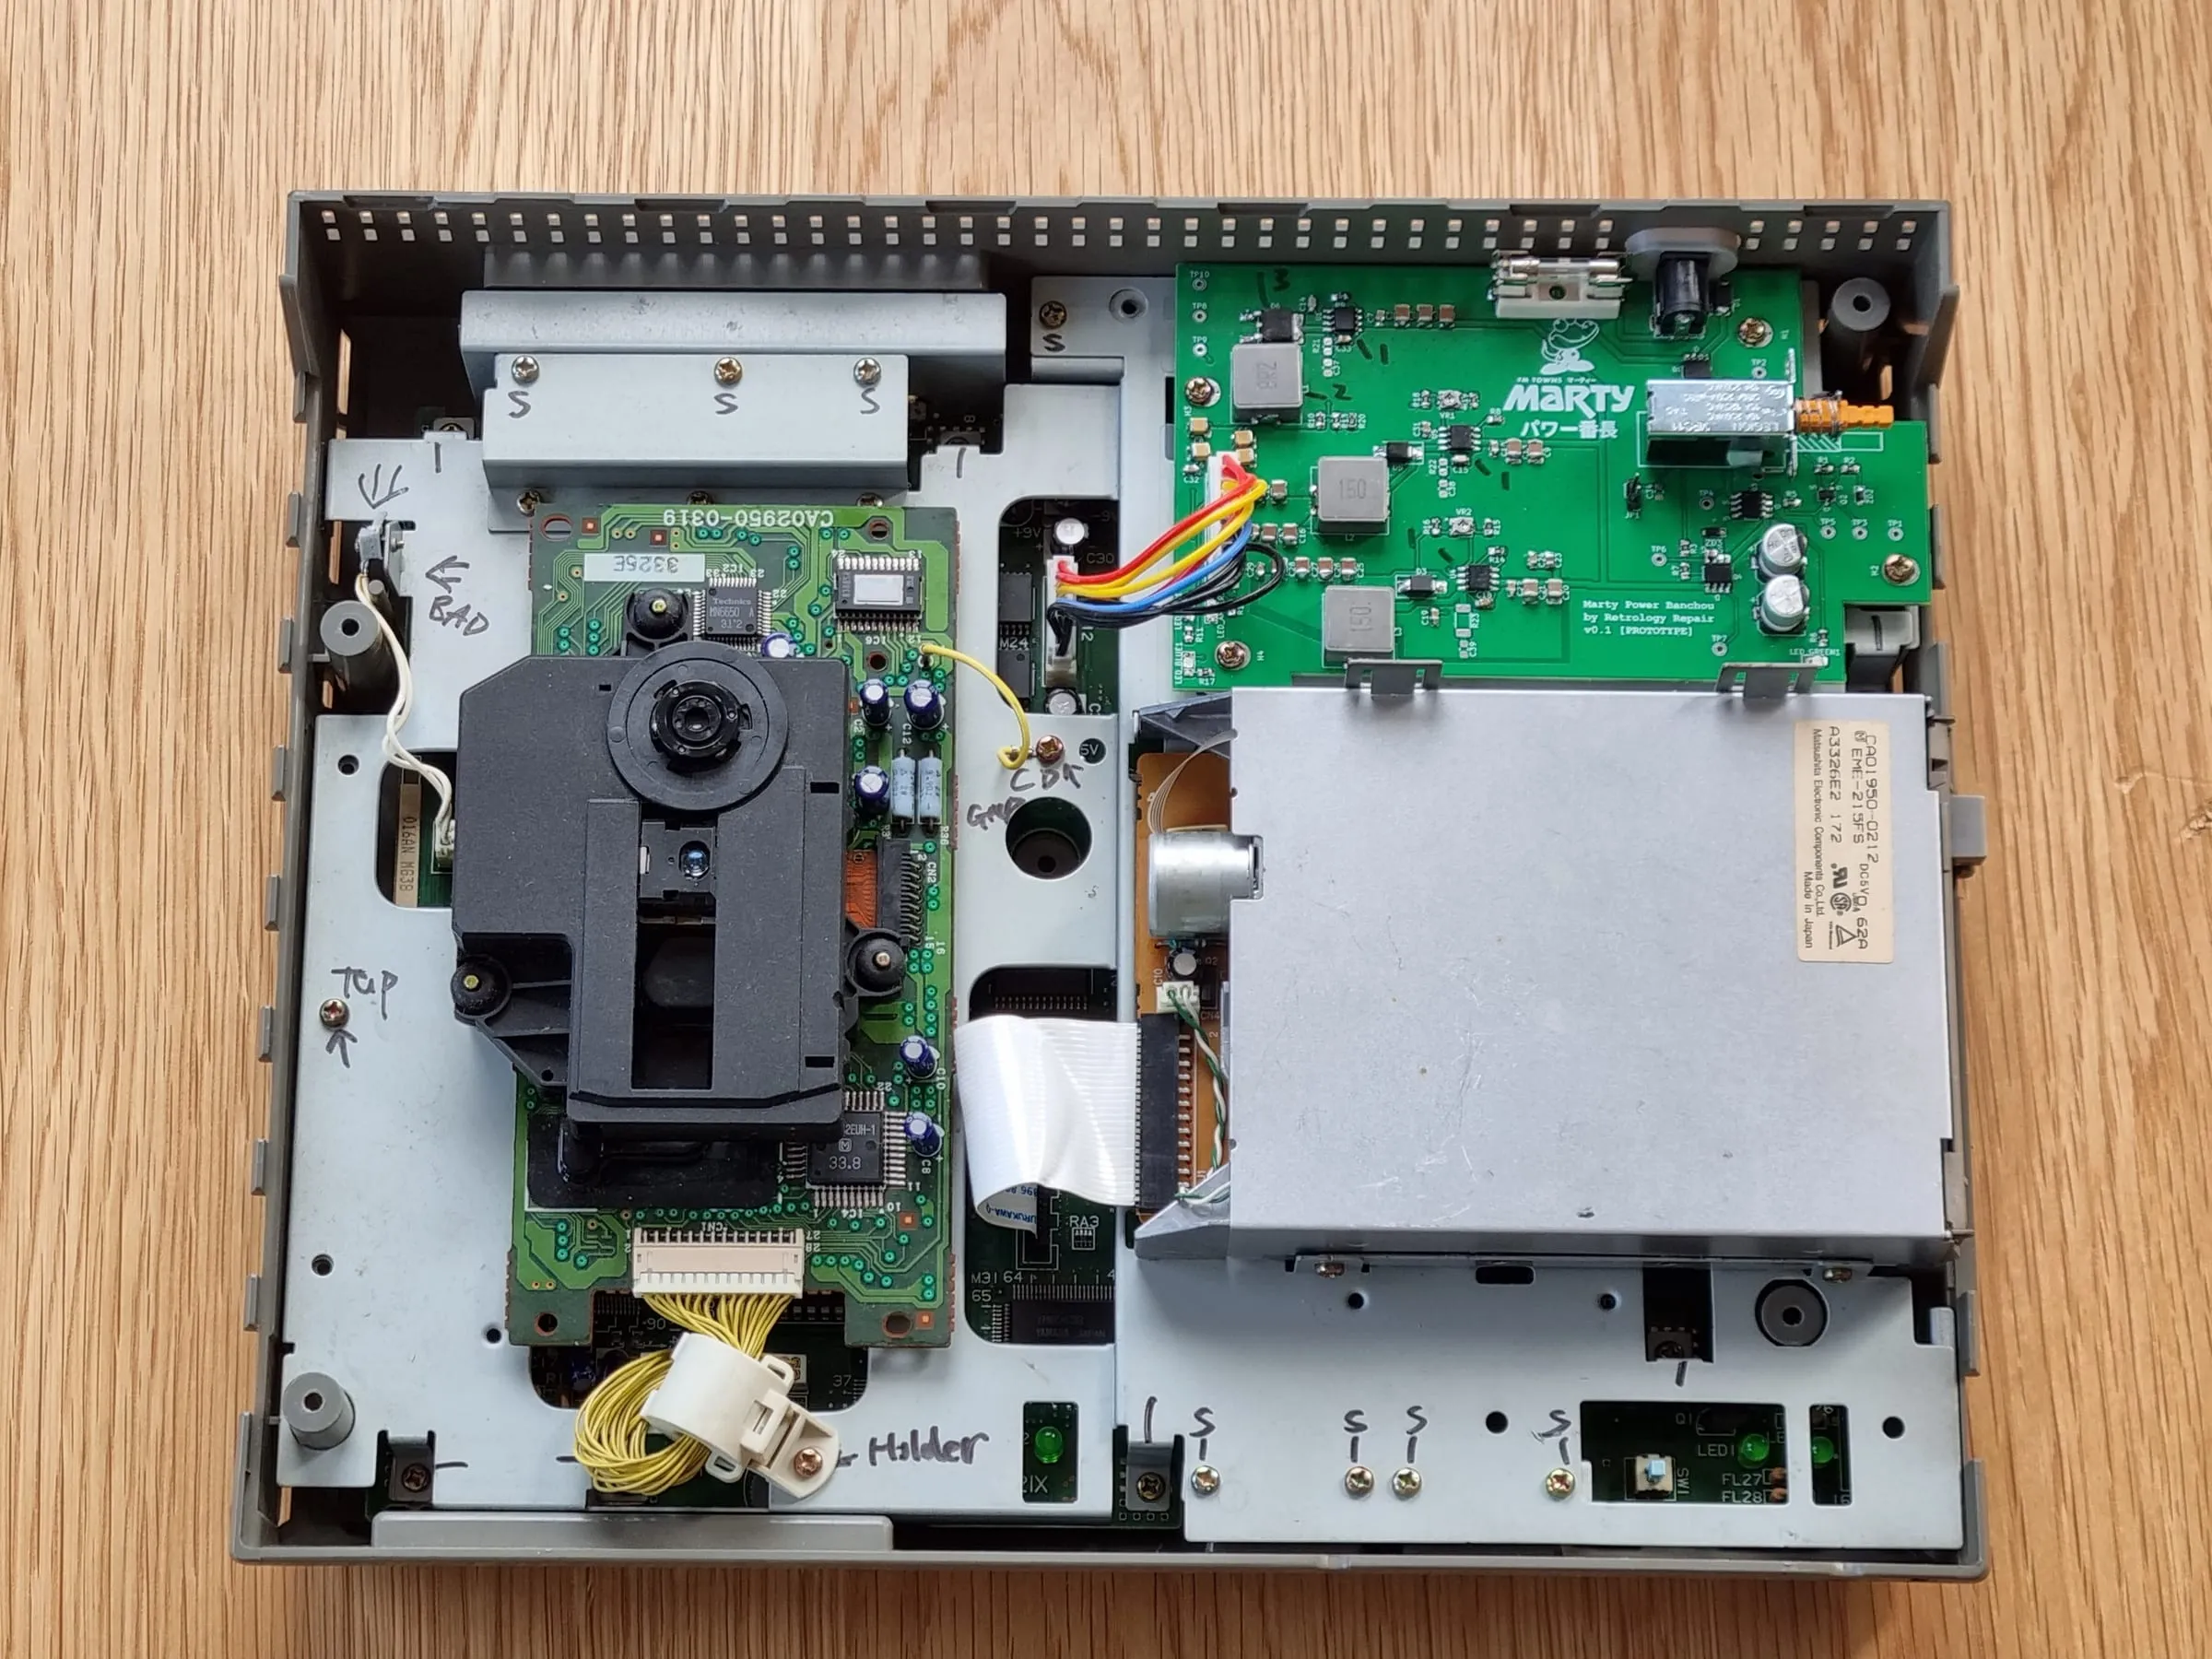
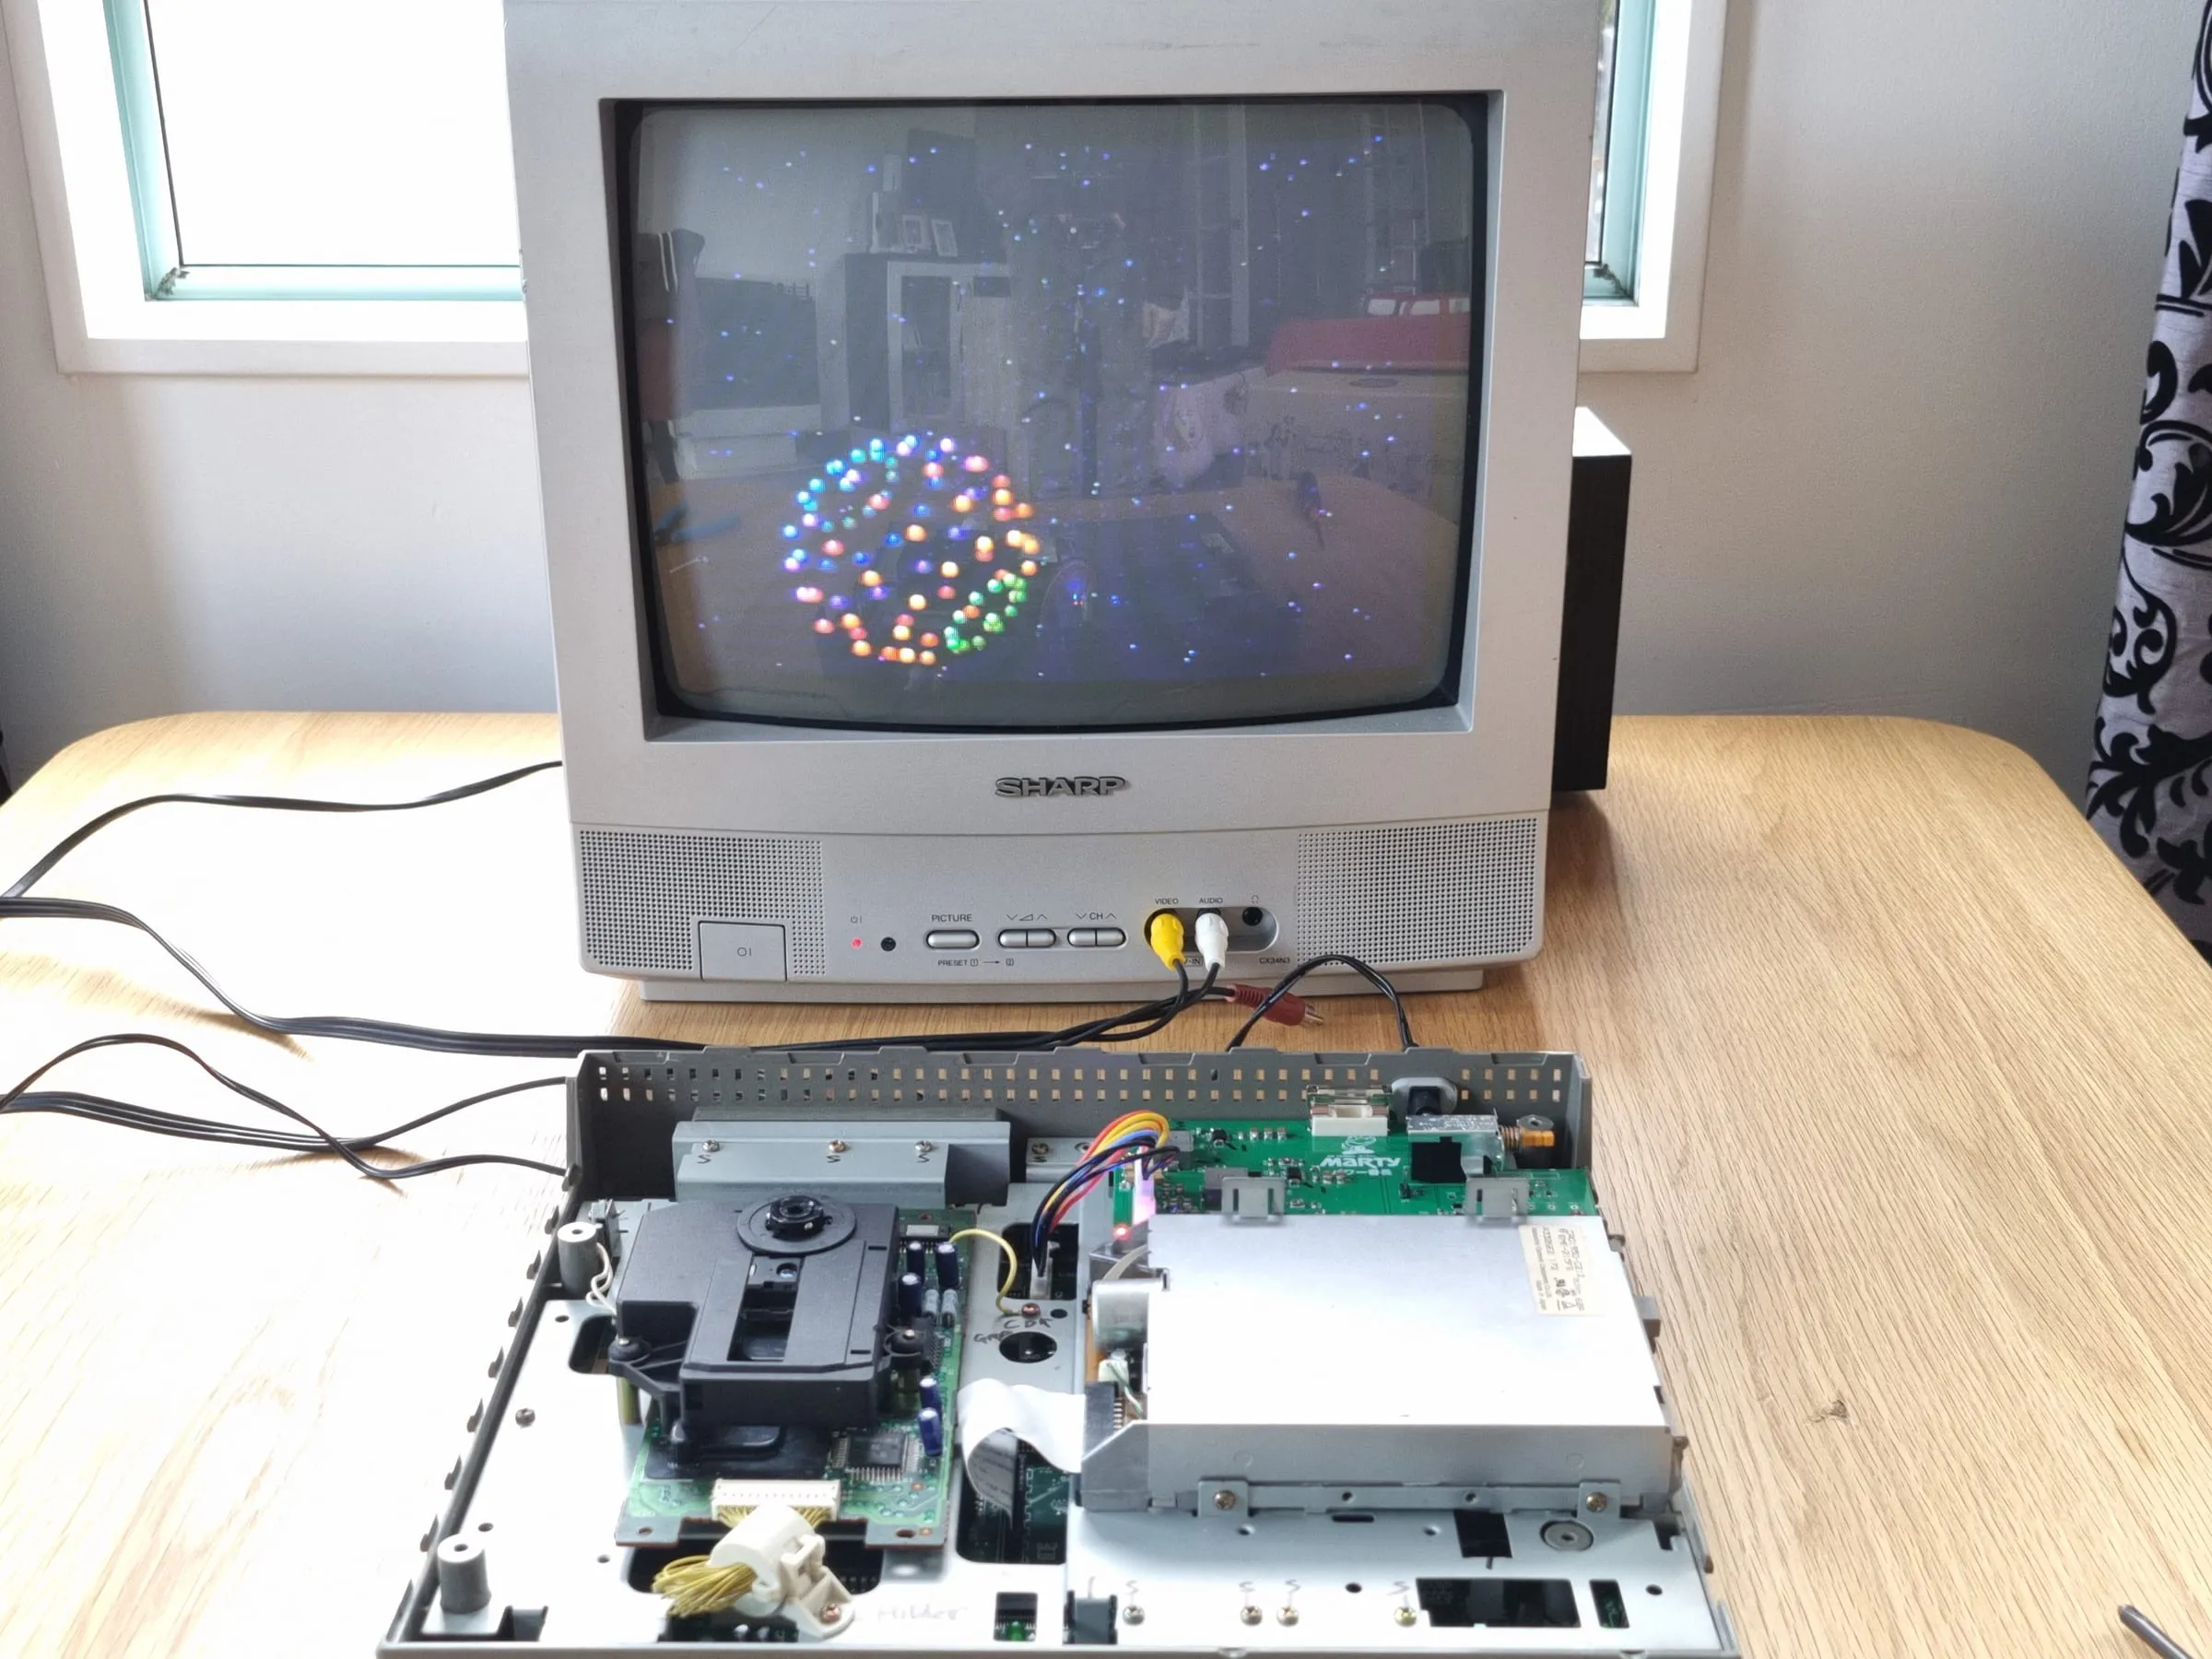
Now with Marty Power Banchou installed, you actually can test it on the TV now. Connect the AV cable and the DC plug, you should be able to get an image by pressing the power switch.
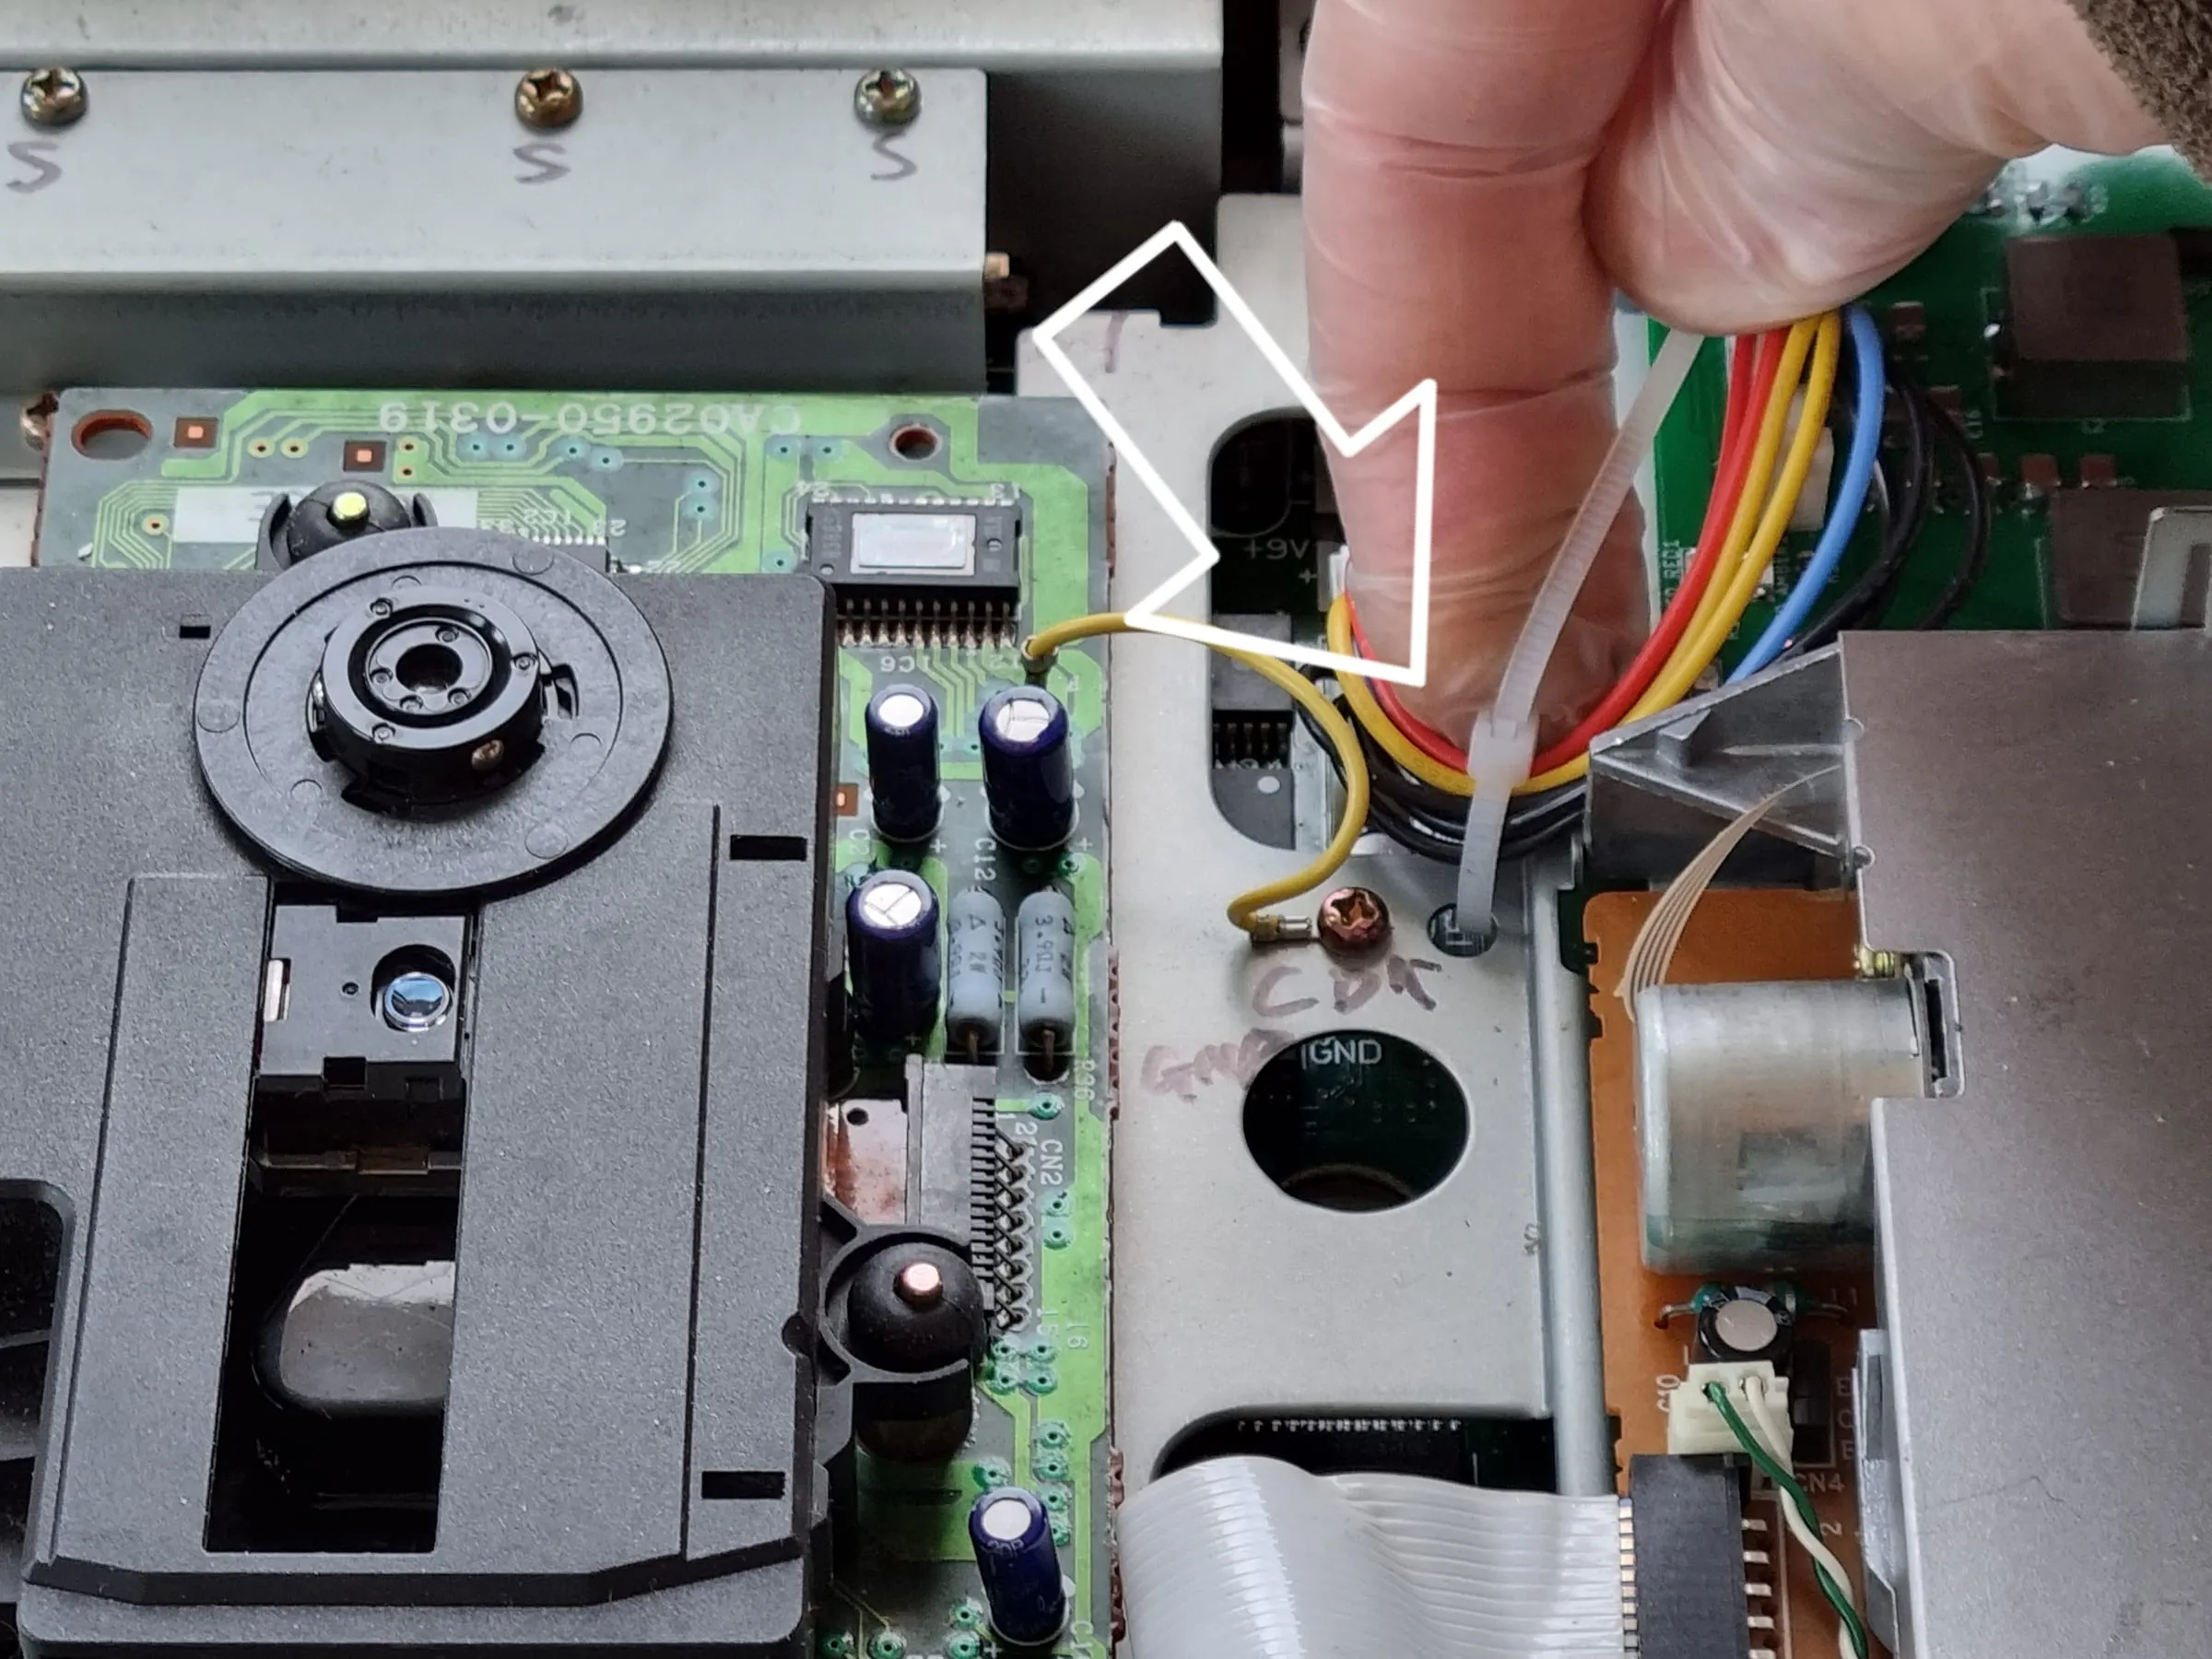
If everything goes fine, disconnect the power. Put a cable tie around the power cable and fasten it to the chassis. This is optional but recommended.
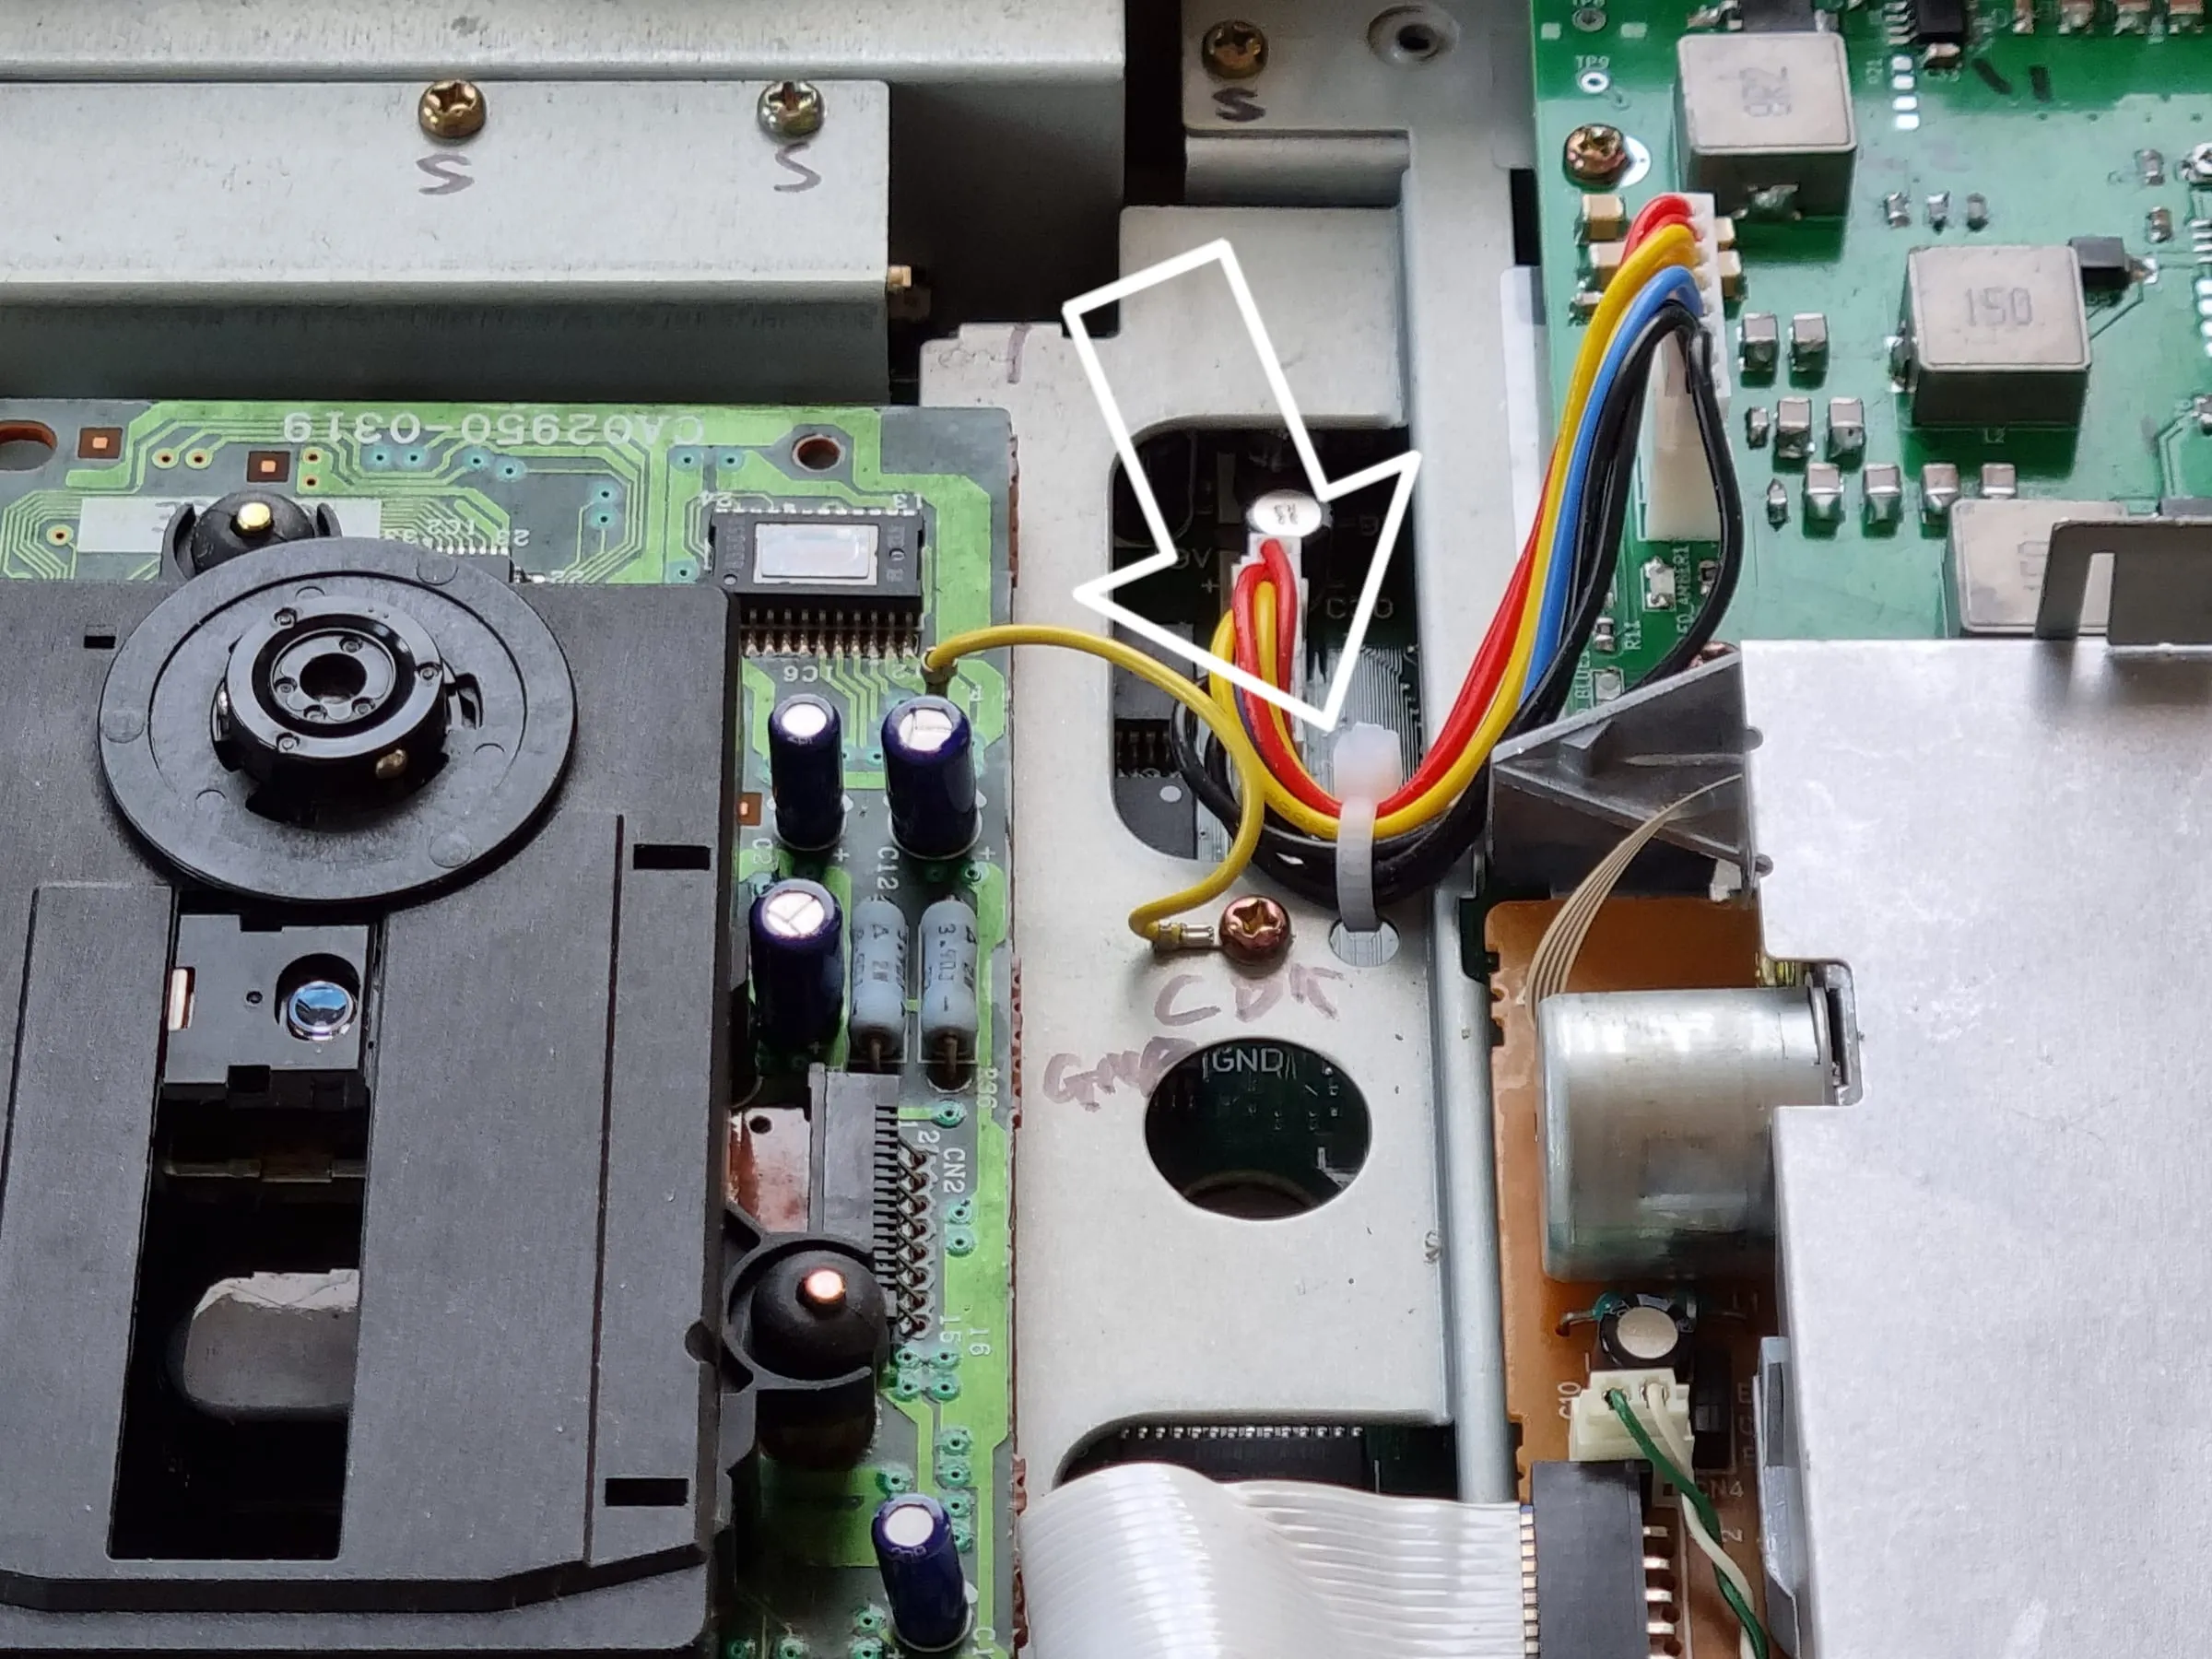
Trim the cable tie too.
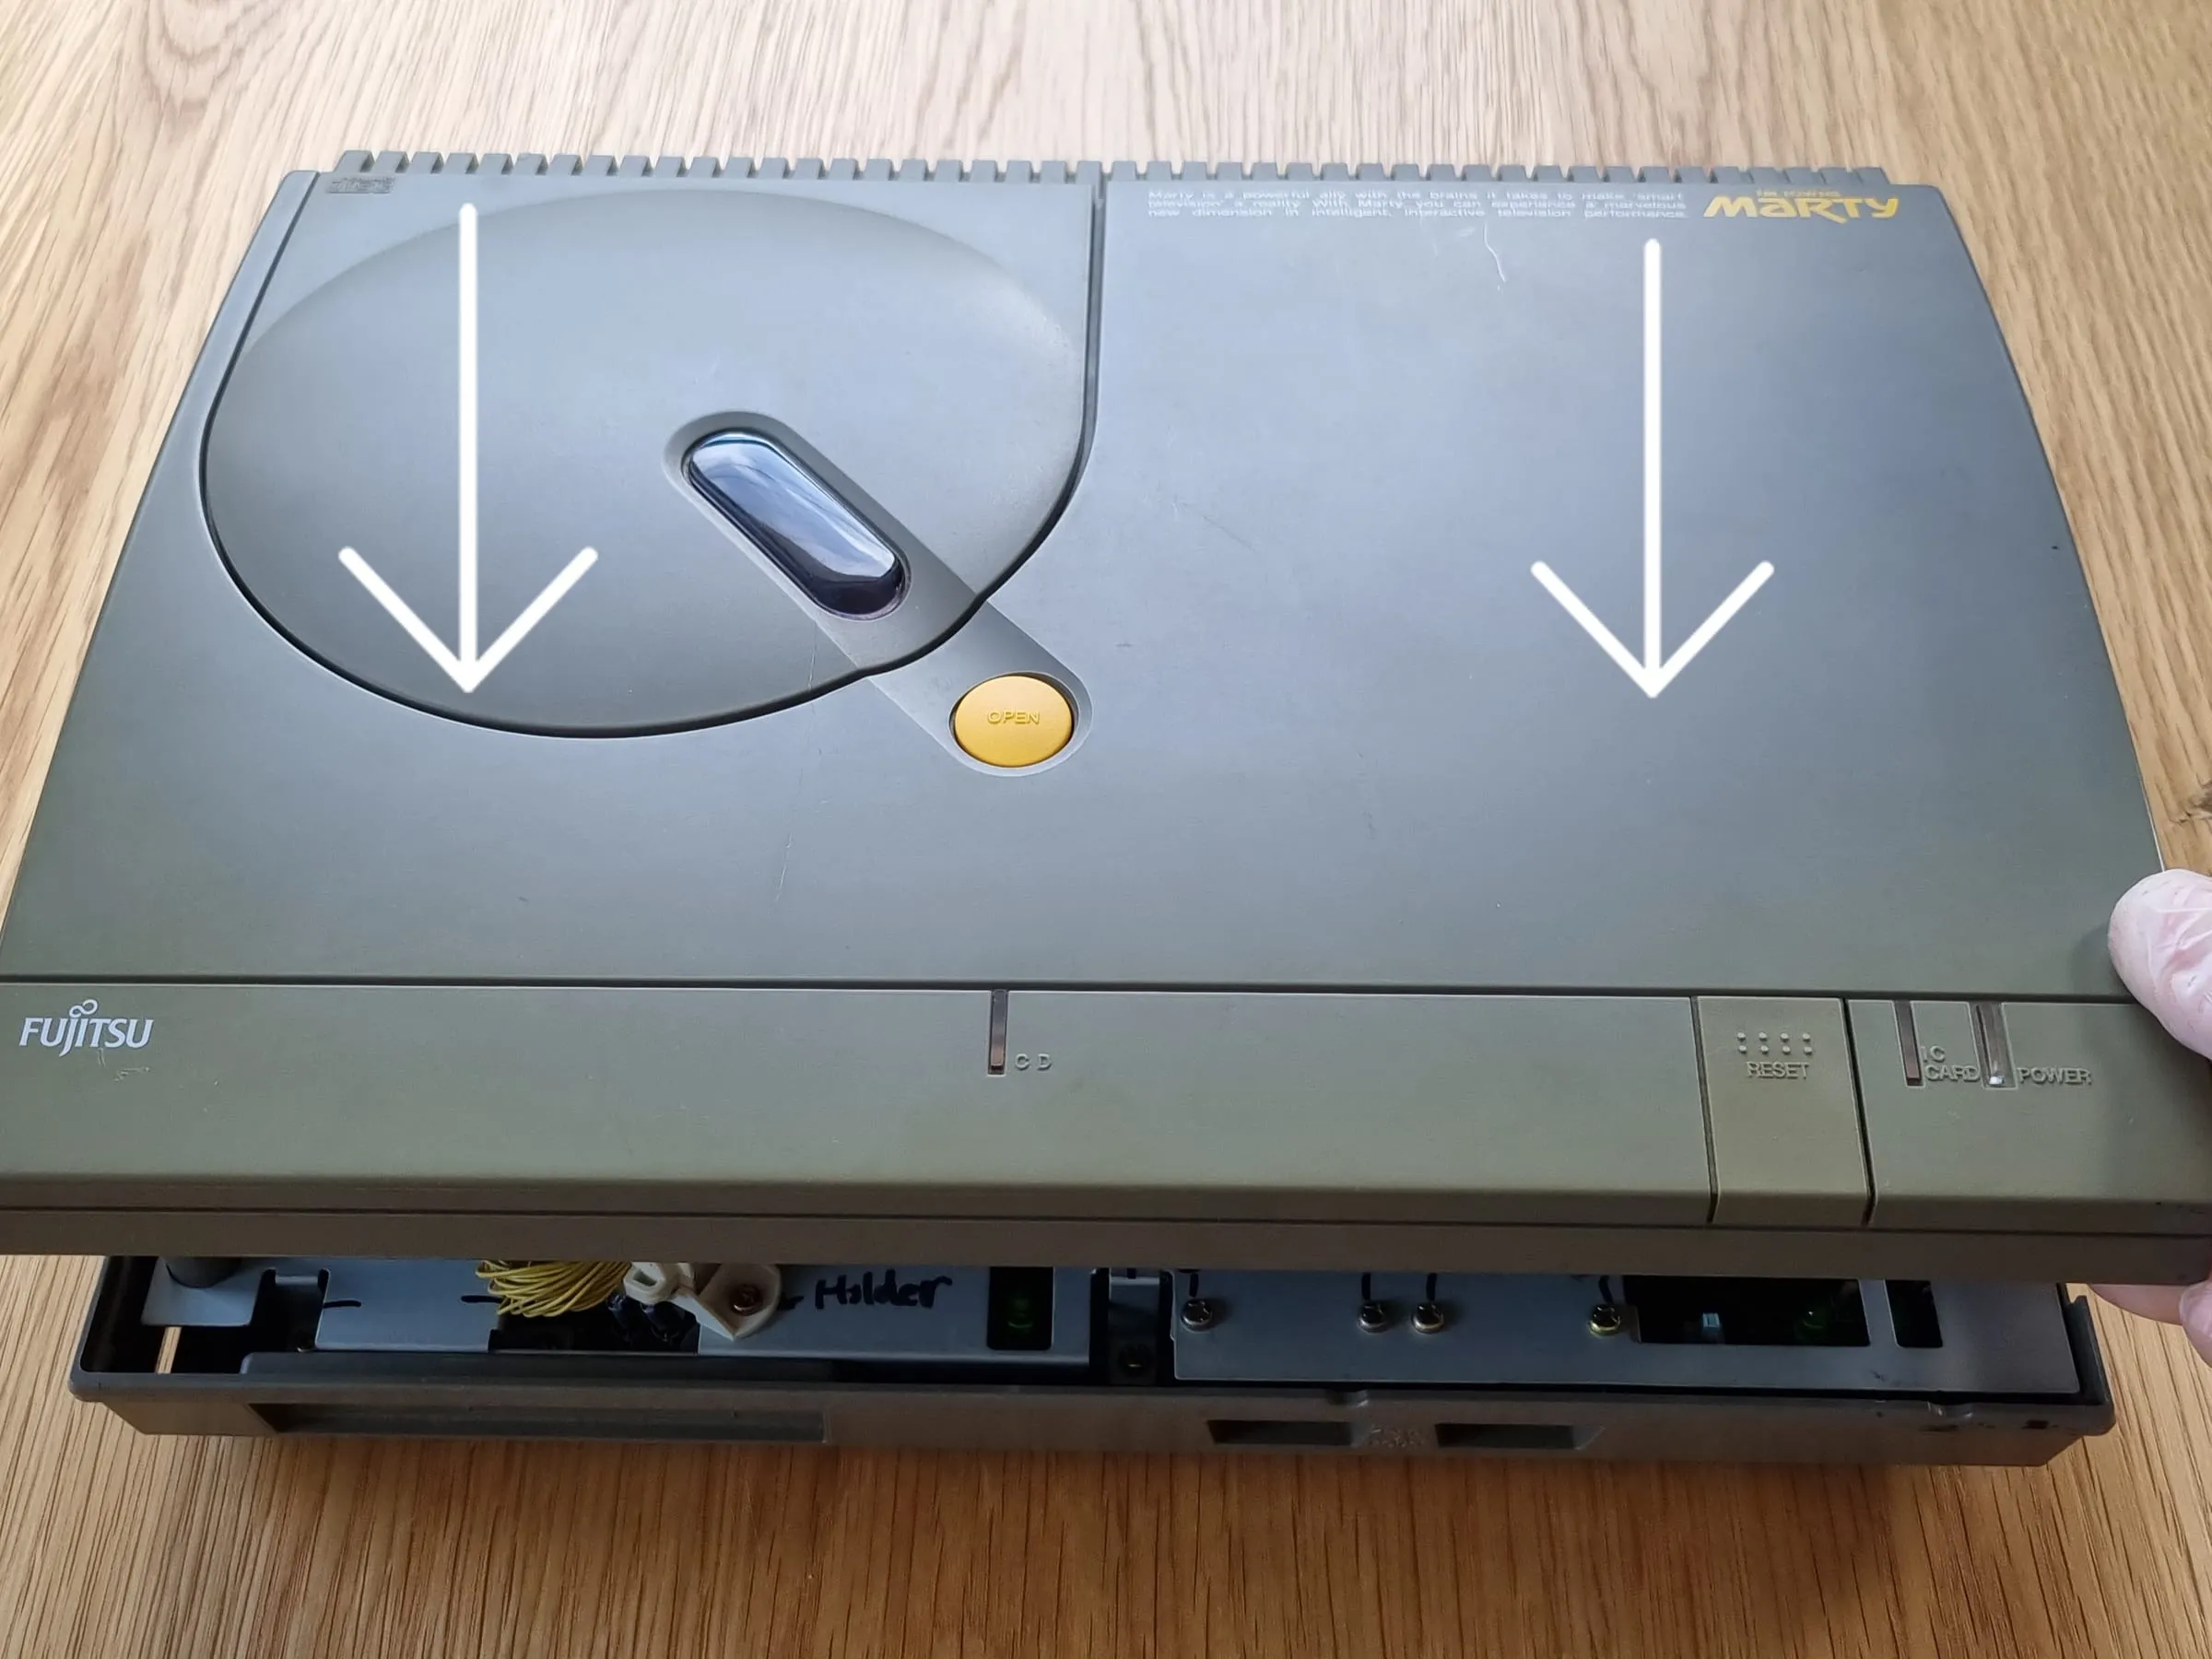
Finally we can put the cover back on.
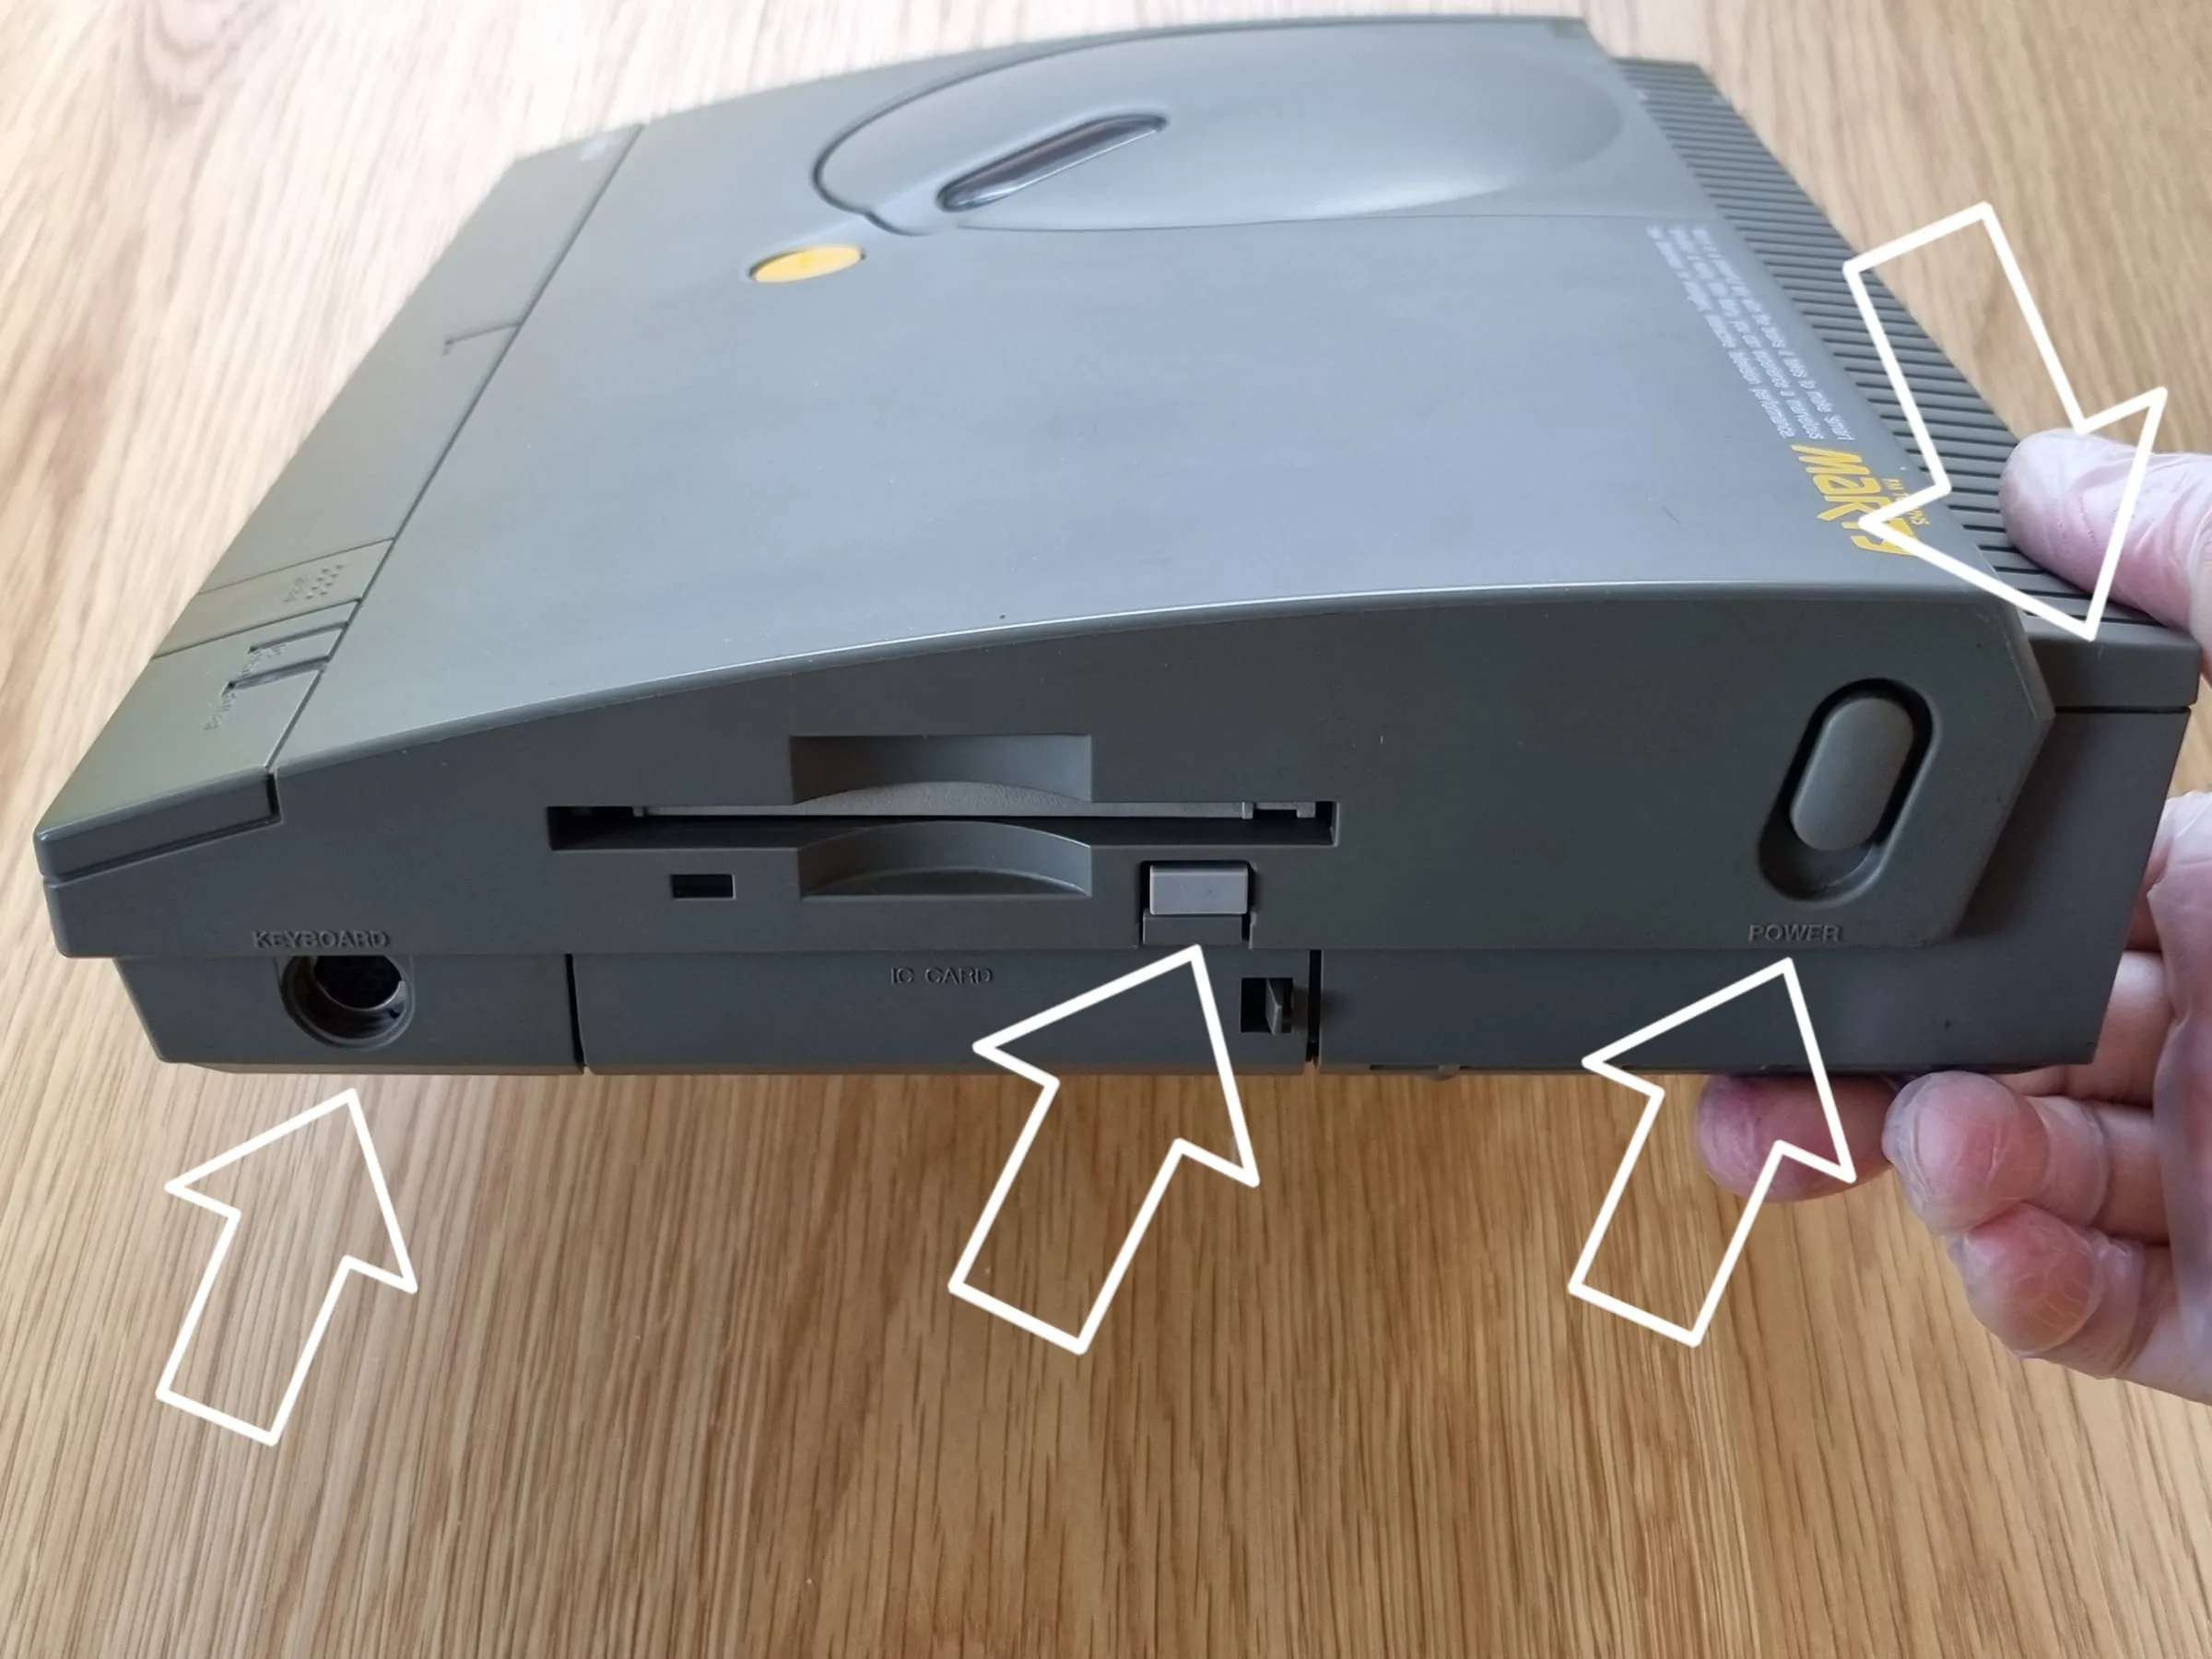
Before putting the final screws back, make sure everything on the right side is in its place, especially the floppy drive port and the power switch.
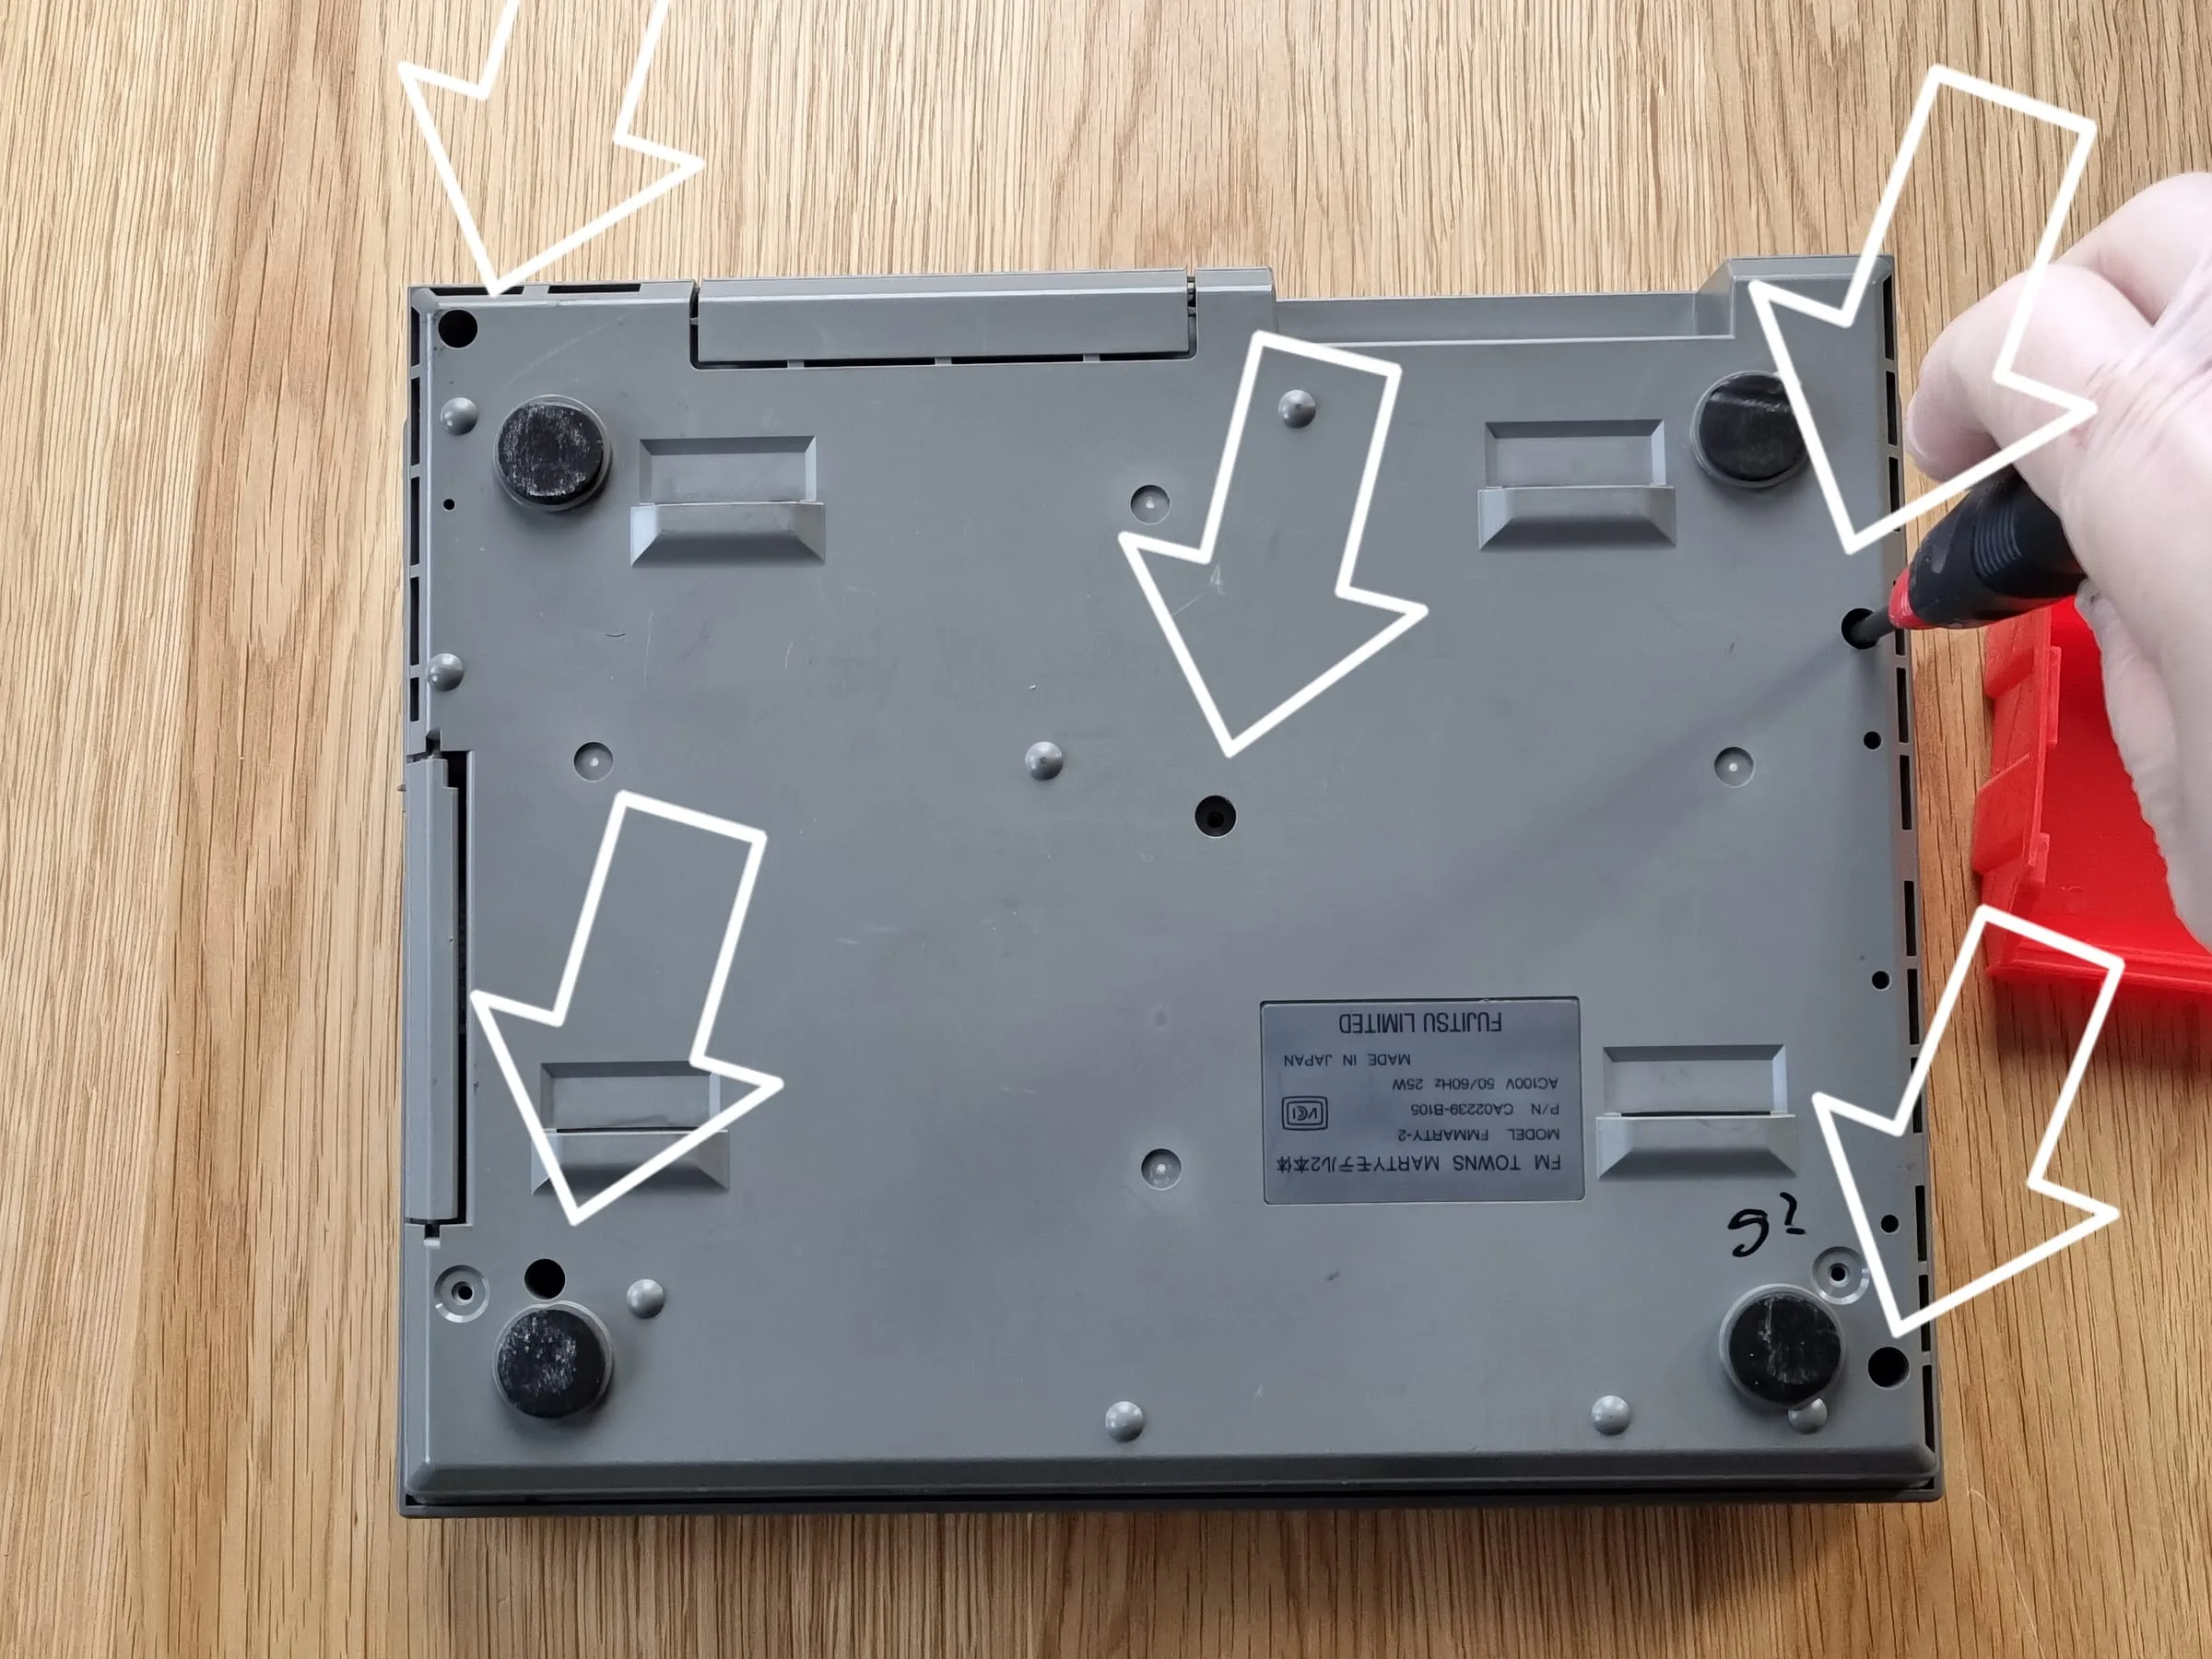
Now carefully flip Marty on its back, and put 5 tapping screws back. Note the right bottom one maybe a shorter screw.
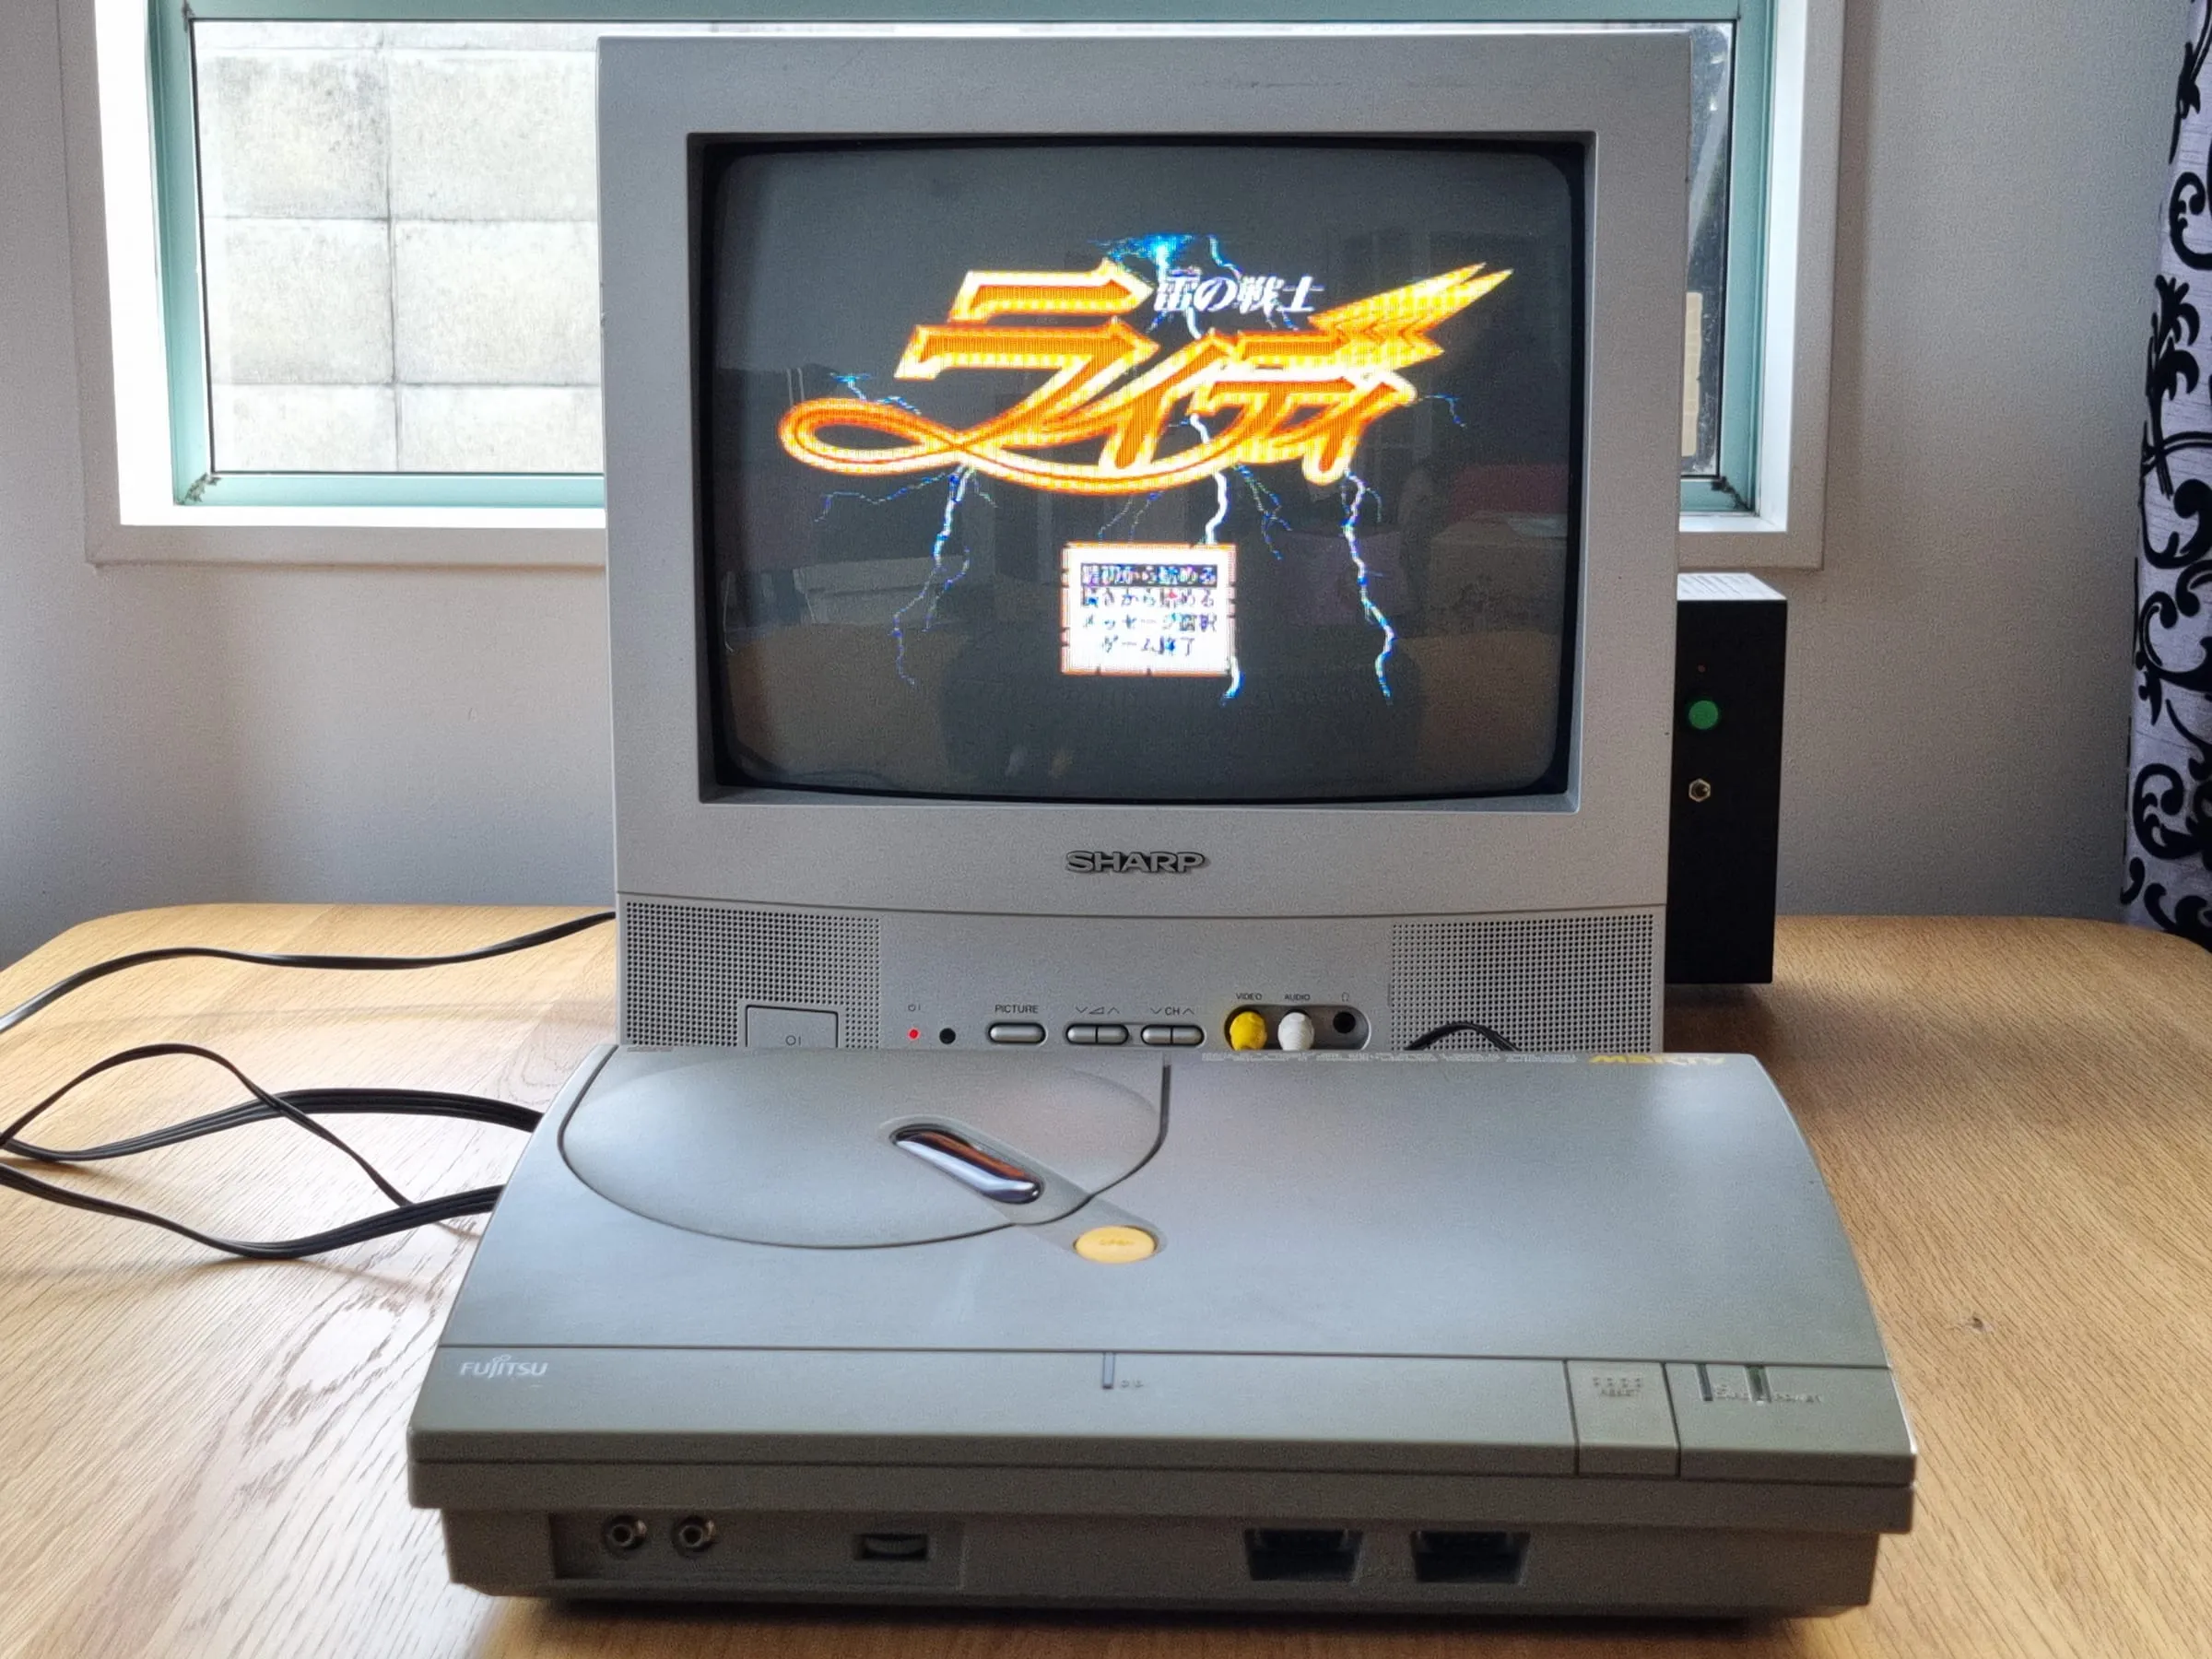
Connect everything, you should have a fully working FM Towns Marty, using a DC power supply now.